
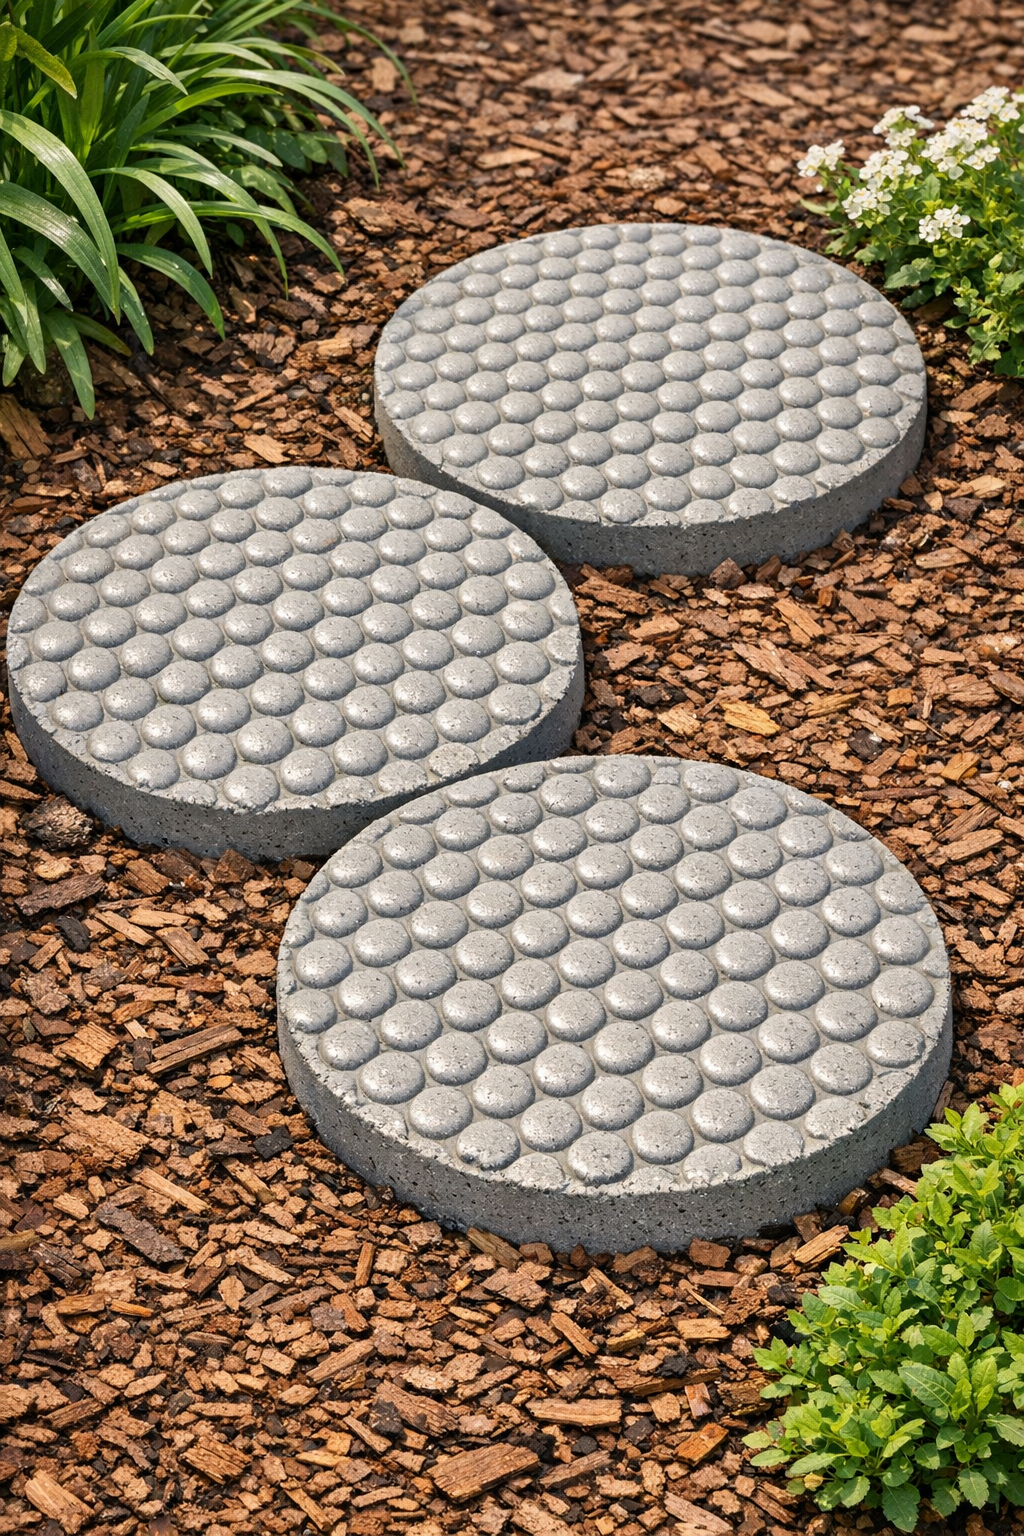
I love a weekend project that looks far more expensive than it is, and these honeycomb-style yard pavers absolutely fit that category. By pressing heavy duty bubble wrap into wet cement and using a couple of simple household items as molds and prep tools, you get a crisp geometric texture that looks custom-made once it’s set into a garden path or tucked between planting beds.
This is a great project if you want to dress up a plain corner of the yard without committing to a full patio build. I’m always looking for outdoor DIYs that I can finish around a busy workweek, and these are especially nice because the steps are straightforward, the materials are easy to find, and the finished pavers have that satisfying handmade look.
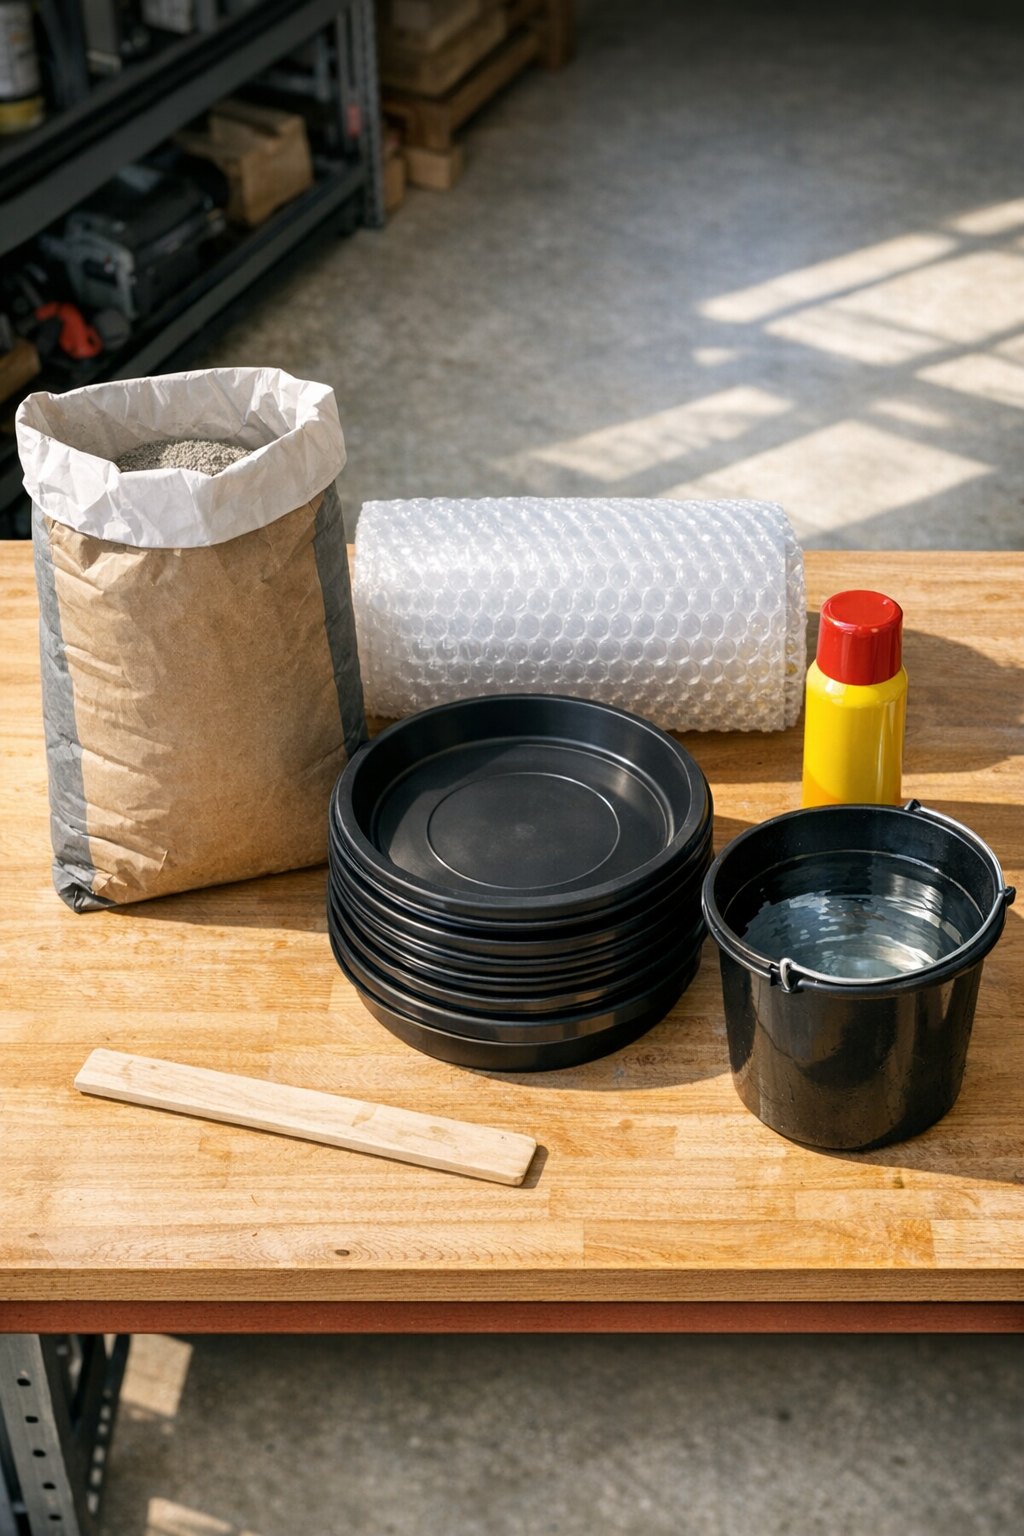
Materials
Instructions
1. Set up a flat work surface outdoors or in a garage, and place the three plastic saucers or trays on a level spot so the pavers cure evenly.
2. Cut three pieces of heavy duty bubble wrap to fit just inside the molds, leaving about 1/2 inch of space around the edge so the cement can form a smooth border.
3. Lightly coat the inside of each mold with cooking spray or a thin wipe of oil so the cured pavers release more easily later.
4. Mix the cement in a bucket or mixing tub with water a little at a time until it reaches a thick brownie-batter consistency that holds shape without being dry.
5. Spoon the wet cement into each mold until it is about 1 1/2 to 2 inches thick, then tap the molds firmly on the ground a few times to release trapped air bubbles.
6. Smooth the top with a scrap of cardboard, putty knife, or a flat stick so each paver is fairly level and even across the surface.
7. Lay one piece of bubble wrap on top of the wet cement in each mold with the bubble side facing down, then press gently and evenly so the pattern transfers without sinking too deep.
8. Leave the bubble wrap in place while the cement firms up for 2 to 4 hours, or until the surface is set enough to hold the pattern cleanly.
9. Peel the bubble wrap away carefully, then let the pavers continue curing in their molds for at least 24 hours before unmolding.
10. Remove the pavers from the molds and cure them in a shaded spot for another 5 to 7 days, lightly misting once or twice a day if the weather is very hot or dry.
11. Set the finished pavers into level ground, sand, or mulch, spacing them however you like for a path, garden accent, or stepping-stone feature.
Variations & Tips
Shape option: If you want a more modern look, use square or hexagon plastic trays instead of round saucers, as long as they are sturdy enough to hold wet cement.
Color variation: You can mix in a small amount of cement colorant for a warmer stone tone or a darker charcoal finish that makes the honeycomb texture stand out more.
Pattern tip: Press the bubble wrap evenly with flat hands instead of pushing with fingertips, which helps keep the pattern consistent across the whole paver.
Strength tip: For pavers that will get heavier foot traffic, make them closer to 2 inches thick and be patient with the full curing time before installing.
Easy placement tip: I like to dry-fit the pavers in the yard first before digging or leveling anything, because it saves time and makes it easier to play with spacing until it looks right.