
I’m always a little too excited when I find a use for something I would normally toss, and dried out school glue sticks are one of those random household leftovers that seem to multiply in junk drawers. This simple privacy panel project turns them into a removable frosted finish for glass, using just one pantry staple to help create that soft, cloudy look that lets in light while blocking a clear view.
If you need more privacy on a front door sidelight, bathroom window, or lower kitchen window without buying film, this is a very doable afternoon project. I like it because it’s budget-friendly, renter-friendly if you apply it to a removable panel, and easy to scale for one small pane or several matching inserts.
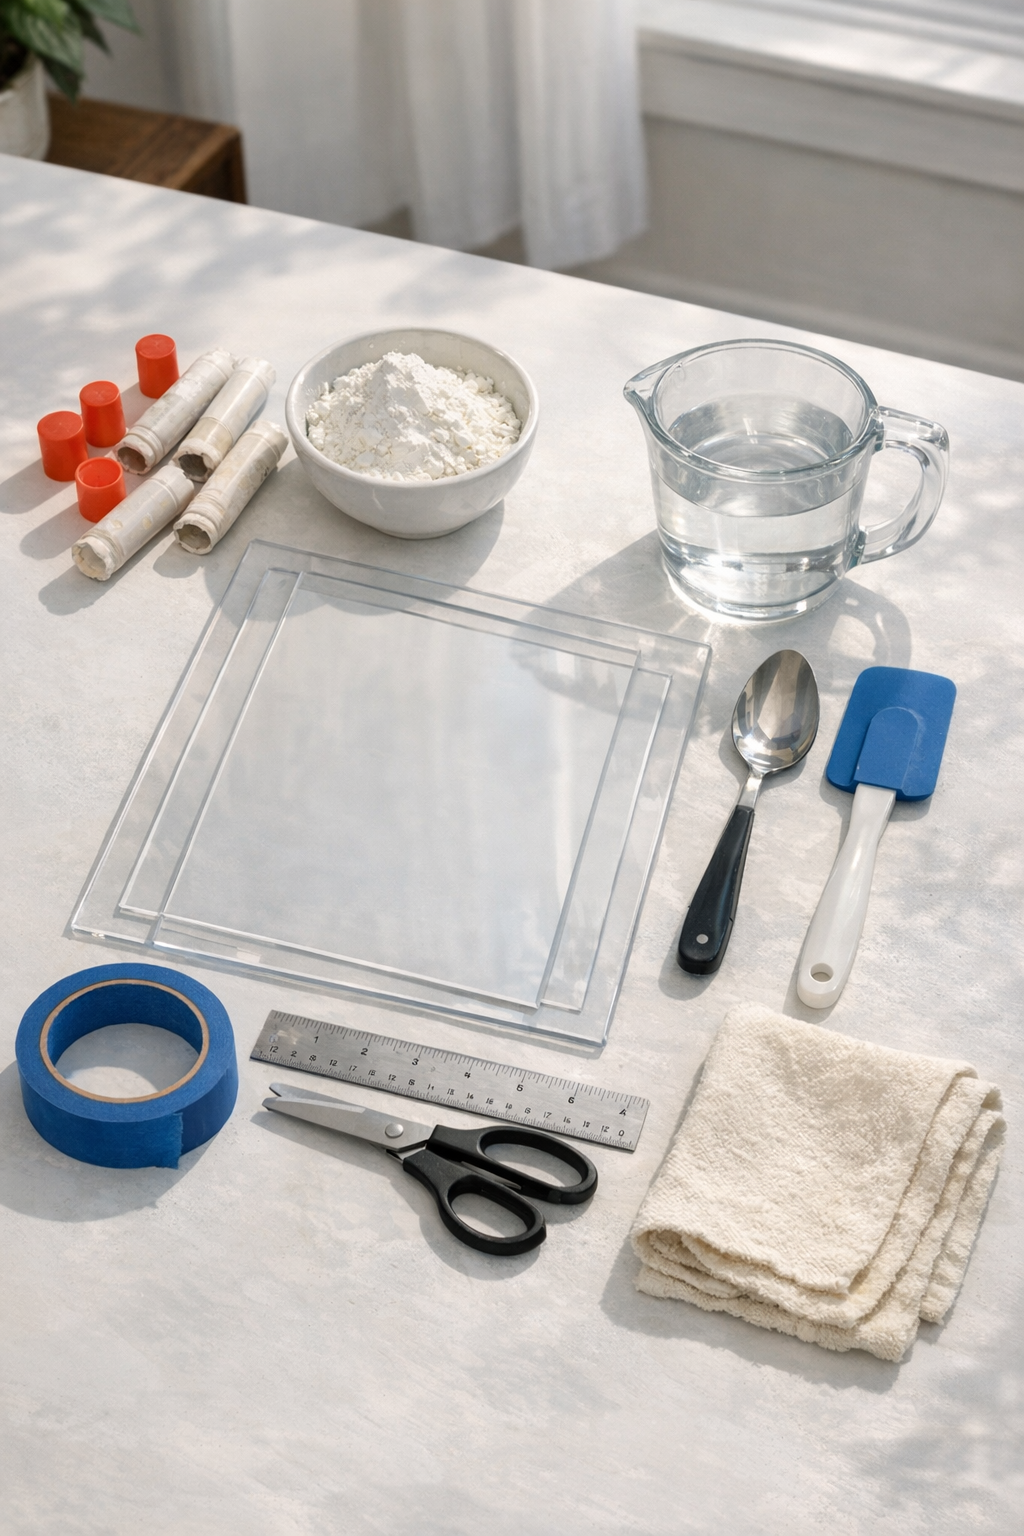
Materials
6 dried out school glue sticks, standard 0.24 oz each
Instructions
1. Clean both acrylic panels with rubbing alcohol or glass cleaner, then wipe them dry with a lint-free cloth so the coating can grip evenly.
2. Remove any plastic film from the acrylic and set the panels flat on a protected work surface.
3. Twist all of the dried glue sticks fully up, peel or break the glue out of the tubes, and place the glue pieces into a microwave-safe cup.
4. Add 2 tablespoons of warm water to the cup and microwave in 10-second bursts, stirring after each burst, until the glue softens into a thick spreadable paste.
5. Stir in 2 tablespoons of cornstarch a little at a time until the mixture looks smooth, opaque, and similar to thin frosting.
6. Let the mixture sit for 2 to 3 minutes so any bubbles rise, then stir once more gently to keep the finish from drying with pinholes.
7. Scoop a portion onto the first acrylic panel and smear it into a thin, even coat with a silicone spatula or butter knife, covering edge to edge.
8. Drag the spatula lightly back over the surface in short overlapping strokes to create a softly textured frosted look rather than a perfectly flat finish.
9. Repeat the coating process on the second acrylic panel, trying to keep the thickness and texture similar so the pair looks matched.
10. Leave both panels flat to dry for 4 to 6 hours, or until the surface turns matte and no longer feels cool or tacky.
11. Hold each dry panel up to the window to check coverage; if you want more privacy, add a second thin coat and let it dry completely.
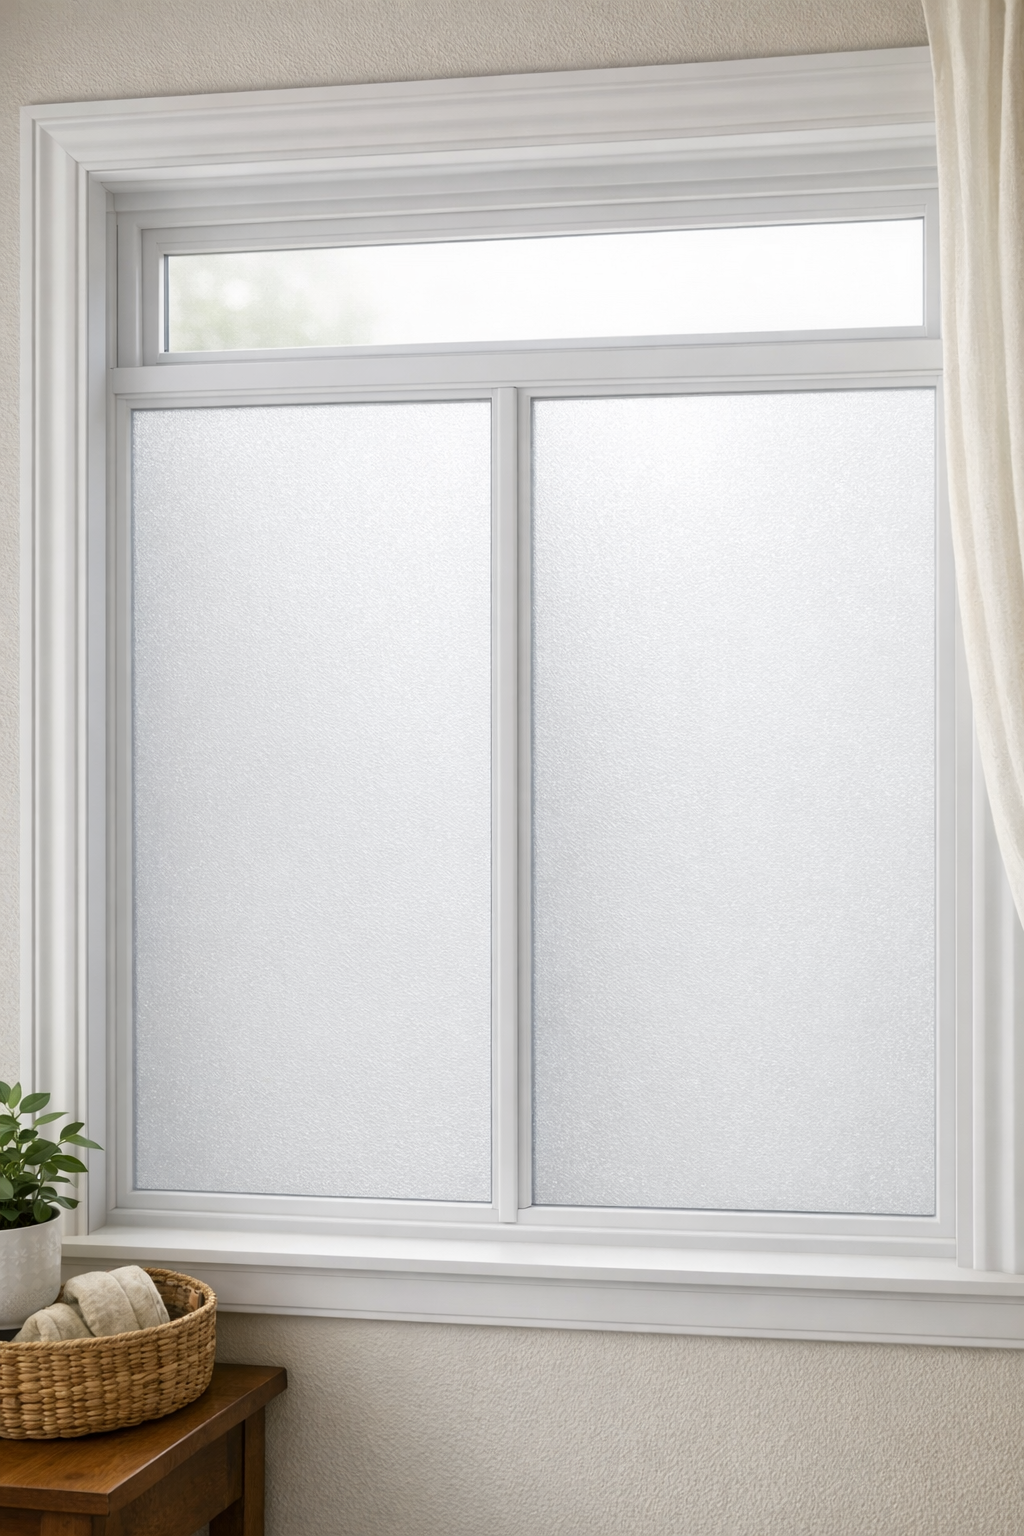
12. Attach loops of painter’s tape or removable mounting tabs to the back corners and press the panels onto the inside of the window glass with the frosted side facing the room.
Variations & Tips
Use real glass inserts: If you’re making these for a more permanent spot, you can coat thrifted picture frame glass instead of acrylic. I still like acrylic for busy households because it’s lighter and less nerve-wracking to handle.
Test the opacity first: Hold a scrap of clear plastic or one corner of the panel up to a window before doing both pieces. I’ve learned the hard way that one extra pass can take it from “nicely private” to “almost blackout.”
Keep coats thin: Thin layers dry faster and look more like true frosted glass. Thick layers can crack, peel, or dry unevenly.
Try different textures: For a smoother look, finish with long straight strokes in one direction. For a more diffused look, dab lightly with the spatula tip while the coating is still wet.
Make cleanup easier: Line your work surface with parchment paper or a plastic placemat before you start. This is one of those small prep steps that saves time later, especially on a weeknight.
Refresh as needed: If the finish gets scuffed, wipe off the panel with warm water, dry it, and apply a new coat. That easy redo factor is honestly my favorite part of this project.