
I love a project that looks far more expensive than it is, and this faux stained glass panel is exactly that kind of make. By gently fusing inexpensive plastic school folders with a household iron and finishing the piece with a simple lead-line effect, you can create colorful window panels that catch the light in a way that feels surprisingly polished.
As someone who spends plenty of time thinking about color, layering, and how light changes what we see on the plate and around the home, I find this project especially satisfying. It is ideal for anyone who wants a renter-friendly window treatment, a cheerful sun catcher, or a handmade décor piece without needing specialty glass tools.
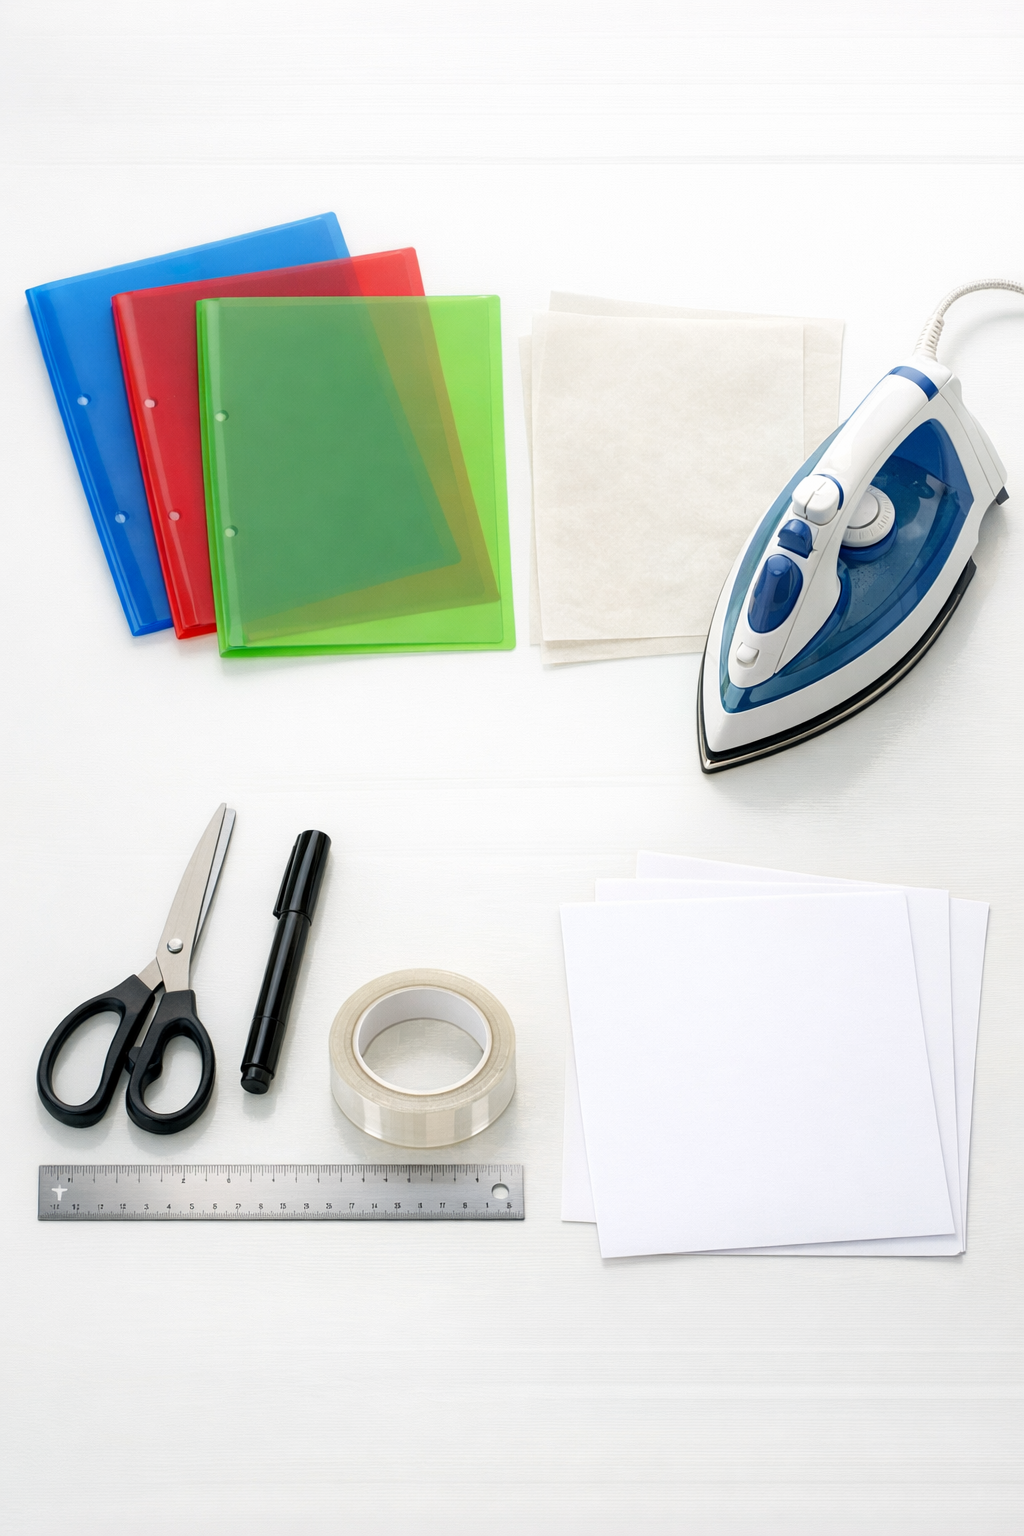
Materials
3 translucent plastic school folders, letter size 9 x 12 inches, in 3 different colors
Instructions
1. Choose three simple stained-glass-style designs for your panels, then draw each design onto a sheet of white paper sized to fit inside the folders. Keep the shapes bold and fairly large so the finished lines read clearly from a distance.
2. Cut each plastic folder open along the side seam and around any flap so it opens into the largest possible flat sheet. Trim each one to a workable rectangle, keeping the edges straight.
3. Heat the iron to a low synthetic setting with the steam turned completely off. Test a small scrap between parchment paper first so you know the plastic softens and flattens without scorching.
4. Sandwich one folder sheet between the two pieces of parchment paper and press with the iron for 5 to 10 seconds at a time, lifting between passes. Continue until the plastic relaxes, becomes flatter, and looks slightly more glassy.
5. Repeat the ironing process for the other two folder sheets, letting each piece cool completely under a book or flat tray for a minute so it stays smooth. Once cool, trim each panel to a clean rectangle or square.
6. Place one fused plastic panel over its paper template and use the black permanent marker to trace the main design lines directly onto the plastic. Make the lines slightly thicker than you think you need, since that is what gives the finished panel its stained-glass look.
7. Add a simple border around the outside edge of each panel with the marker to frame the design. If you want a more dimensional look, go over the lines a second time after the first pass dries.
8. Hold each panel up to a bright window and check the balance of color and line thickness. Adjust any uneven sections with the marker, then wipe away stray marks with a lightly damp paper towel before they fully set.
9. Apply short strips of clear double-sided tape to the back top corners and along the upper edge of each panel. Press the finished panels onto a clean window, spacing them evenly so the light can shine through each color.
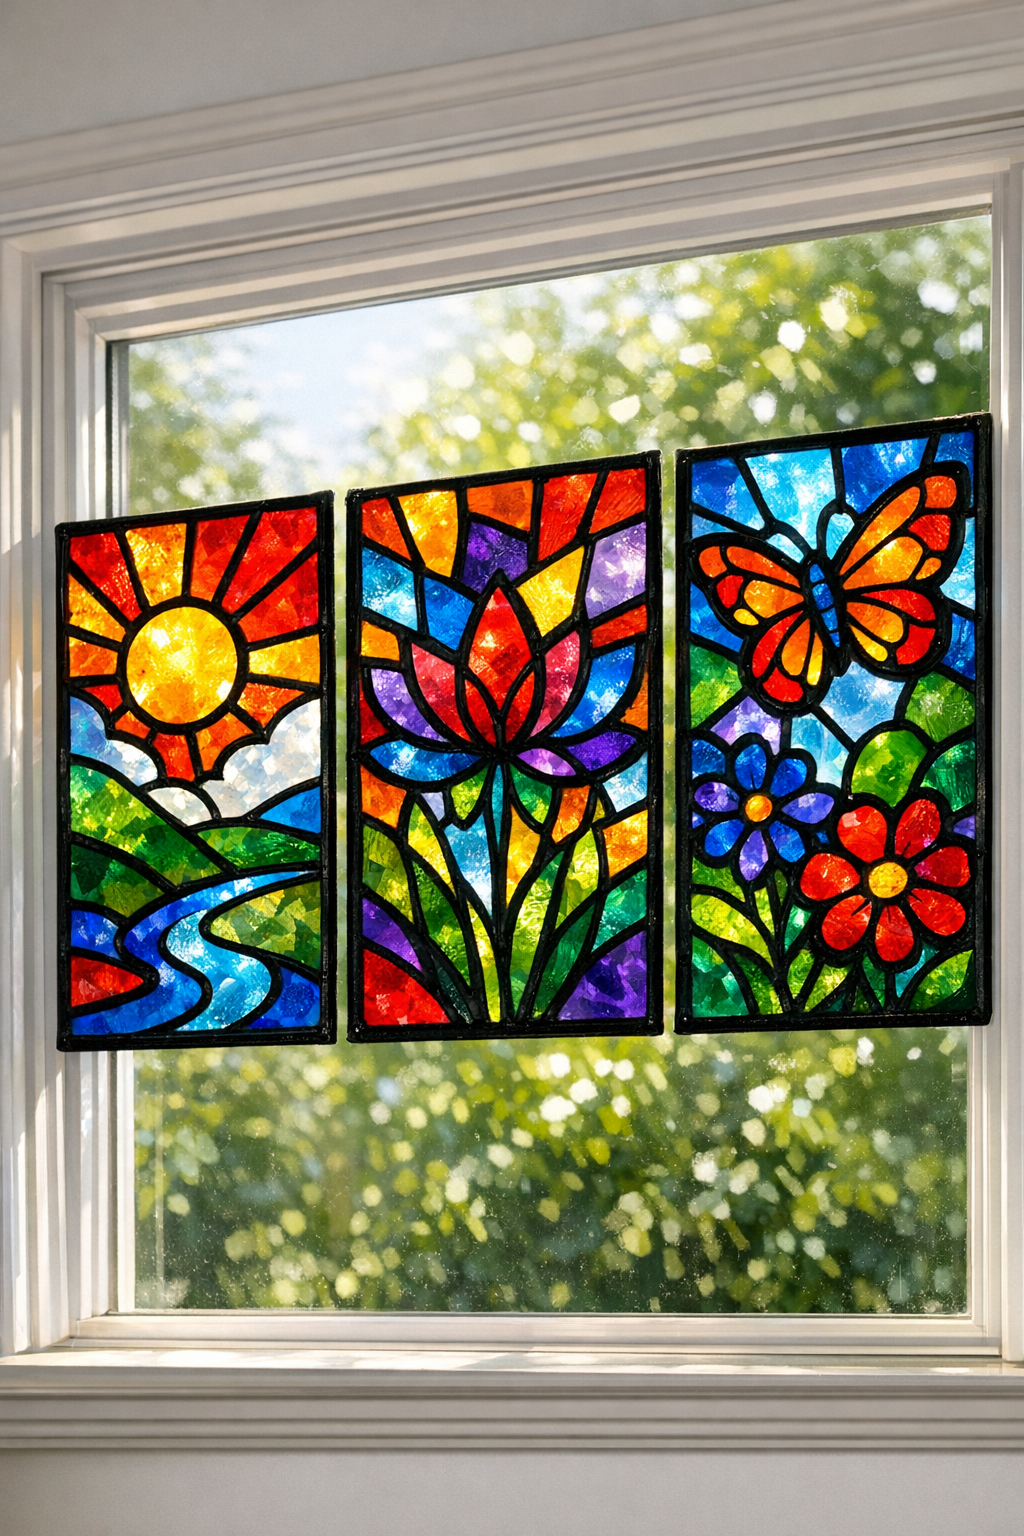
Variations & Tips
Color layering: If you can get extra folders, overlap small cut pieces between parchment before ironing to create two-tone areas. I especially like this for leaf, flower, and geometric designs because the layered color reads beautifully in sunlight.
Design choice: Simple motifs work best, such as tulips, art deco fans, stars, arches, or abstract shapes. Very tiny pieces can get visually lost once the panel is hanging in a bright window.
Iron temperature: Start lower than you think you need. In my experience, a cautious synthetic setting gives you much more control than trying to rush the melt and ending up with ripples or scorched spots.
Cleaner edges: Trim after fusing rather than before your final sizing whenever possible. The melted sheet usually looks more finished when the last cut is made on the cooled, flattened plastic.
Marker finish: A chisel-tip permanent marker gives a more dramatic leaded-glass effect, while a fine tip is better for delicate patterns. If you want the lines darker, let the first coat dry fully before adding the second.
Window placement: These panels look best on a bright but not blazing hot window. A morning-light kitchen window or an east-facing living room pane tends to show off the color nicely without putting too much heat stress on the plastic.