
If you have gaps in a concrete driveway, sidewalk edge, or expansion joints that keep collecting weeds, pebbles, and every bit of windblown mess, this is one of those surprisingly useful little projects that feels almost too simple. I love a fix like this because it uses inexpensive materials, doesn’t require a full concrete repair, and makes the whole driveway look tidier in an afternoon.
As someone who is usually squeezing home projects in between work and figuring out dinner, I appreciate anything practical that gives a big visual payoff without turning into a whole weekend ordeal. These compressed foam pool noodle joint fillers work best for homeowners who want a cleaner-looking driveway, less debris in the joints, and a quick DIY solution using just three main materials.
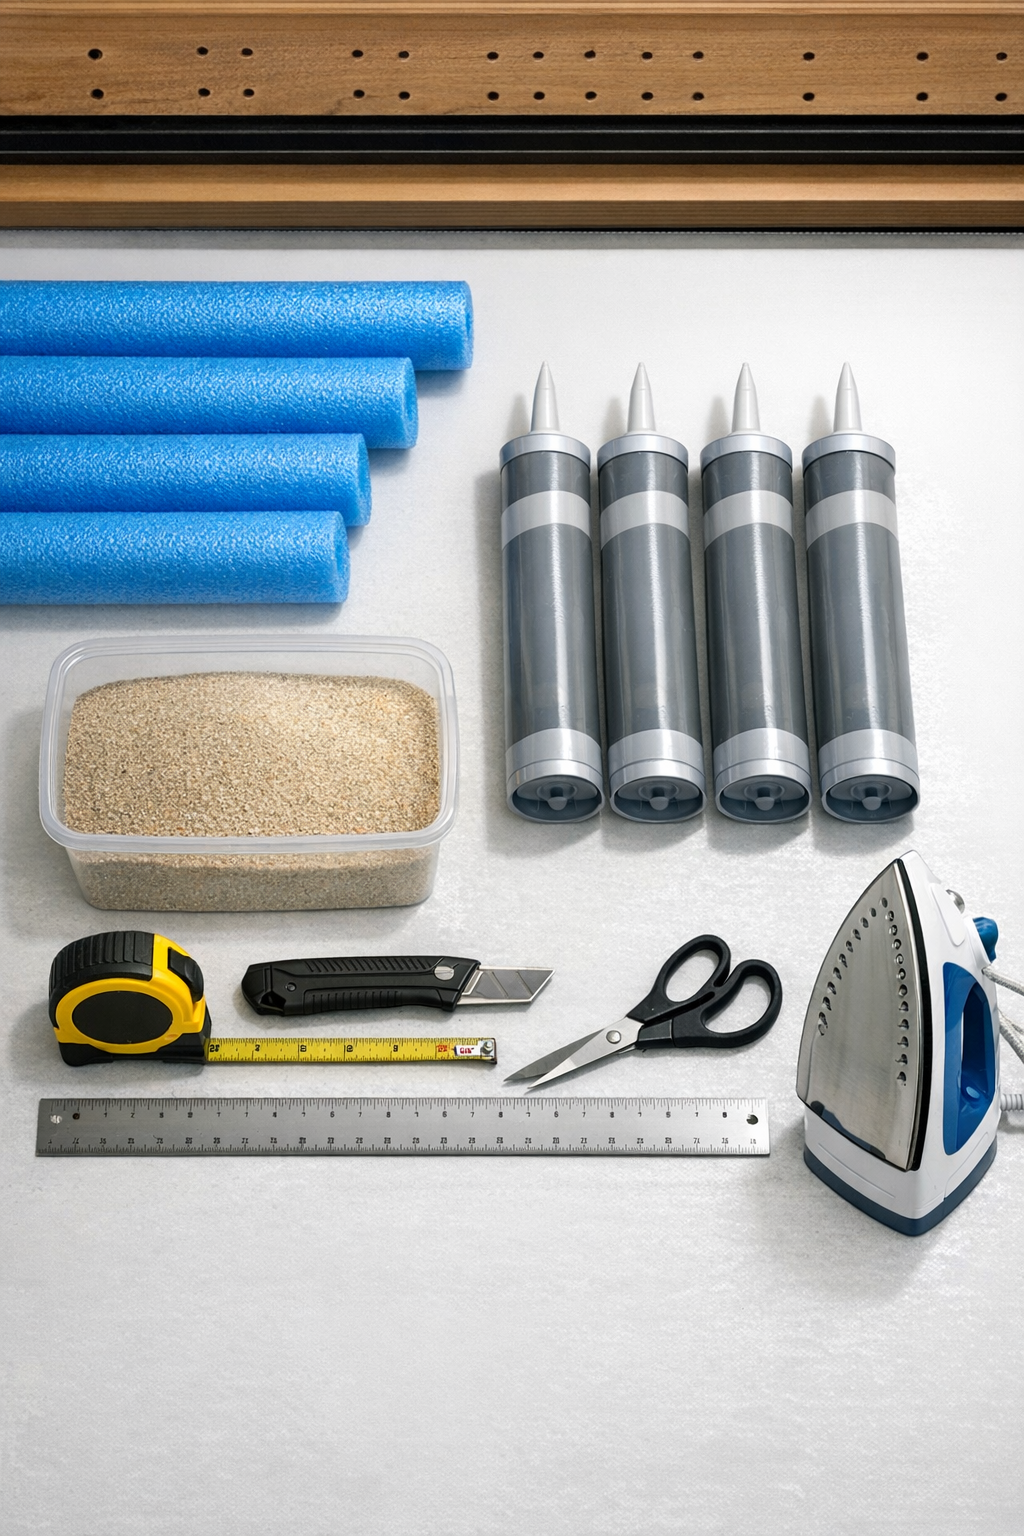
Materials
2 compressed foam pool noodles, 2.5 inches diameter x 52 inches long
Instructions
1. Measure the width and depth of the driveway joints you want to fill, and choose sections where the concrete edges are stable and not actively crumbling. This method works best for gaps about 1 to 2 inches wide and deep enough to hold the foam snugly.
2. Sweep the joints thoroughly with a stiff brush or broom to remove dirt, weeds, and loose stones. A clean joint makes the filler sit flatter and helps the caulk bond to the foam surface instead of dust.
3. Set the iron to a low or synthetic setting, place the pressing cloth over a pool noodle, and gently press in short sections to flatten it into an oval shape. Turn and repeat until the noodle is compressed enough to fit tightly in the joint without springing back too much.
4. Let the compressed noodle cool for a minute, then test-fit it in the joint. If needed, iron it a little more so it slides in with firm pressure and sits slightly below the top of the concrete.
5. Measure each joint section and cut the compressed noodle to length with a utility knife. For longer runs, cut multiple pieces and keep the ends square so they meet neatly.
6. Press the foam pieces into the joints by hand, using a putty knife or scraper to tuck them down evenly. Aim to leave the top of the foam about 1/4 inch below the concrete surface so there is room for a finished top layer.
7. Run a bead of exterior acrylic latex caulk along the top of the foam, filling the recessed space from edge to edge. Smooth it lightly with a putty knife so the surface is level and follows the joint line cleanly.
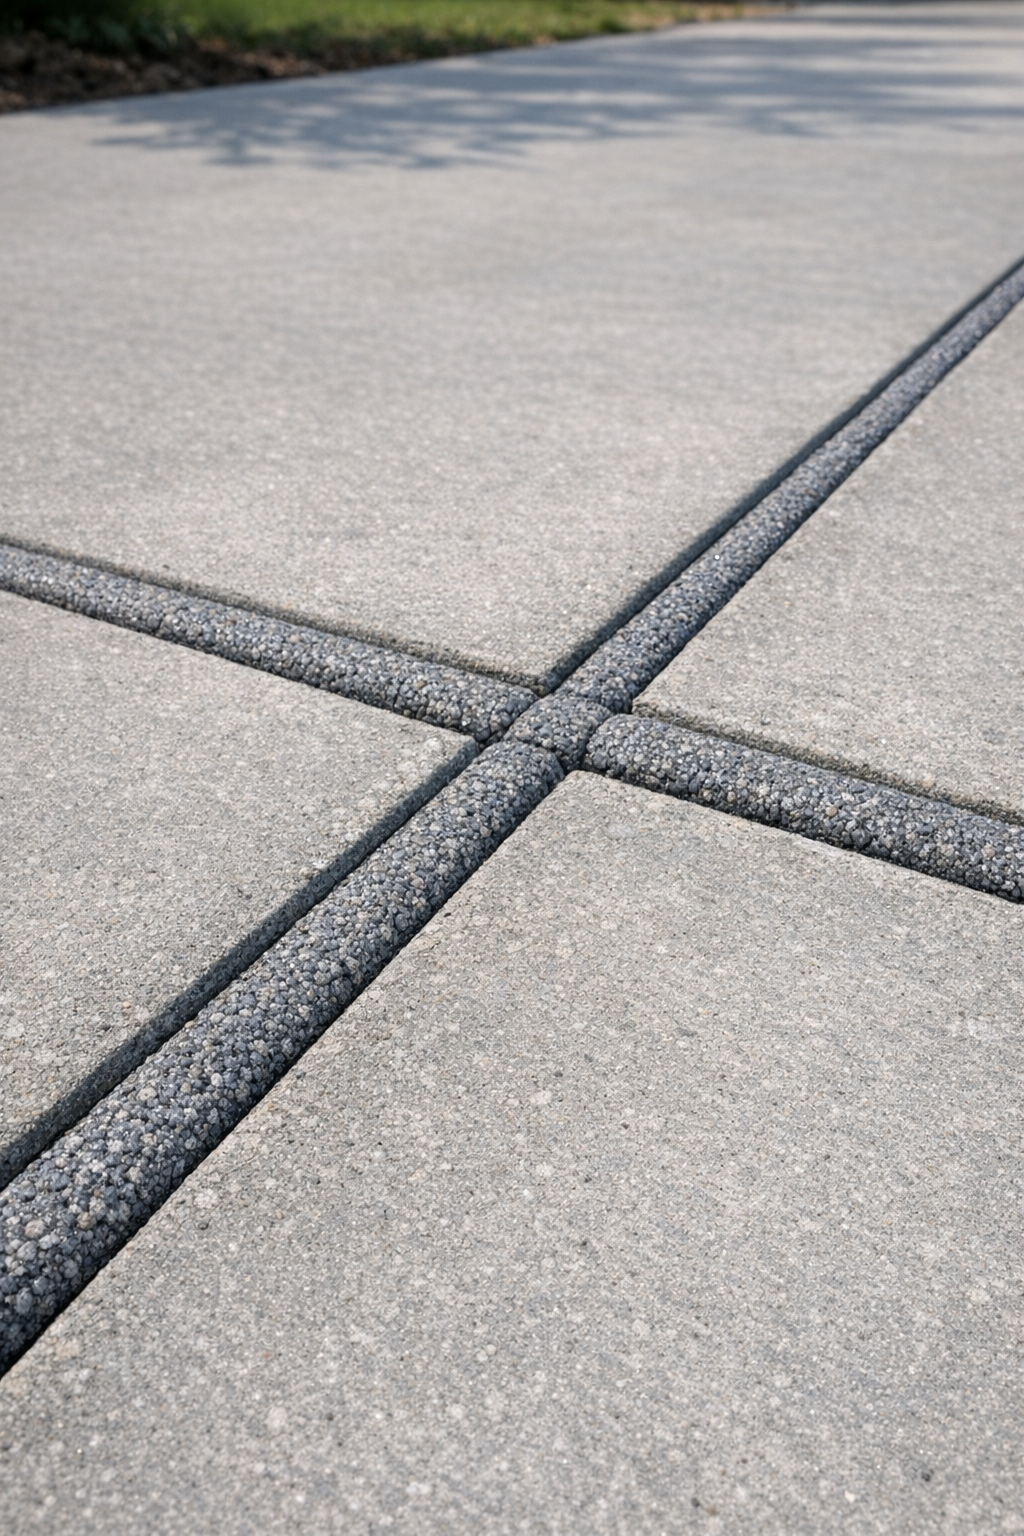
8. While the caulk is still wet, sprinkle clean dry sand over the top until the surface is fully covered. Press very lightly with the putty knife so the sand embeds into the caulk and creates a concrete-like texture.
9. Brush away excess sand after the caulk skins over, then let the joint cure according to the caulk directions, usually 24 hours before foot traffic and longer before cars. Once cured, the filler should blend in visually and help block weeds and debris.
Variations & Tips
For narrower joints: Cut the pool noodle lengthwise before ironing so you can make slimmer filler strips for tighter gaps.
For color matching: Use a gray caulk close to your driveway tone, or test a few shades on scrap foam first. I’ve learned that even a small color mismatch stands out more once the whole driveway is clean.
For a more natural texture: Use very fine sand for a smoother finish or slightly coarser play sand for a rougher concrete look.
For longer durability: This is a cosmetic and debris-blocking repair, not a structural concrete fix. If the joint edges are breaking apart or the slabs are shifting, patch the concrete first or call in a pro.
For easier batching: Compress and cut all your foam pieces before opening the caulk. That’s the kind of prep step that saves me every time when I’m trying to finish a project before the weather changes or I need to get back inside and start dinner.
For clean results: Work in short sections so the caulk does not skin over before you add sand. Keeping a damp rag nearby also helps wipe the putty knife between passes for straighter joint lines.