
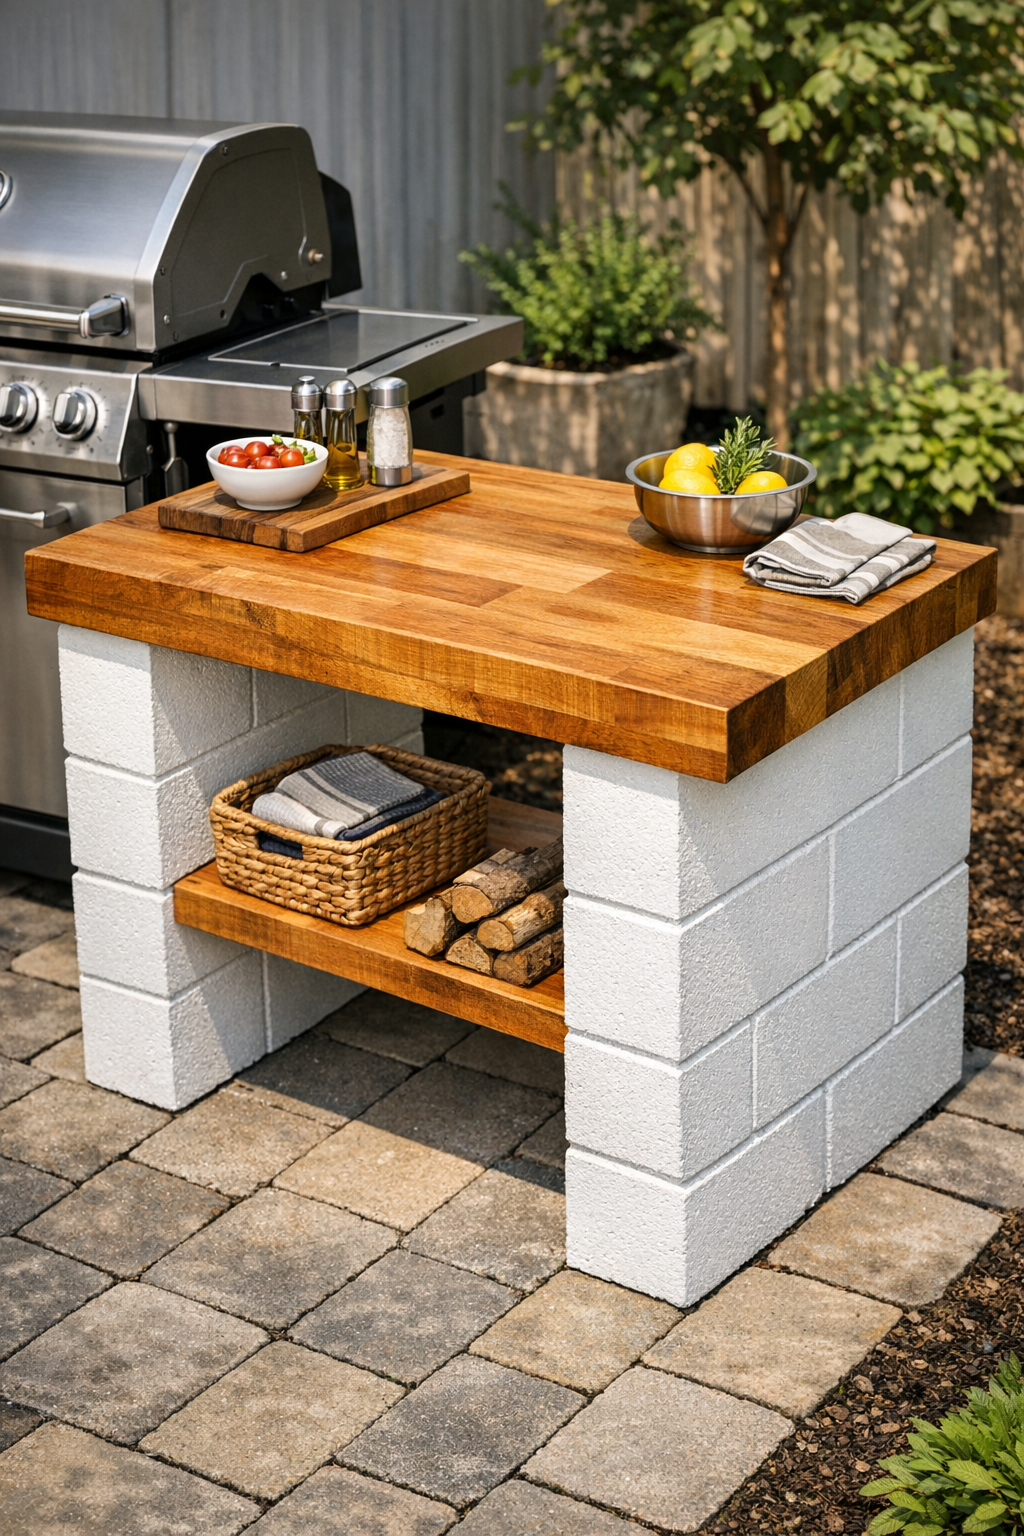
I love a backyard project that solves a real problem without turning into a whole weekend of power tools and complicated cuts, and this outdoor kitchen prep table is exactly that. By stacking painted cinder blocks and laying a thick butcher block slab across the top, you get a sturdy, generous work surface right next to the grill with surprisingly little fuss.
This is the kind of build I recommend if you want your patio to feel more functional but you do not want to commit to a full built-in outdoor kitchen. I’m always juggling trays, tongs, and plates when we grill, so having a dedicated prep spot makes dinner outside feel much less chaotic. It’s a great project for beginners, renters who may want something semi-permanent, or anyone working with a realistic budget.
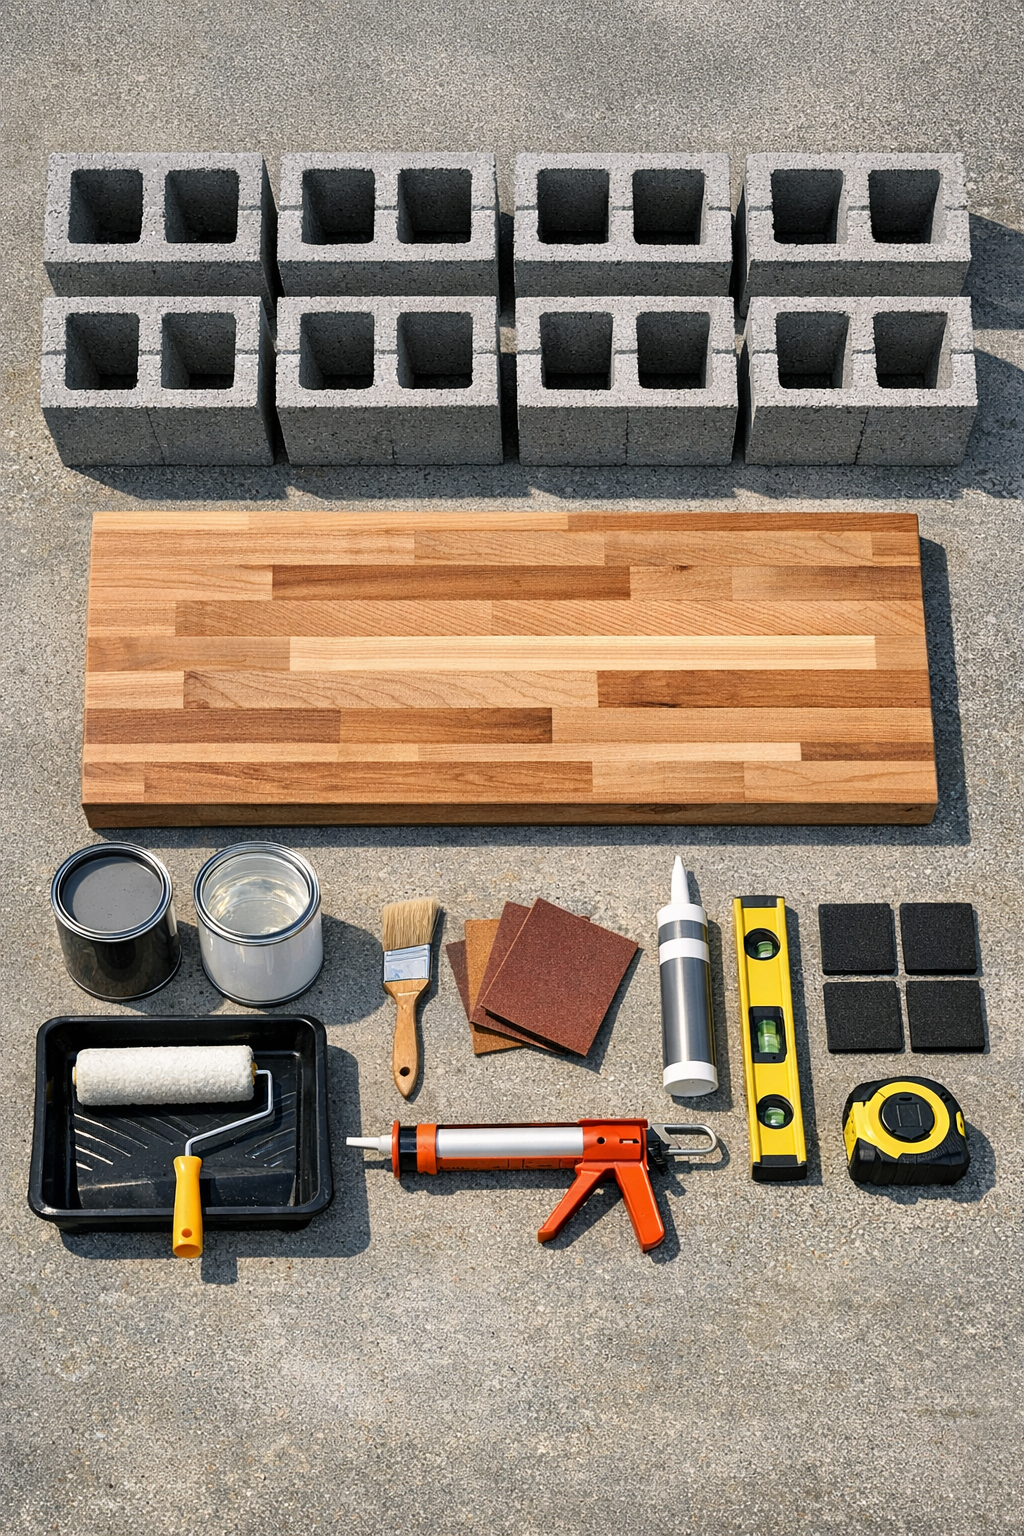
Materials
8 standard hollow cinder blocks, 8 in. x 8 in. x 16 in.
Instructions
1. Pick a flat spot near your grill with at least 5 feet of clearance so you can move around safely and open grill lids or nearby doors without bumping the table.
2. Measure your butcher block slab and mark out the footprint on the patio or deck to confirm the cinder block base will sit slightly inset from the top on all sides.
3. Wipe down the cinder blocks to remove dust and grit, then let them dry completely before painting so the finish sticks evenly.
4. Paint all exposed sides of the cinder blocks with exterior masonry paint, using a brush to reach inside the openings and a roller on the flat faces. Let the first coat dry, then add a second coat for better coverage.
5. Lightly sand the butcher block with 120-grit sandpaper if the surface feels rough, then smooth it with 220-grit for an easy-clean finish.
6. Brush or wipe on the exterior-grade clear sealer over the top, bottom, edges, and ends of the butcher block, then let it dry fully and add a second coat. This step matters outdoors, especially if your table will live near rain or sprinkler spray.
7. Place rubber pads on the ground where each cinder block will sit if your patio has slight unevenness or if you want to reduce scuffing and improve grip.
8. Stack the cinder blocks into two support columns, one on each end, using 4 blocks per side. Set two blocks on the bottom and two on top, staggering the joints if needed for the most stable arrangement.
9. Check both columns with a level from front to back and side to side, then adjust with the rubber pads until the tops are even with each other.
10. Run a bead of exterior construction adhesive between blocks if you want the base to behave as one unit and resist shifting during regular use.
11. Add a few small beads of adhesive to the top blocks, then carefully center the butcher block slab over the two columns with equal overhang on the front and sides.
12. Press the top down firmly, recheck for level, and let the adhesive cure according to the tube directions before loading the table with heavy platters, small appliances, or stacked dishes.
Variations & Tips
Paint Color: I like a crisp white or charcoal on the blocks because it makes the setup look intentional, but soft taupe or sage can blend beautifully with landscaping and patio furniture.
Food Prep Tip: If you plan to prep food directly on the surface, use a food-safe finish that is also appropriate for outdoor exposure, or keep a large cutting board on top so the butcher block lasts longer.
Storage Option: The hollow openings in the cinder blocks are handy for storing grill brushes, rolled towels, or even a small bin, as long as everything stays dry and tidy.
Size Adjustment: For a longer table, use a 60-inch or 72-inch butcher block and add a third center support column so the top does not sag over time.
Weather Protection: In the Midwest, I’ve learned the hard way that freeze-thaw cycles can be rough on outdoor surfaces, so I’d recoat the wood sealer seasonally and cover the top when it is not in use for long stretches.
Safety Check: Keep the table far enough from direct grill heat that the wood top never gets hot, and always test for wobble before using it as a serving station during a cookout.