
An outdoor movie screen is one of those projects that looks far more complicated than it really is, and I love that about it. With a white canvas drop cloth, a simple PVC frame, and a little careful stretching, you can make a sturdy backyard screen that gives you a much bigger and cleaner viewing surface than hanging up a sheet and hoping for the best.
I like this project for anyone who wants a reusable setup for summer movie nights without committing to a permanent structure. If you’re comfortable measuring, cutting pipe, and pulling fabric snug, you can make this in an afternoon and have it ready by dusk for popcorn, lawn chairs, and a projector.
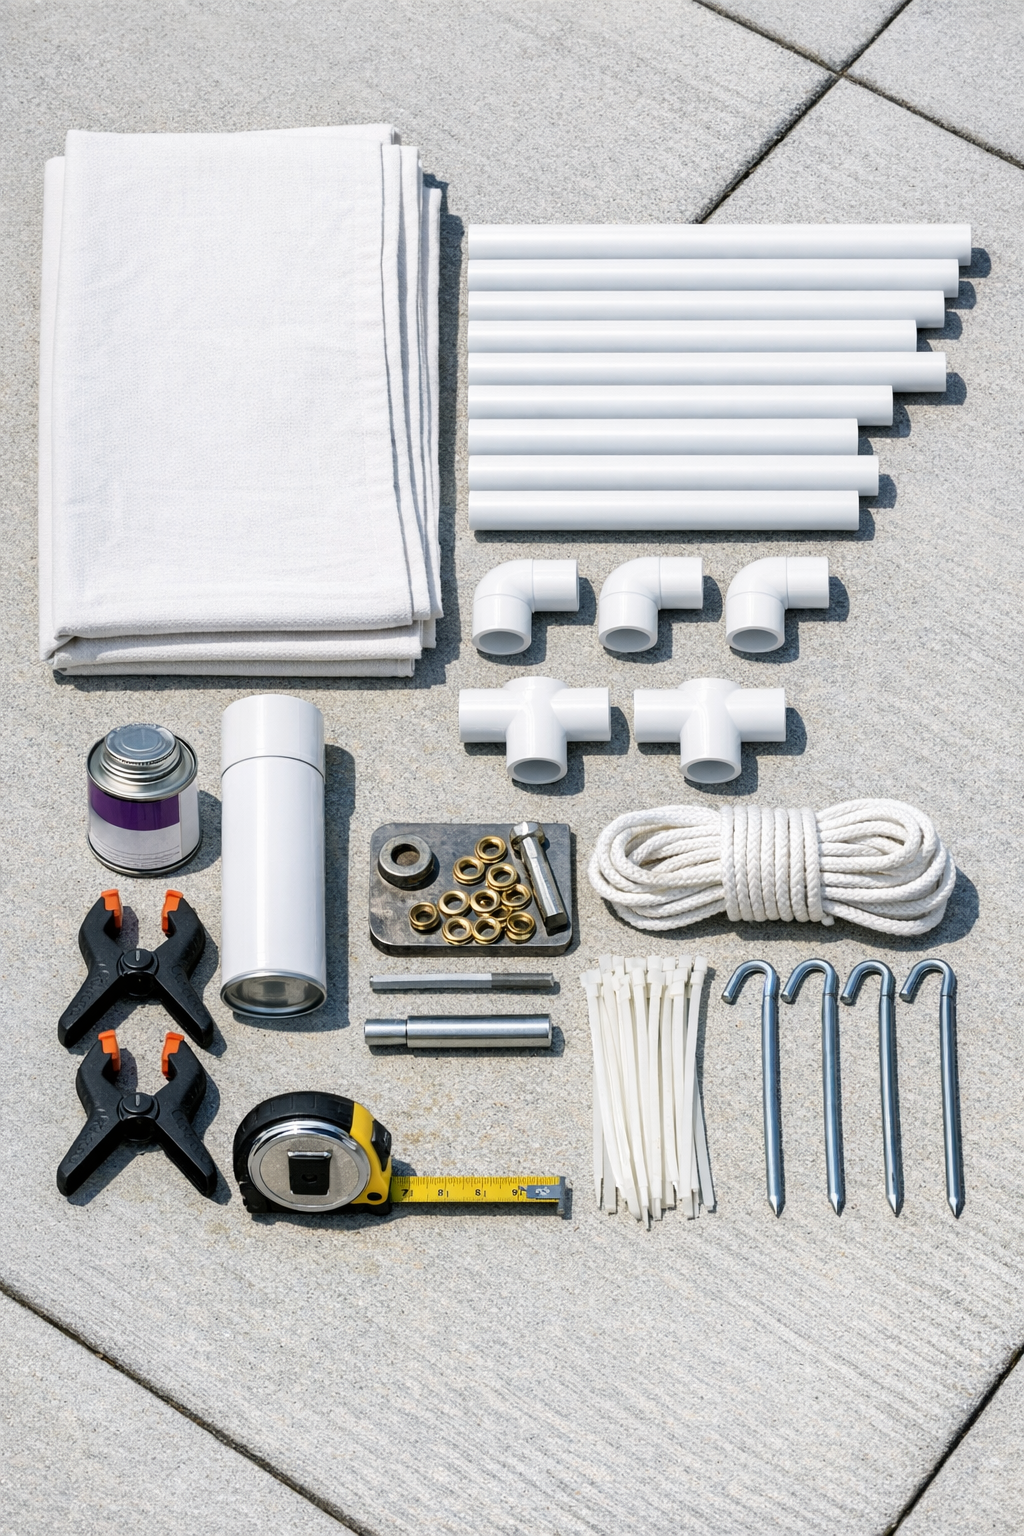
Materials
1 white canvas drop cloth, 9 ft x 12 ft
Instructions
1. Cut the 10-foot PVC pipes so you end up with two 10-foot top and bottom pieces, four 7-foot vertical pieces, and two 3-foot base feet. Lightly sand the cut edges so the fittings slide on cleanly.
2. Wipe the PVC dust away, then spray-paint all visible frame pieces white for a cleaner look and less visual distraction behind the screen. Let the paint dry completely before assembly.
3. Dry-fit the main rectangle first by connecting the two 10-foot horizontal pieces to four 7-foot vertical pieces using the four elbow fittings. Check that the frame measures square corner to corner before gluing anything.
4. Add one T-fitting at the bottom of each side so you can attach the two 3-foot base feet perpendicular to the screen. These stabilizing feet should point forward and backward to help the frame stand upright.
5. Once the fit looks good, mark matching joints with painter’s tape so you can reassemble them in the same orientation. Prime and cement the permanent joints, but leave one top corner unglued if you want easier storage and transport later.
6. Lay the 9 x 12 drop cloth flat on a clean surface and fold the excess so the finished viewing area sits centered on the frame. Aim for enough wraparound on all sides to pull the fabric tight without crowding the screen opening.
7. Install grommets every 12 to 16 inches around the perimeter of the drop cloth, keeping them evenly spaced and at least 1 inch in from the edge. This is the step that makes the screen pull evenly instead of sagging in the middle.
8. Center the drop cloth over the front of the frame and clamp it temporarily at the top, bottom, and sides. Pull from the middle of each side first, then work outward toward the corners so the tension stays balanced.
9. Thread rope, zip ties, or bungee cords through the grommets and around the PVC frame, tightening a little at a time on opposite sides. Keep adjusting until the fabric looks smooth and taut, like a drum, without over-stretching the canvas.
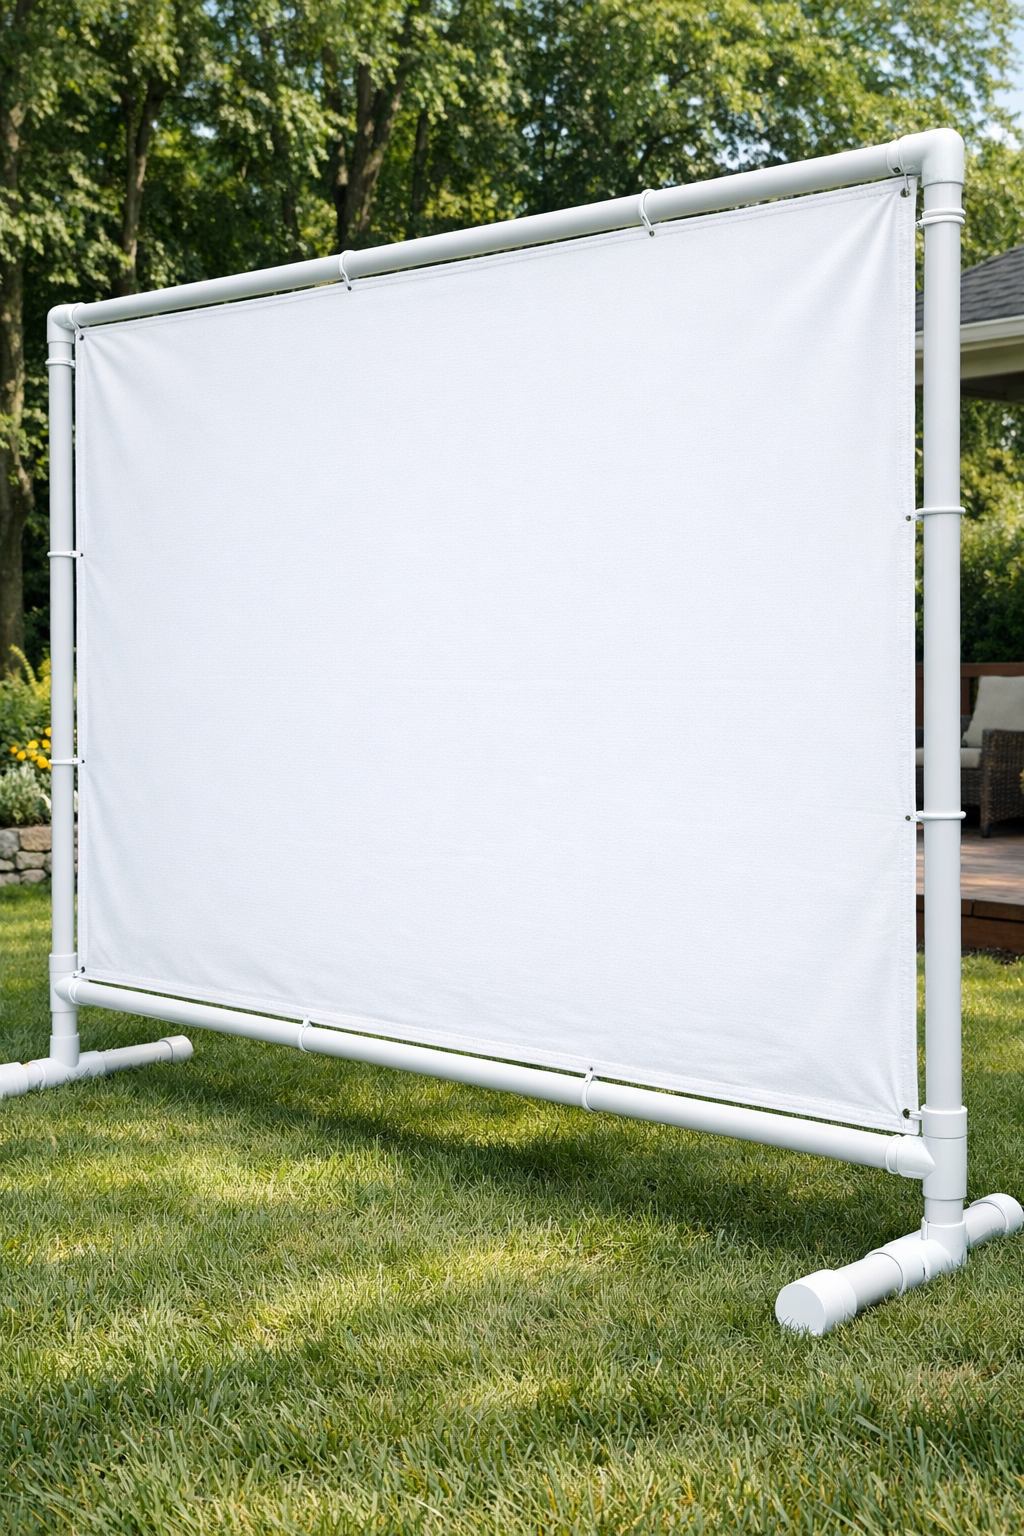
10. Stand the screen upright in the backyard and stake the feet to the ground with rope or zip ties so wind cannot shift it during the movie. Give the frame a gentle shake and retighten any loose spots before setting up your projector.
Variations & Tips
Wider screen: If you want a more cinematic shape, build the frame to a 16:9 ratio instead of using the full drop cloth dimensions. I often find a slightly shorter screen looks better for projected movies and wastes less light.
Removable cover: Use bungee cords instead of zip ties if you plan to take the fabric off after each use. They make it much easier to adjust tension and store the cloth indoors.
Less wrinkling: Iron or steam the drop cloth before installing the grommets. Canvas always behaves better when you remove those fold lines first.
Wind stability: In breezy Midwestern yards, I like to add two guy lines from the top corners down to extra stakes. It is a simple upgrade that makes the whole setup feel much more secure.
Projection quality: Keep the screen front as flat and bright as possible, and place the projector square to the center of the fabric. A taut screen and straight projector angle will do more for picture quality than most people expect.
Storage tip: If you left one corner unglued, break the frame down after the season and roll the drop cloth instead of folding it. That helps prevent deep creases and keeps next summer’s setup much easier.