
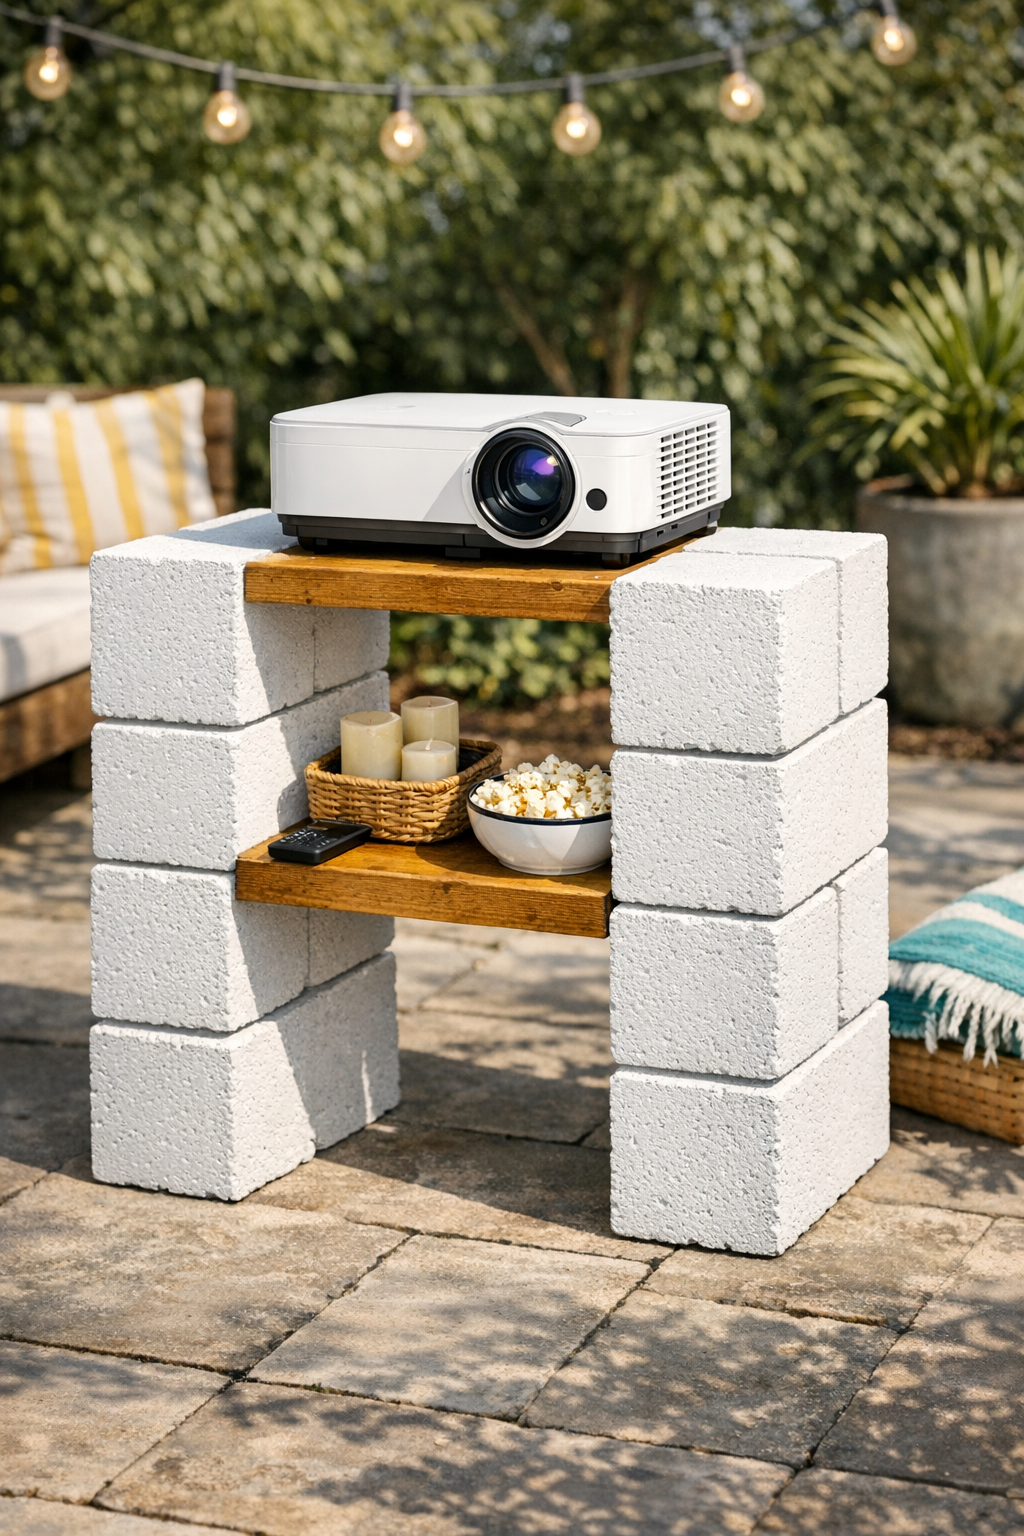
I love a backyard idea that feels a little bit clever and a lot practical, and this projector stand is exactly that. If you want an easy setup for outdoor movie nights without buying a bulky media cart or dragging a table outside every time, stacking painted cinder blocks with a wooden shelf insert gives you a sturdy, weather-friendly stand that looks surprisingly polished.
This is a great weekend project for anyone who wants a budget-friendly outdoor upgrade with very basic DIY skills. I’m always looking for ways to make our patio feel more usable without turning it into a huge renovation, and this is one of those projects that gives you instant payoff the very first night you use it.
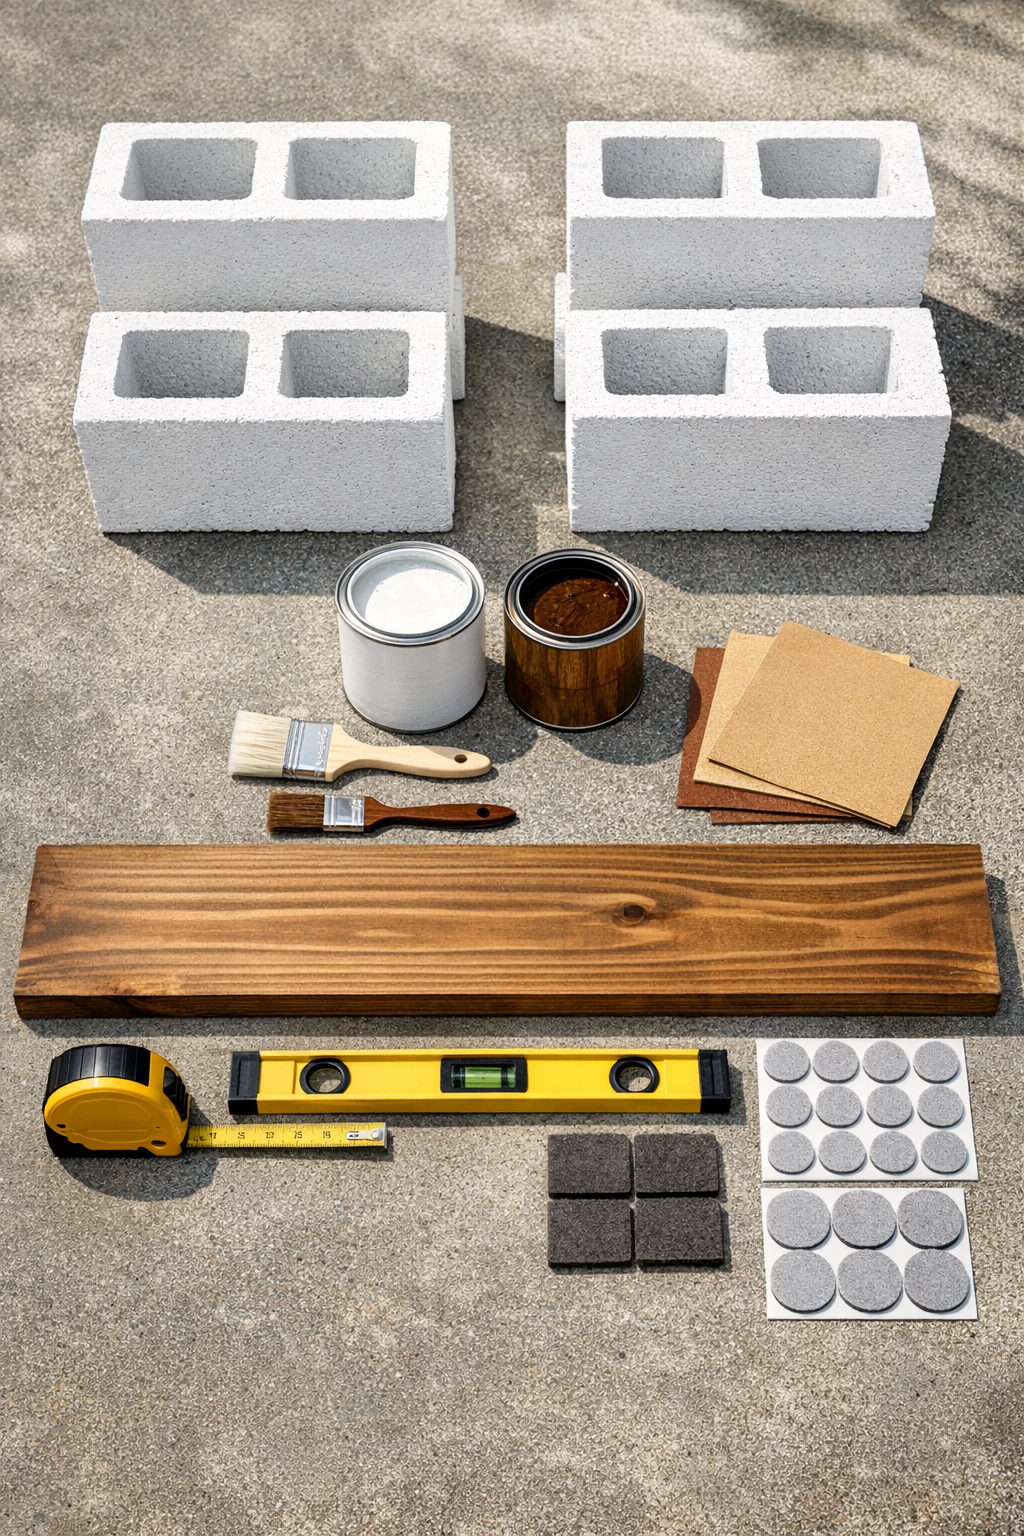
Materials
4 standard cinder blocks, 8 in. x 8 in. x 16 in.
Instructions
1. Set your cinder blocks and pine board on a drop cloth in a well-ventilated work area, and wipe off any dust or grit so the finishes go on smoothly.
2. Lightly sand the pine board on all sides with 120-grit sandpaper, then wipe it clean with a tack cloth.
3. Apply one coat of exterior masonry primer to all visible sides of the cinder blocks, and let it dry fully according to the product directions.
4. Paint the primed cinder blocks with two thin coats of exterior white masonry paint, allowing proper drying time between coats for an even finish.
5. Brush wood stain onto the pine board, working with the grain, then wipe away excess stain and let the board dry completely.
6. Seal the stained board with a coat of clear exterior sealer and allow it to cure fully before assembly.
7. Move two cinder blocks into position on each side of your stand location, stacking them with the hollow openings facing outward and checking that both stacks are level and evenly spaced 24 inches apart.
8. Add adhesive felt pads anywhere the wood will touch the cinder blocks to reduce slipping and protect the stained finish.
9. Slide the sealed pine board between the top blocks so it rests securely across both sides, then center it and check for level before placing your projector on top.
10. Test the stand with your projector and any small speaker or streaming device, and make small spacing adjustments so everything sits stable and aimed correctly at your screen.
Variations & Tips
Change the board length: If your projector is larger or you want room for a speaker, use a 40-inch or 48-inch board instead of 36 inches, but keep the block spacing tight enough that the shelf feels solid.
Add lower storage: The block openings are actually handy for tucking away a power strip, remote, or rolled-up extension cord, which is exactly the kind of clutter I’m always trying to hide before people come over.
Use darker stain for contrast: A walnut or espresso stain looks especially sharp against white blocks if you want the stand to feel more like patio furniture and less like a quick utility piece.
Check your surface first: This stand is most stable on a patio, pavers, or another flat surface; if your yard is uneven, set it on large stepping stones so the stacks do not wobble.
Protect it between uses: Even with exterior finishes, I’d still store the wood shelf in a garage or shed when it is not in use for long stretches, especially in a Midwest summer where one evening is perfect and the next is a downpour.
Keep movie-night setup simple: I like to do a quick test run before sunset with the projector, extension cord, and screen placement, because once everyone has snacks in hand, nobody wants to troubleshoot.