
There’s something so welcoming about a softly lit backyard path, especially when the lights feel a little personal and handmade. This project turns simple frosted glass jars, sea glass, and basic solar stake lights into pretty pathway markers that glow beautifully at dusk without needing any wiring at all.
I love projects like this because they make an outdoor space feel finished without a huge budget or a full weekend of work. If you want a beginner-friendly backyard DIY that looks charming, holds up well outside, and adds that cozy “come sit awhile” feeling for family and friends, this is a lovely one to make.
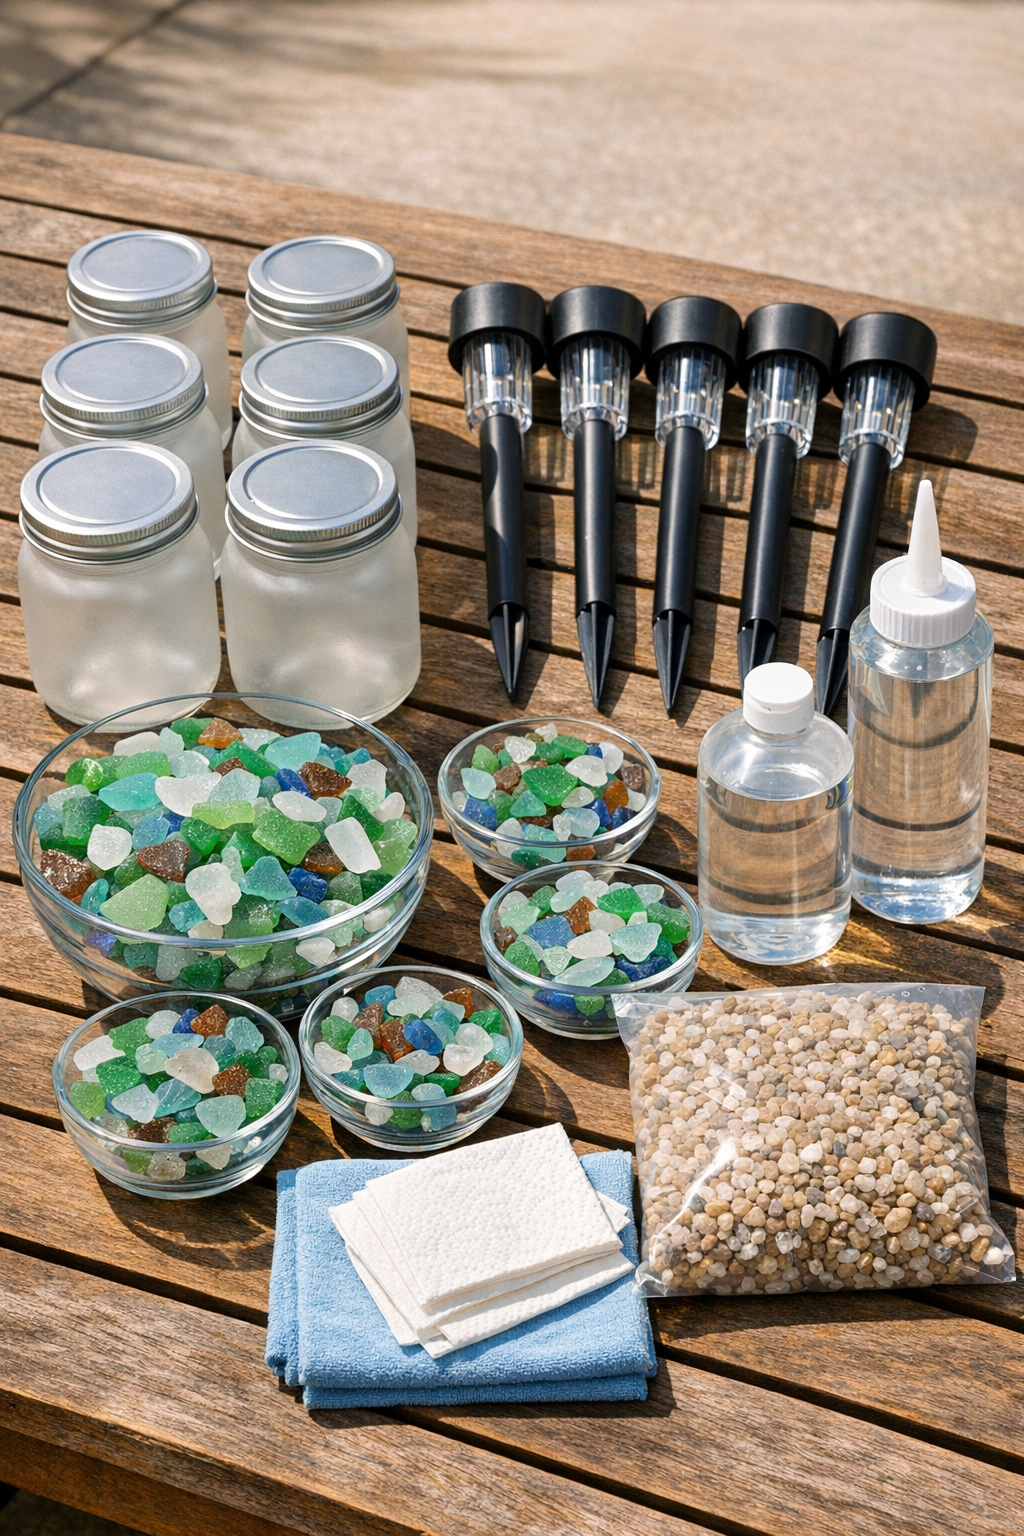
Materials
Instructions
1. Wash the jars inside and out, then dry them completely. Wipe the jar openings and the lower portions of the solar light stakes with rubbing alcohol so everything is clean before assembly.
2. Test-fit one solar stake through the mouth of a jar to see how it sits. If your stake is slightly loose, plan to use a rubber washer or a thin bead of silicone later to keep it centered.
3. Add about 1 cup of decorative gravel to the bottom of each jar. This extra weight helps the finished lights stay steady along the pathway.
4. Fill each jar with about 2 cups of sea glass, leaving enough room at the top for the solar stake to pass down into the jar without overflowing. Mix colors as you go if you want a more sparkly, layered look.
5. Remove the ground stake portion from each solar light if it detaches, and insert the light stake down through the center of the sea glass. Adjust the sea glass around it so the light sits upright and the top rests neatly over the jar opening.
6. If needed, add a rubber washer around the stake where it meets the jar opening, or apply a thin bead of outdoor silicone to stabilize the fit. Keep the adhesive neat and let it cure according to the package directions before moving the jars.
7. Repeat with the remaining jars, checking that each light stands as straight as possible. Set them in full sun for a day so the solar tops can charge well before you place them outdoors for the evening.
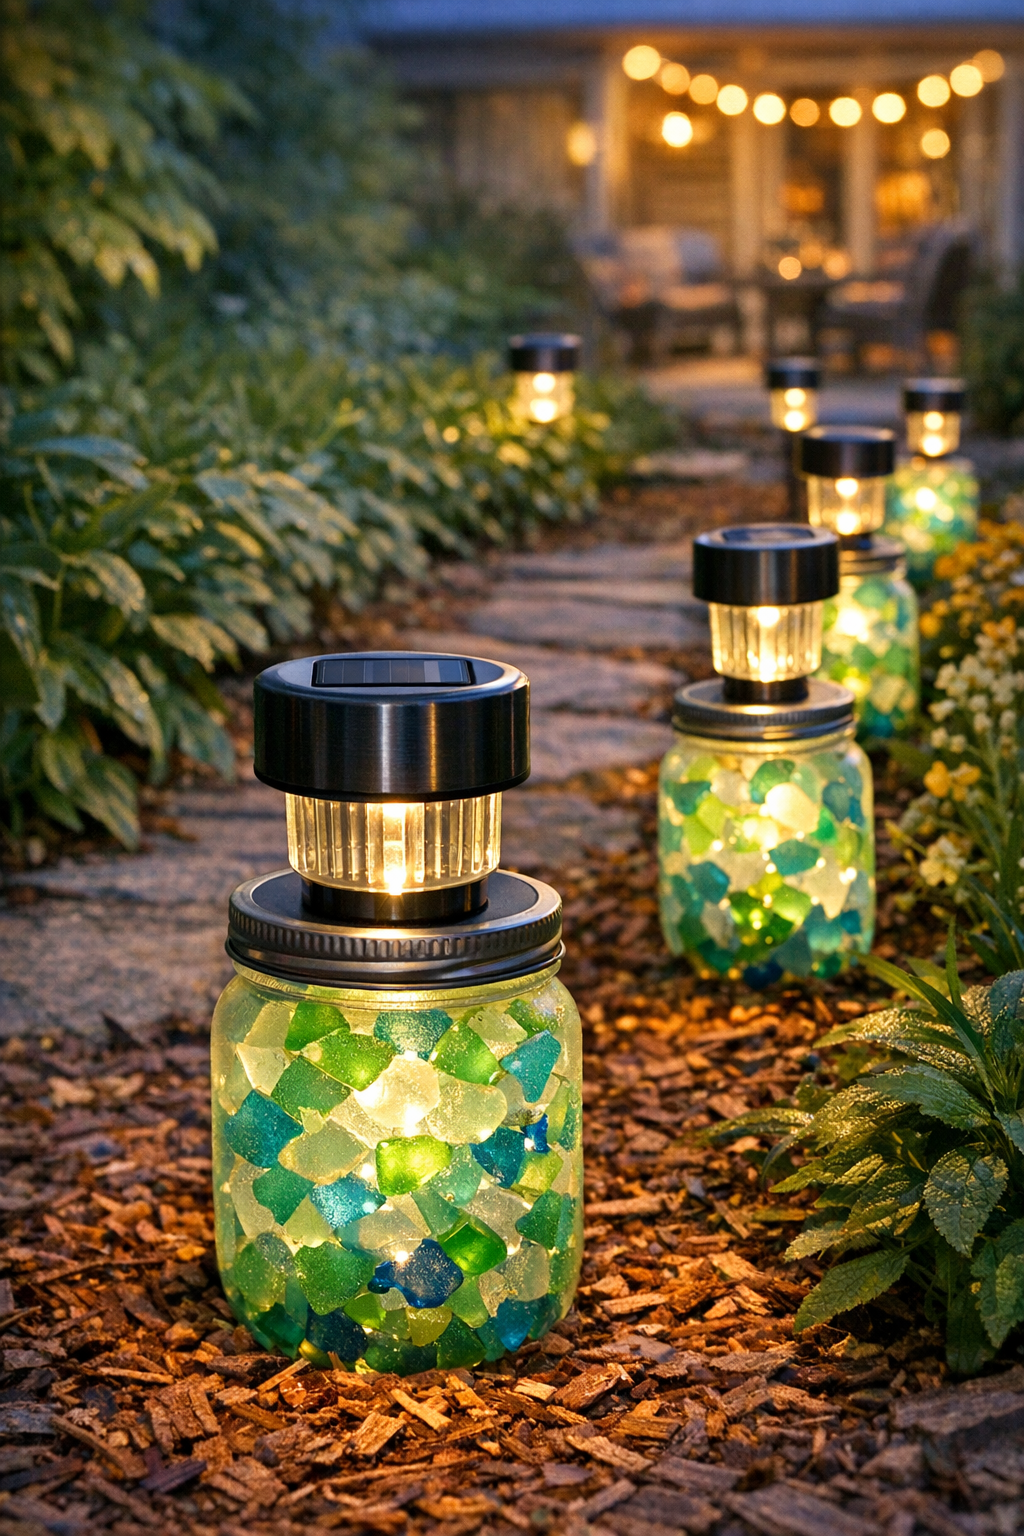
8. Arrange the finished jar lights along your backyard pathway, spacing them about 3 to 4 feet apart. Nestle each jar slightly into soil or mulch so it sits level and feels secure.
Variations & Tips
Color Mix: Use sea glass in one color family for a calmer look, or mix blues and greens for a beachy style. I think this is especially pretty if your patio already has cool-toned planters or cushions nearby.
For Picky Decor Tastes: If not everyone in the family loves bright color, stick with clear sea glass and white frosted jars for a cleaner, more classic finish. It still glows beautifully, just a little more subtle.
Extra Stability: In windy yards, add an extra 1/2 cup of gravel to each jar or set the jars into shallow spots in the soil. A heavier base makes a big difference once the weather turns blustery.
Weather Tip: Make sure your jars do not trap standing water around the solar components. If your light top sits loosely, a snug washer and a careful bead of outdoor silicone help keep the setup neater and more weather-resistant.
Pathway Placement: I like to place these where the glow can guide guests from the gate to the patio, but they’re also lovely around a small seating area. Grouping a few near steps or flower beds makes the whole yard feel more thoughtfully finished.
Kid-Friendly Helping Job: If you’re making these with family around, let kids sort the sea glass colors and help fill the jars. It’s an easy way to involve them without handing over the messier adhesive step.