
I’m always a little too happy when I find a use for something that would normally head straight to the recycling bin, and this project is exactly that kind of win. These heavy-duty DIY drawer pulls turn empty plastic school glue bottles into sturdy, surprisingly polished hardware with just one other main material. If you like practical upcycling projects that actually hold up to daily use, this one is worth your time.
I especially love this idea for workshop cabinets, garage storage, kids’ room dressers, or any piece that needs durable pulls without spending a lot. As someone who’s usually squeezing projects into a busy weeknight, I appreciate that this is simple, budget-friendly, and satisfying in that “how did trash turn into that?” kind of way.
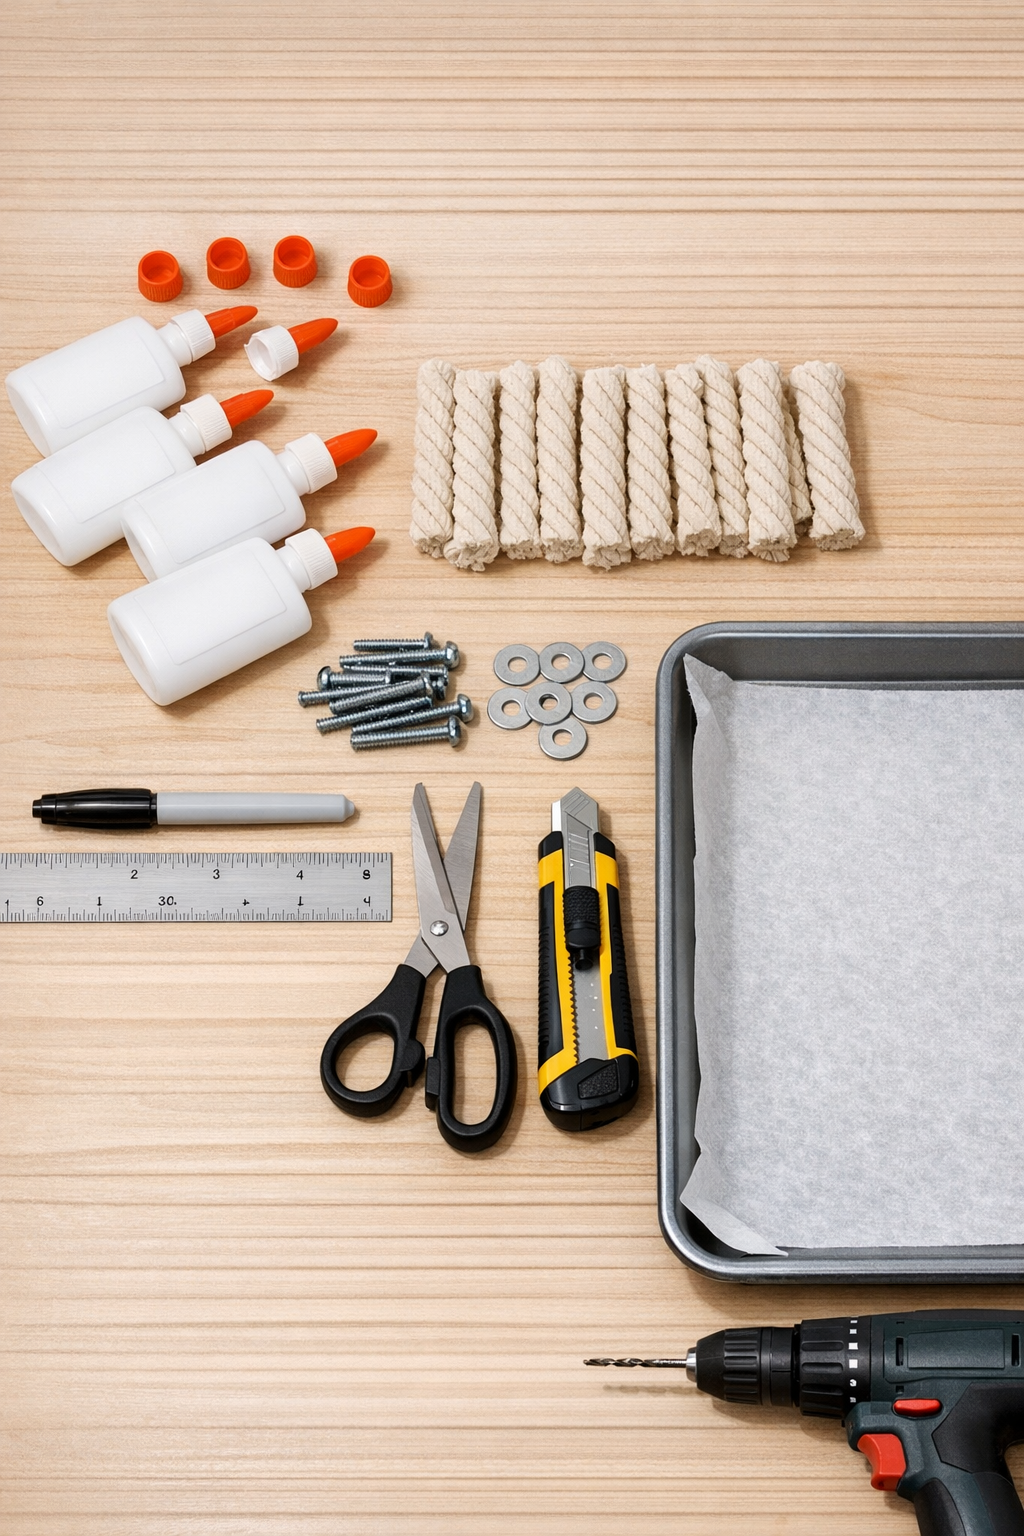
Materials
4 empty plastic school glue bottles, 4 oz size, rinsed and fully dried
Instructions
1. Wash out the empty glue bottles, remove the caps and any inner nozzles, and let the bottles dry completely so the plastic heats evenly.
2. Cut the top and bottom off each bottle with a utility knife, then cut straight down the side to open each bottle into a flat-ish sheet of plastic.
3. Preheat your oven to 250°F, line the baking tray with parchment paper, and place the plastic pieces on the tray in a single layer with a little space between them.
4. Heat the plastic for 3 to 5 minutes, just until it softens and starts to slump; watch closely and remove the tray as soon as the pieces are flexible but not browned.
5. While wearing heat-resistant gloves, stack and press the softened plastic pieces together into four thick rectangles, using one bottle’s worth of plastic per pull if you want a lighter handle or two bottles’ worth per pull for extra thickness.
6. Let the plastic cool for 10 minutes, then trim each rectangle into a neat handle shape about 4 inches long and 1 inch wide, rounding the corners with scissors if needed.
7. Mark two screw holes on each pull, spacing them 3 inches apart and centering them about 3/8 inch in from each end.
8. Drill the marked holes slowly with a 3/16-inch bit, then test-fit the screws so the openings are clean and even.
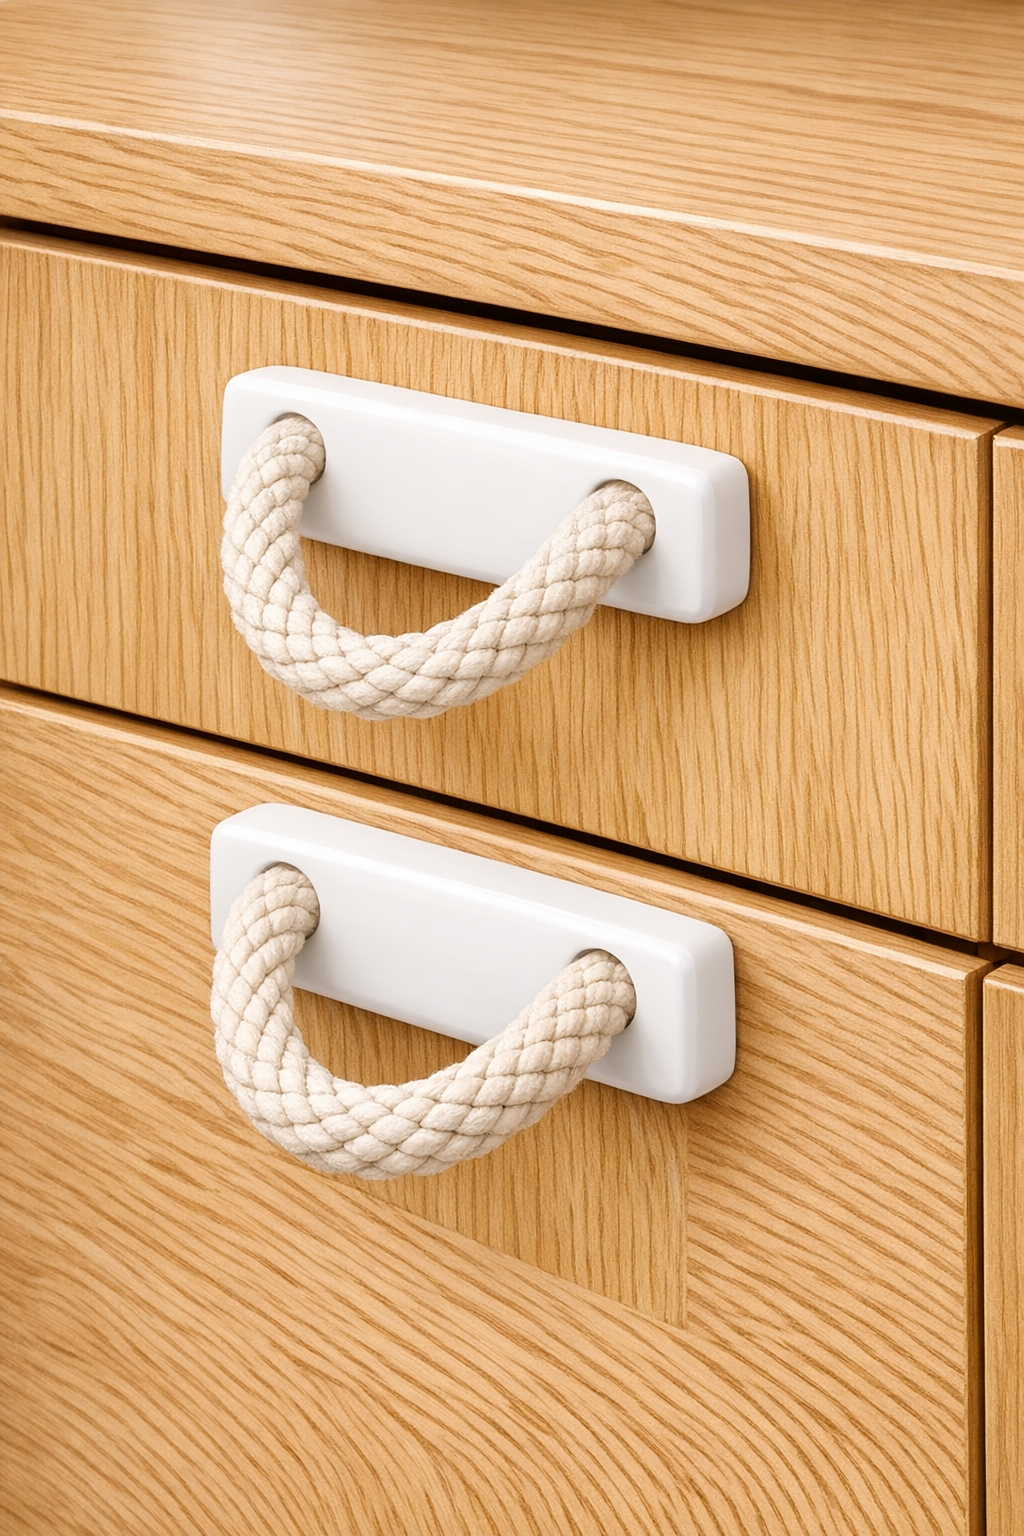
9. Cut two 6-inch rope pieces for each drawer pull, then thread both pieces through the two holes so they form two matching loops on the front side of the handle.
10. Insert a screw with a washer through each hole from the back of the drawer, catching the rope ends behind the plastic so the rope is locked tightly in place when the screws are tightened.
11. Pull the rope loops to adjust them evenly, then tighten the screws firmly with a screwdriver until the plastic sits snugly against the drawer front.
12. Repeat for the remaining drawers, checking that every pull feels solid and comfortable in your hand before regular use.
Variations & Tips
For a cleaner look: Trim all your plastic blanks to the same size before drilling so the finished pulls look intentional and uniform, especially on a dresser or kitchen-style cabinet.
For extra strength: Use two bottle bodies melted together for each pull instead of one. I’d do this for garage cabinets or drawers that hold heavier tools.
Rope options: Cotton rope is easy to grip and gives a softer look, but you can also use nylon utility cord if you want something more rugged and moisture-resistant.
Heat carefully: Every oven runs a little differently, so keep an eye on the plastic the entire time. You want softened plastic, not scorched plastic, and I’ve learned the hard way that “just one more minute” is not always your friend.
Test one first: Before making a full set, install one pull on a single drawer and use it for a day or two. It’s the easiest way to check the rope length, grip comfort, and screw fit before committing to all of them.
Best use cases: These are ideal for utility furniture, playroom storage, workshop cabinets, and upcycled dressers. I’d skip them on antique furniture, but for hard-working everyday storage, they’re a fun conversation starter that’s actually useful.