
I’m always looking for a way to turn a broken household item into something genuinely useful, and snapped rubber vacuum belts are one of those materials that deserve a second life. Their rubber is tough, stretchy, and surprisingly abrasion-resistant, which makes it perfect for a simple clamp that grips round items without sliding around.
This project turns old vacuum belts into ultra-durable pipe clamps using just two other easy-to-find items. It’s a practical little build for anyone who likes organizing a workshop, garage, utility area, or even a garden shed. If you need a fast way to secure pipes, tool handles, cords, or narrow poles to a wall or board, this is one of those low-cost fixes that performs far better than it looks.
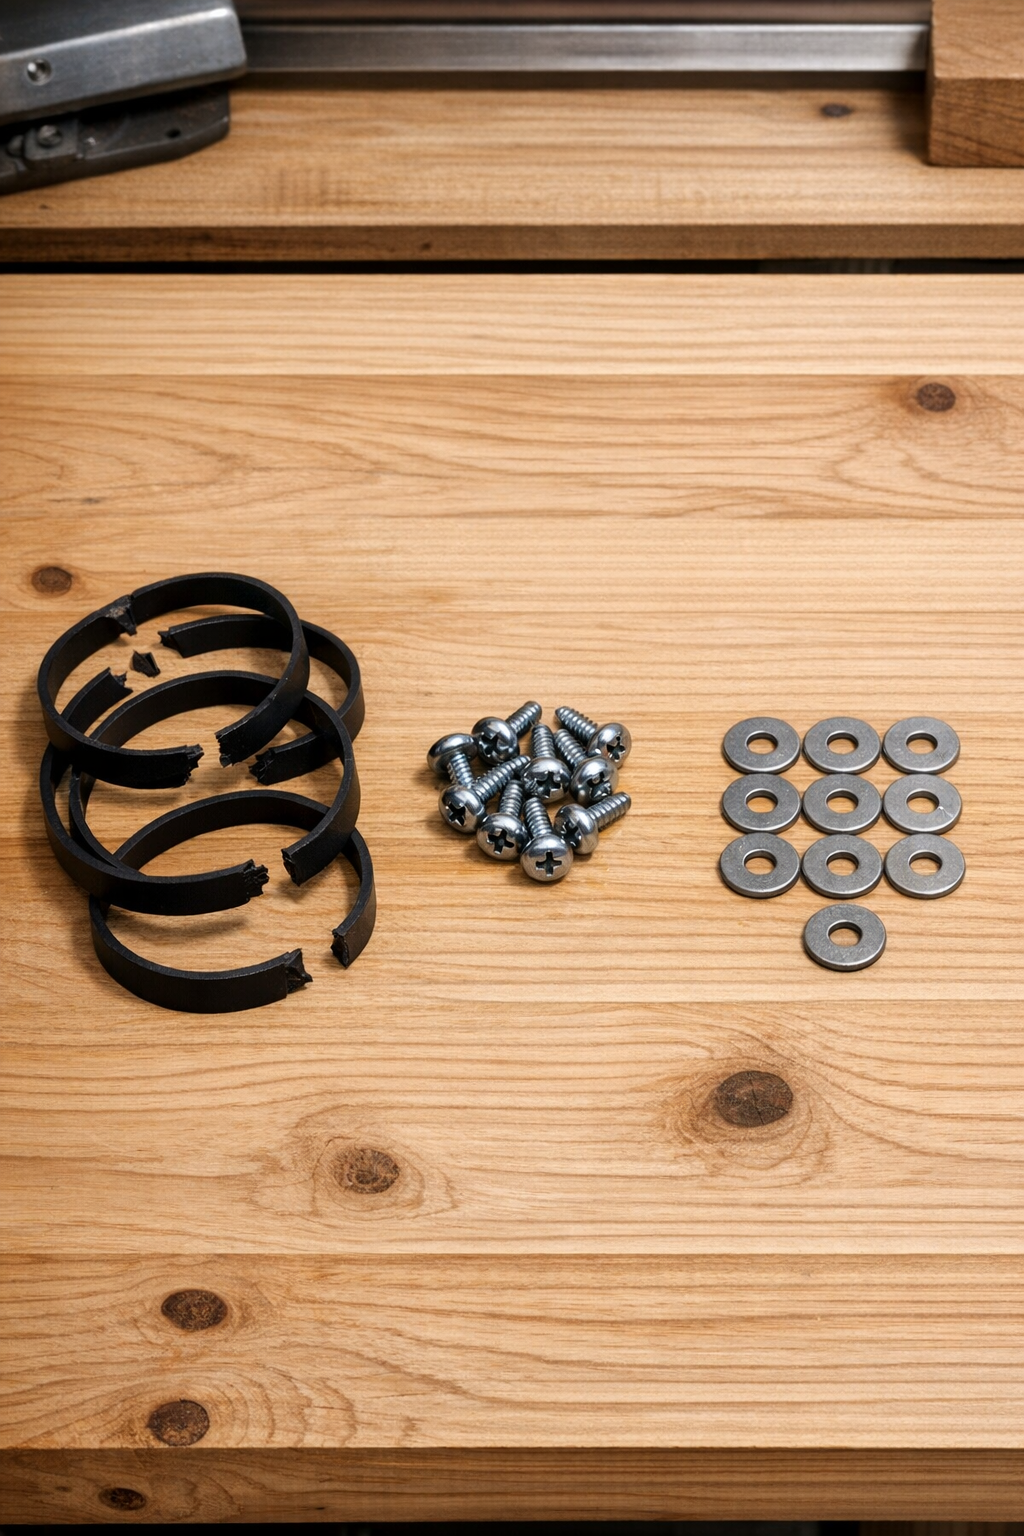
Materials
Instructions
1. Inspect each snapped vacuum belt and discard any pieces with deep cracks, brittle spots, or thin worn sections. Choose belts that still feel springy and strong when stretched by hand.
2. Cut each belt at the snapped point so it opens into one straight rubber strip. Trim off any jagged ends to create a clean, even piece that will sit flat against the mounting surface.
3. Hold one rubber strip around the pipe, handle, or round item you want to secure, and overlap the ends against the wall, board, or mounting surface. Pull it snug enough to grip firmly, then mark where each end should be fastened.
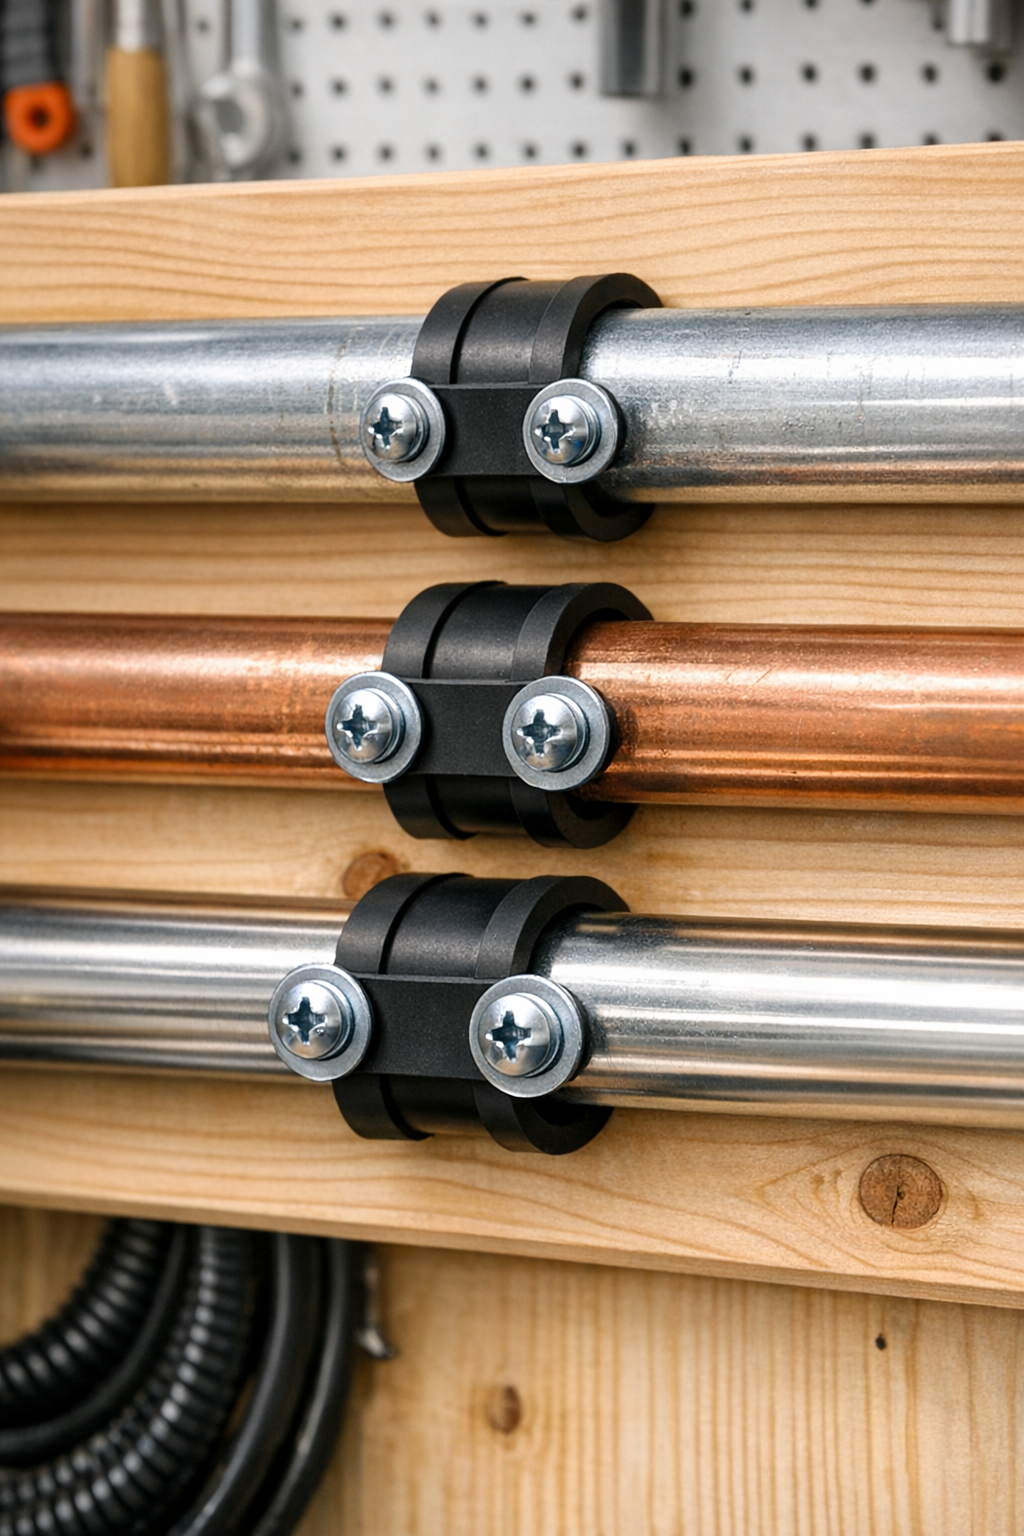
4. Place a washer over one end of the rubber strip and drive one screw through the washer into the mounting surface. The washer spreads the pressure so the screw head won’t tear through the rubber.
5. Wrap the strip around the pipe again, stretch it to the marked position, and fasten the second end with another washer and screw. The clamp should hold the pipe tightly while still allowing a bit of cushioning from the rubber.
6. Repeat the process for each additional pipe or tool, spacing the clamps so the mounted items sit straight and supported. For longer pipes, install two or more clamps to prevent sagging or twisting.
7. Test each clamp by tugging the pipe gently forward and side to side. If needed, remove one screw, stretch the rubber slightly tighter, and refasten for a firmer grip.
Variations & Tips
For larger pipes: Use longer belt sections or join two belt strips with extra overlap under the washers. I’ve found that a little extra stretch gives the best holding power on wider pipe.
For delicate finishes: These clamps are ideal because the rubber cushions the pipe better than bare metal straps. If you’re mounting painted or polished tubing, don’t overtighten the strip.
For outdoor use: Choose rust-resistant screws and washers if the clamp will live in a shed, greenhouse, or exterior utility area. The rubber usually holds up well, but hardware is what tends to fail first outdoors.
Mounting surface tip: Wood is the easiest surface for this project, but you can also fasten the clamps to masonry or drywall if you use the correct anchors. Match the screw type to the surface so the clamp stays secure under load.
Best uses: These work beautifully for shop vac hoses, conduit, small plumbing pipe, broom handles, and garden stakes. In my kitchen-minded way of organizing, I think of them as the mise en place version of workshop storage: everything visible, contained, and easy to reach.
Durability tip: If a belt feels chalky or weak, skip it and use a fresher one. Good rubber has a resilience a bit like a well-kneaded dough—it should spring back, not crumble.