
There is something especially satisfying about taking an old picture frame and turning it into a living piece of patio art. This vertical succulent wall is one of those projects that looks far fancier than it is, and I love that it gives weathered wood, a little moss, and a handful of hardy plants a second life. Around here, we have always believed in making something beautiful out of what we already have, and this project fits that spirit to a tee.
If you want a patio accent that is low-maintenance, eye-catching, and beginner-friendly, this is a good one to try. Succulents are forgiving, the frame keeps everything tidy, and the finished piece has that charming cottage-meets-garden look that makes an outdoor corner feel loved and lived in.
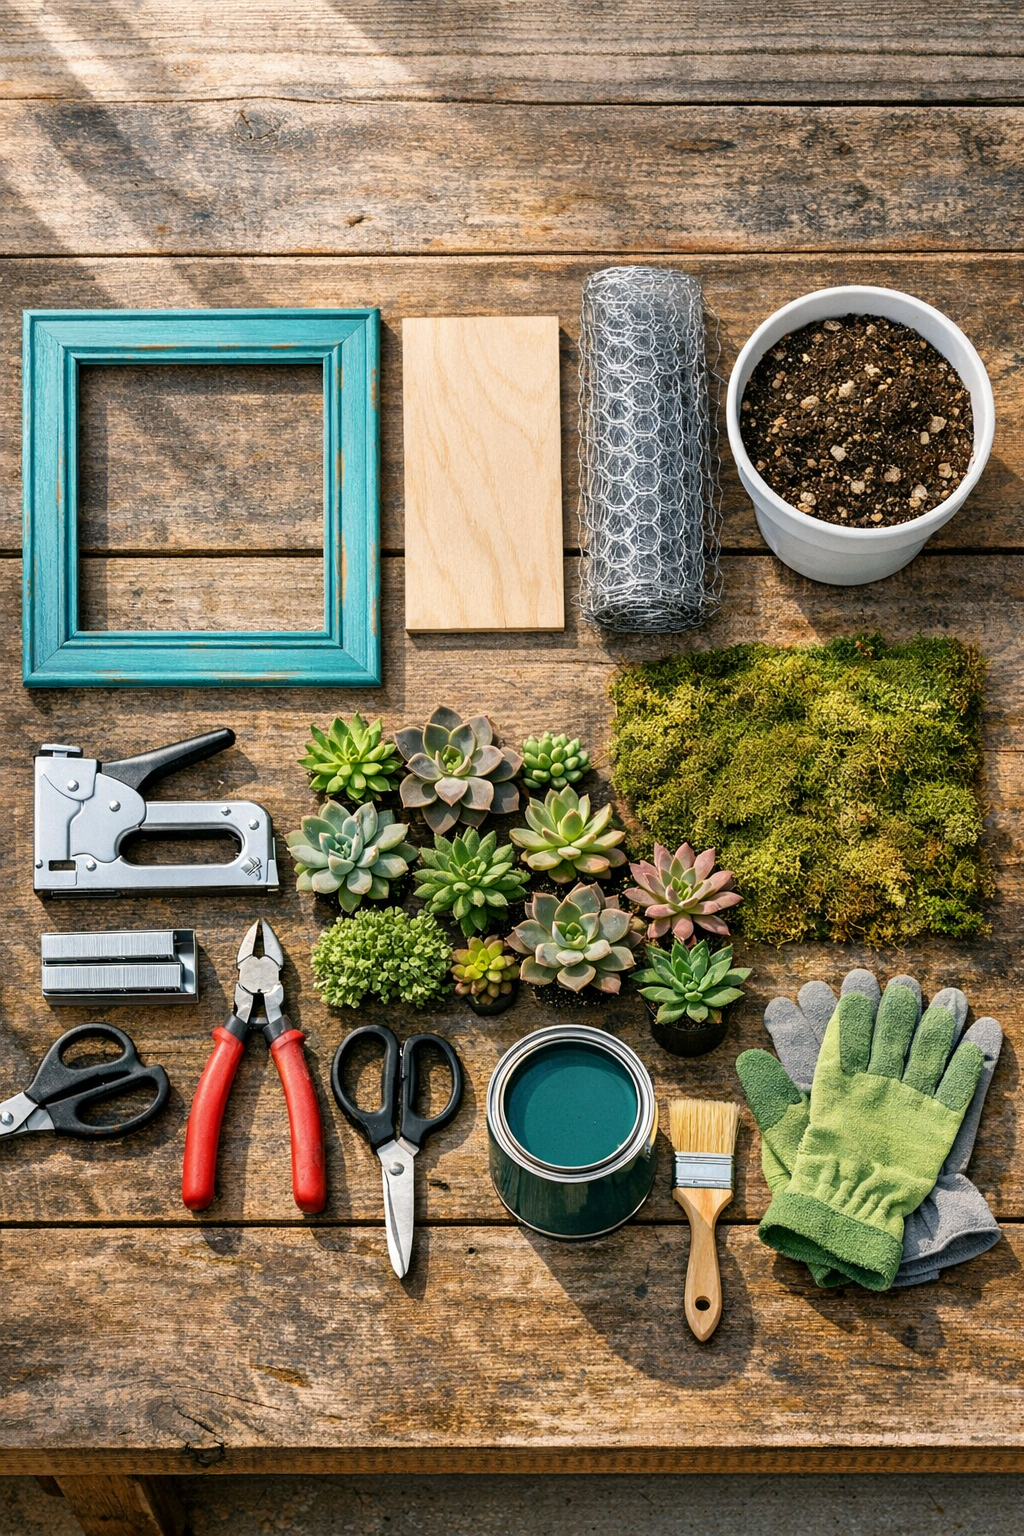
Materials
Instructions
1. Clean the picture frame well and remove any glass, cardboard, or hanging hardware that is loose or damaged. If the frame feels flimsy, tighten the corners before you begin so it can hold the weight of soil and plants.
2. Paint the frame with exterior craft paint or chalk paint and let it dry completely. I like a soft white, sage, or charcoal for this kind of project because it lets the succulents do the showing off.
3. Cut the plywood backing to fit the back opening of the frame, then attach the hanging hardware to the frame now while it is easy to reach. Make sure the hardware is rated to hold the finished weight.
4. Cut the chicken wire so it overlaps the front opening of the frame by about 1 inch on all sides. Wear gloves for this step, because those cut edges can be prickly in a hurry.
5. Lay the chicken wire across the front of the frame and pull it snug, then staple it all the way around the back edge or inner lip of the frame. Add staples every 1 to 2 inches so the wire stays tight and strong.
6. Turn the frame over so the back faces up and tuck sheet moss inside, pressing it against the chicken wire to create a lining. Cover the entire inside surface so the soil will not spill through the front.
7. Add the succulent potting mix over the moss, filling the frame cavity evenly but not packing it rock-hard. You want the soil firm enough to hold plants, with just a little give.
8. Arrange the succulents first before planting, setting taller or trailing pieces near the edges and rosette types where they can be seen best. Once you like the layout, poke small holes through the moss and wire openings and gently tuck in each rooted plant.
9. Press moss around the root balls to secure the plants and keep the soil from shifting. If needed, use a few floral pins or landscape pins on the back side to hold loose moss in place.
10. Attach the plywood backing to the frame with screws or staples, depending on your frame construction, to hold everything together. Check that the back is secure and that no soil spills out when you lift the piece.
11. Mist the entire succulent wall lightly with water and lay it flat for 1 to 2 weeks in a bright, shaded spot so the roots can settle in. This resting time helps the plants grip the soil before you hang the frame upright.
12. Hang the finished frame on a patio wall, fence, or sturdy post where it gets bright light but not harsh all-day sun. Water sparingly by taking it down and laying it flat to moisten the soil when it feels dry.
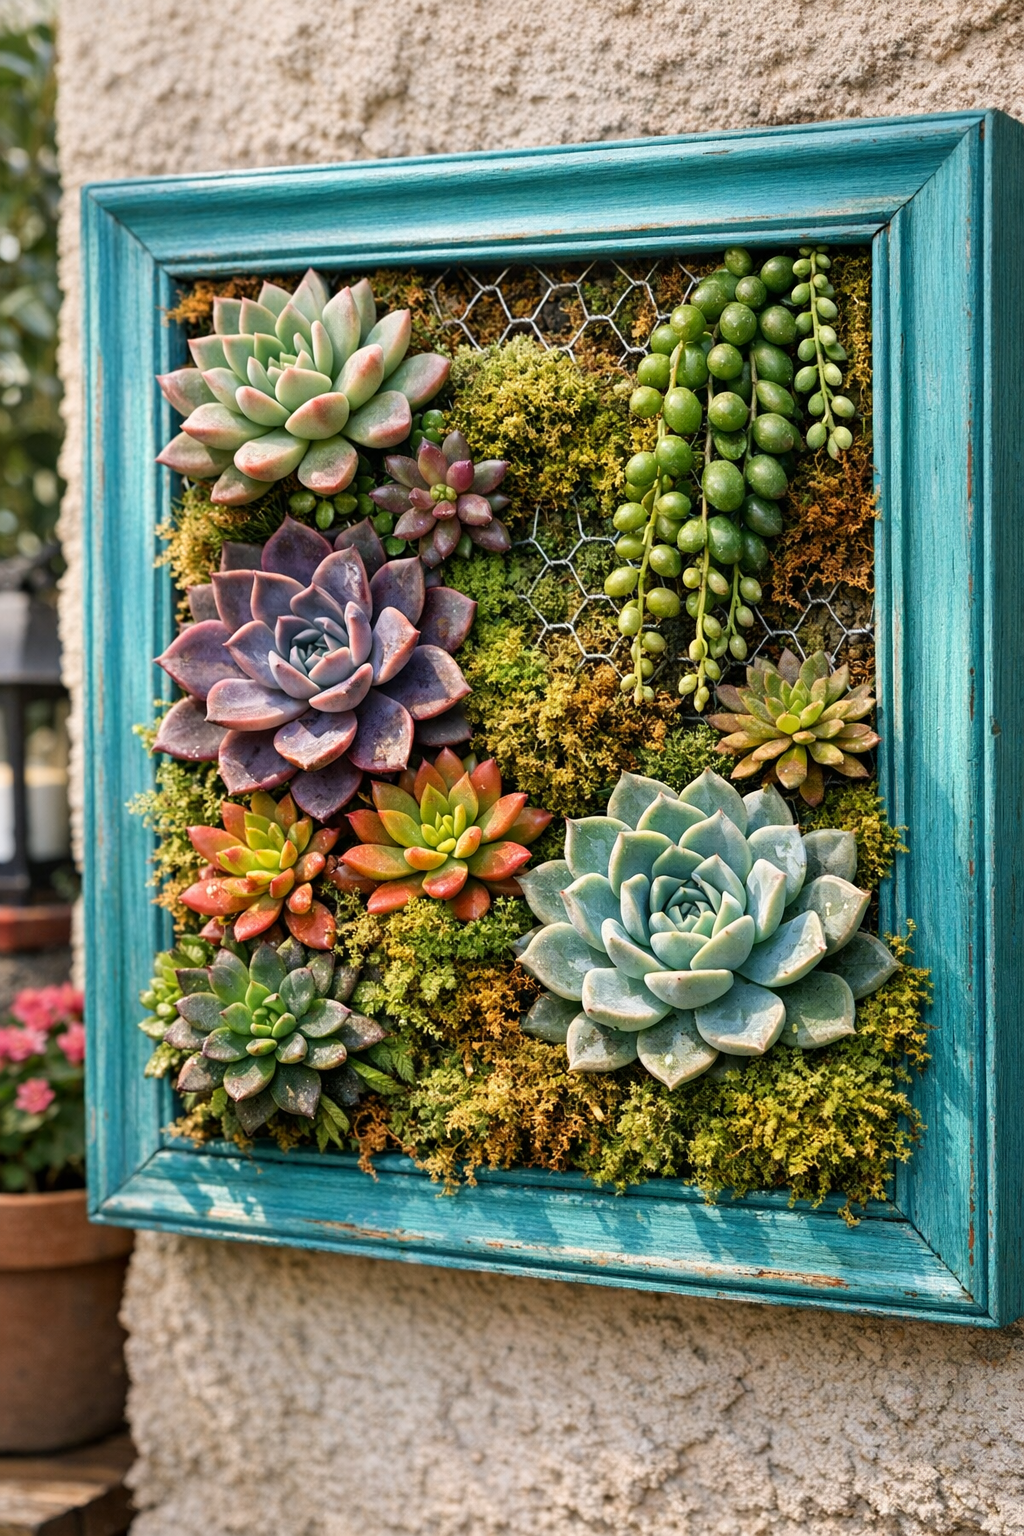
Variations & Tips
Frame size: A smaller 11 x 14-inch frame is easier for a first try and much lighter to hang. If you go larger than 16 x 20 inches, use a sturdier backing and stronger wall hardware.
Best succulent choices: Hens-and-chicks, echeveria, sedum, graptopetalum, and small jade varieties all do well here. Stick with compact plants that do not mind drying out between waterings.
Color choice: If your patio already has a lot of greenery, try a dark painted frame for contrast. If you want a softer farmhouse look, use creamy white paint and let a little of the old wood peek through.
Watering tip: Do not soak the frame while it is hanging straight up at first. I have found it works best to take it down, lay it flat, and water lightly so the roots stay put and the soil does not shift.
For hot climates: Use varieties that tolerate stronger sun and hang the piece where it gets morning light and afternoon shade. Too much blazing late-day sun can scorch tender rosettes.
Moss substitute: If sheet moss is hard to find, coconut fiber liner material can help hold the soil in place. I still like to add a little moss around the front because it gives that old garden-gate look.
Patience pays: Letting the frame rest flat before hanging makes a world of difference. It reminds me of old-fashioned garden wisdom from back home: if you give roots time to settle, the whole thing stands a better chance.