
I love a project that makes a backyard feel a little more special without requiring a huge budget, and this outdoor candle chandelier does exactly that. Using an old bicycle wheel, painted mason jar lids, wire, and hanging jars, you can turn a few cast-off pieces into a statement light fixture that looks charming over a patio table or in a garden corner.
This is a great weekend DIY if you enjoy upcycling and want something that feels handmade in the best way. I’m always looking for ways to make our outdoor space feel inviting for evening dinners after work, and this is one of those projects that gives off that cozy glow with surprisingly simple materials.
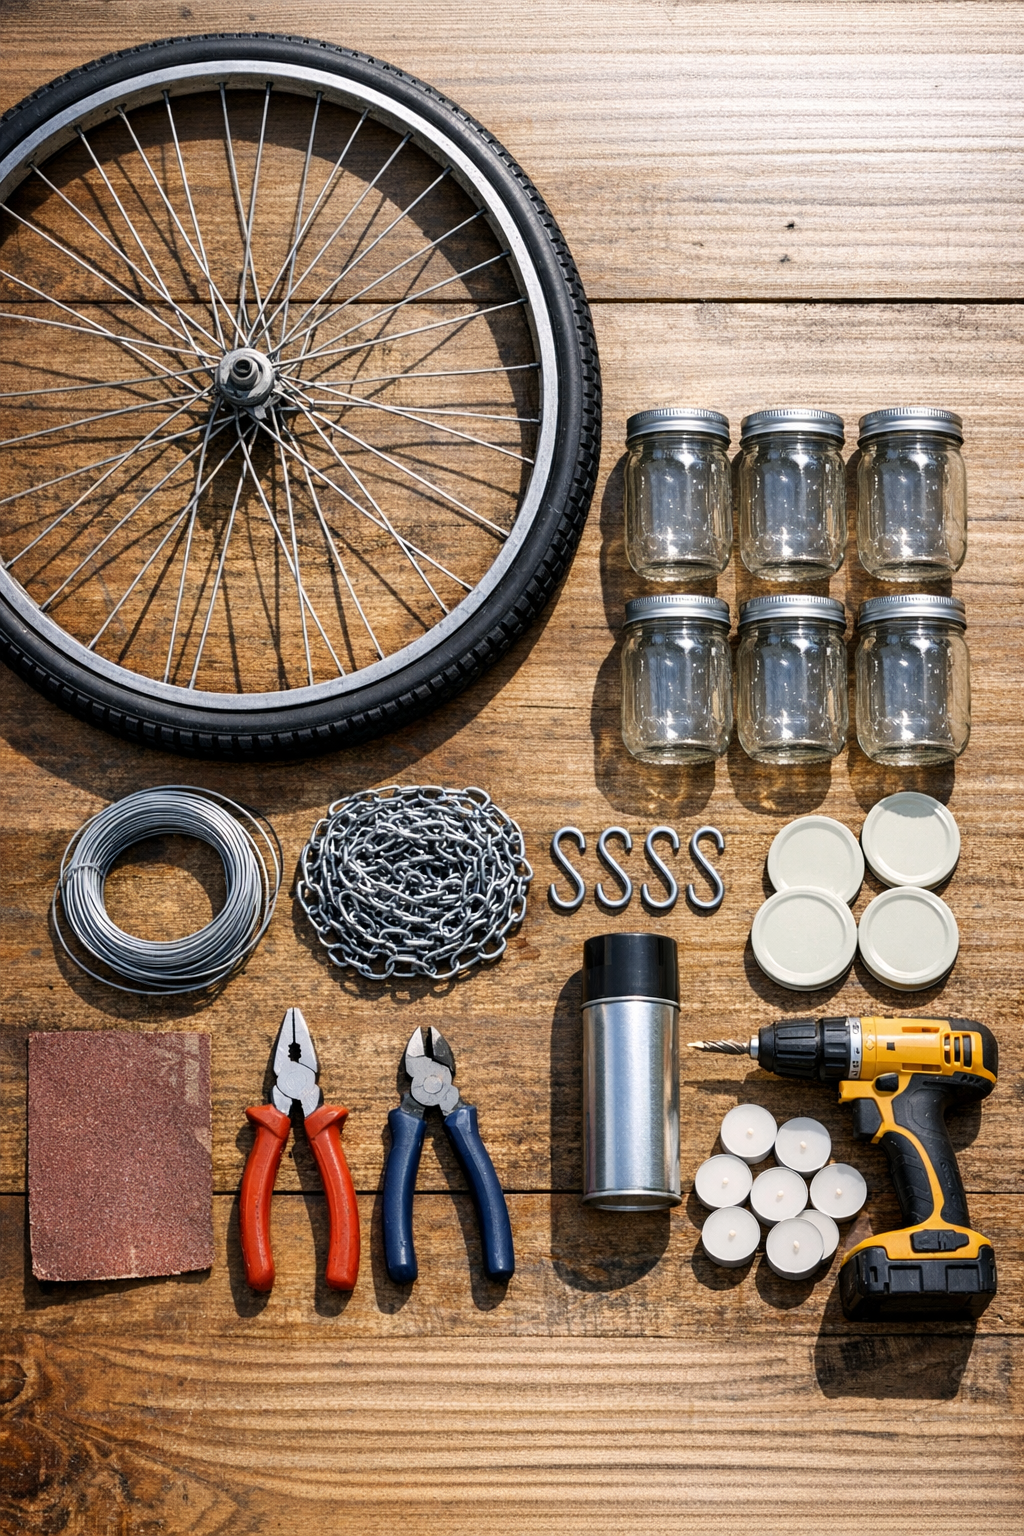
Materials
1 old bicycle wheel, 24-inch diameter, with tire and tube removed
Instructions
1. Clean the bicycle wheel, mason jar bands, and flat lids with warm soapy water, then dry everything thoroughly so paint and wire will hold properly.
2. Remove any loose rust or flaky paint from the wheel and lid bands with 120-grit sandpaper, focusing on rough spots and edges.
3. Spray paint the bicycle wheel, lid bands, and flat lids in light, even coats, then let them dry completely according to the paint can instructions.
4. Mark six evenly spaced points around the wheel rim where the jars will hang, using the wheel spokes as a guide to keep the spacing balanced.
5. Use a drill to make two small holes in each painted flat lid, placing the holes opposite each other near the outer edge so wire can thread through evenly.
6. Cut six pieces of 16-gauge wire, each 18 inches long, then thread one wire piece down through one hole in a lid and up through the other hole to create a hanging loop above the lid.
7. Slide a mason jar band over each flat lid and screw a mason jar into place so the painted lid assembly sits securely on top of the jar.
8. Twist the ends of each wire loop tightly around the bicycle wheel rim at the marked points, making sure each jar hangs straight and at a similar height; add washers if needed for extra stability.
9. Cut three more wire pieces or use the chain lengths to create the main hanger, attaching them at three evenly spaced points around the wheel for balanced support.
10. Gather the three hanging chains at the top with an S-hook or quick link, then lift the wheel carefully to check that it hangs level and adjust as needed.
11. Add a tea light or battery-operated tea light to each jar, keeping real candles centered and only using them where the chandelier can hang safely away from low branches or fabric.
12. Hang the finished chandelier from a sturdy outdoor hook or pergola beam, and if you want extra weather resistance, brush or spray on a coat of exterior clear sealer before regular outdoor use.
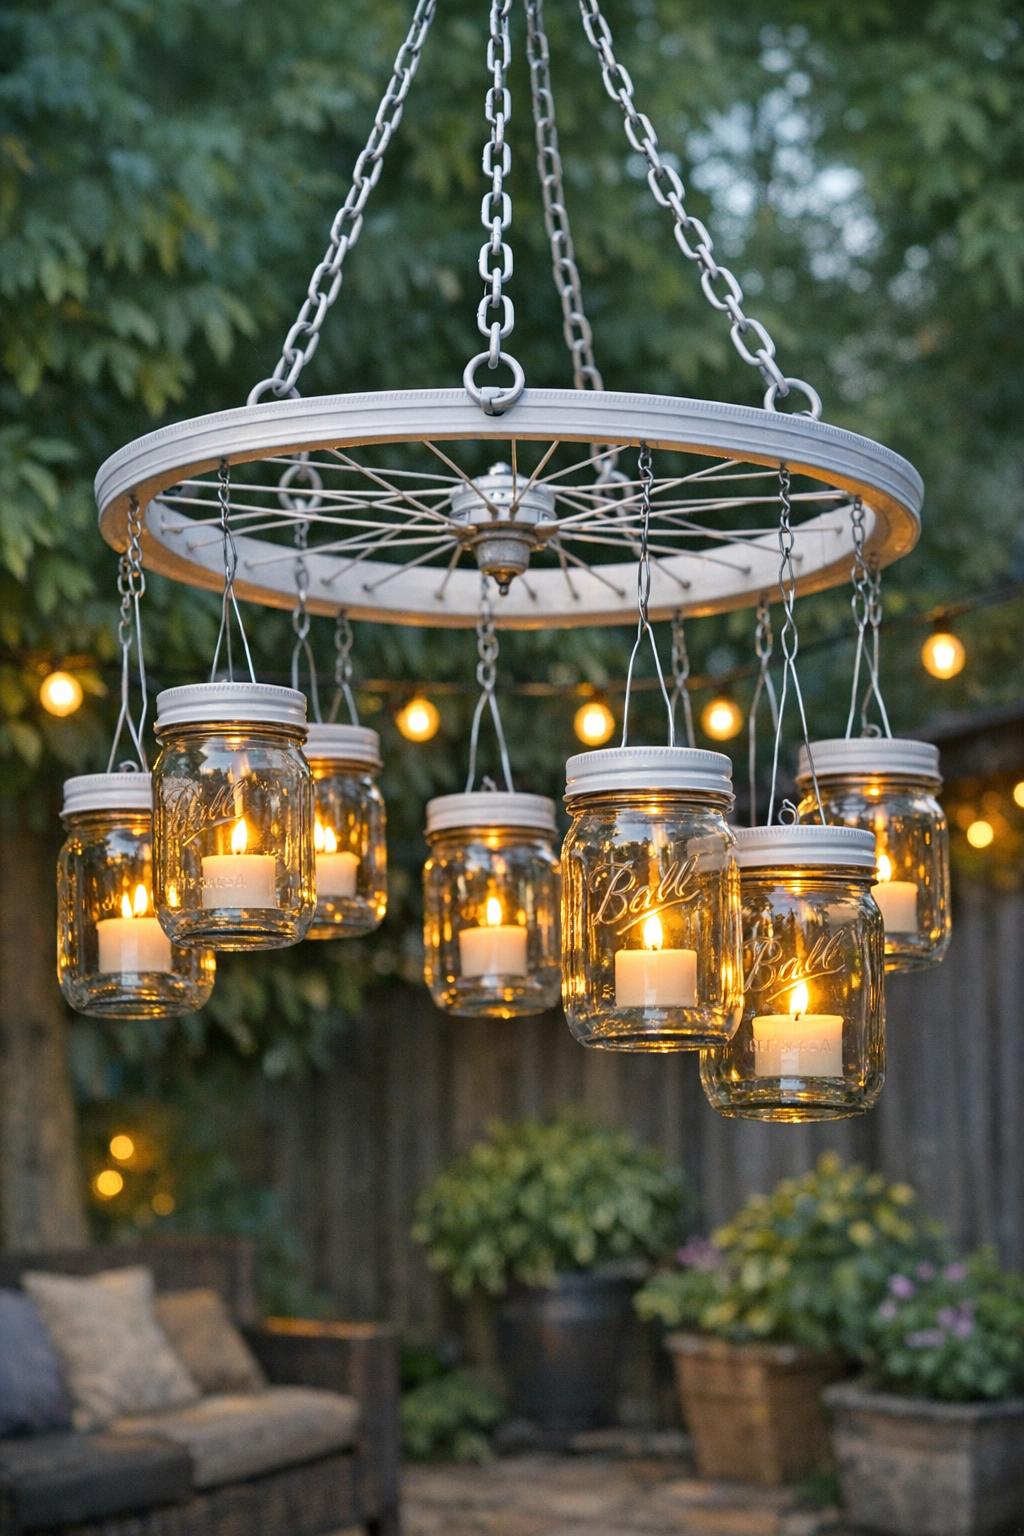
Variations & Tips
Color choice: I love a matte black or soft white finish for a classic look, but a weathered bronze or sage green is beautiful if you want the chandelier to blend into a garden setting.
Safer lighting option: If this will hang near a house, pergola canopy, or tree branches, use battery-operated tea lights instead of real candles. I do this often when I want the glow without having to keep such a close eye on it.
Jar spacing: Six jars works well on a 24-inch wheel, but if your wheel is larger, you can space eight jars around it as long as the weight stays evenly distributed.
Weather tip: If your area gets frequent rain, bring the chandelier under cover when not in use or switch to plastic flameless candles and reseal the painted metal once a season.
Hanging advice: Always test the full weight before hanging it over a table or seating area. I like to hold it up for a trial run in the garage or on a sturdy shepherd’s hook first, just to make sure everything is balanced.
Style variation: For a more decorative look, wrap a little jute twine around the top of each jar band or tuck a few pebbles in the bottom of each jar to help seat the candles neatly.