
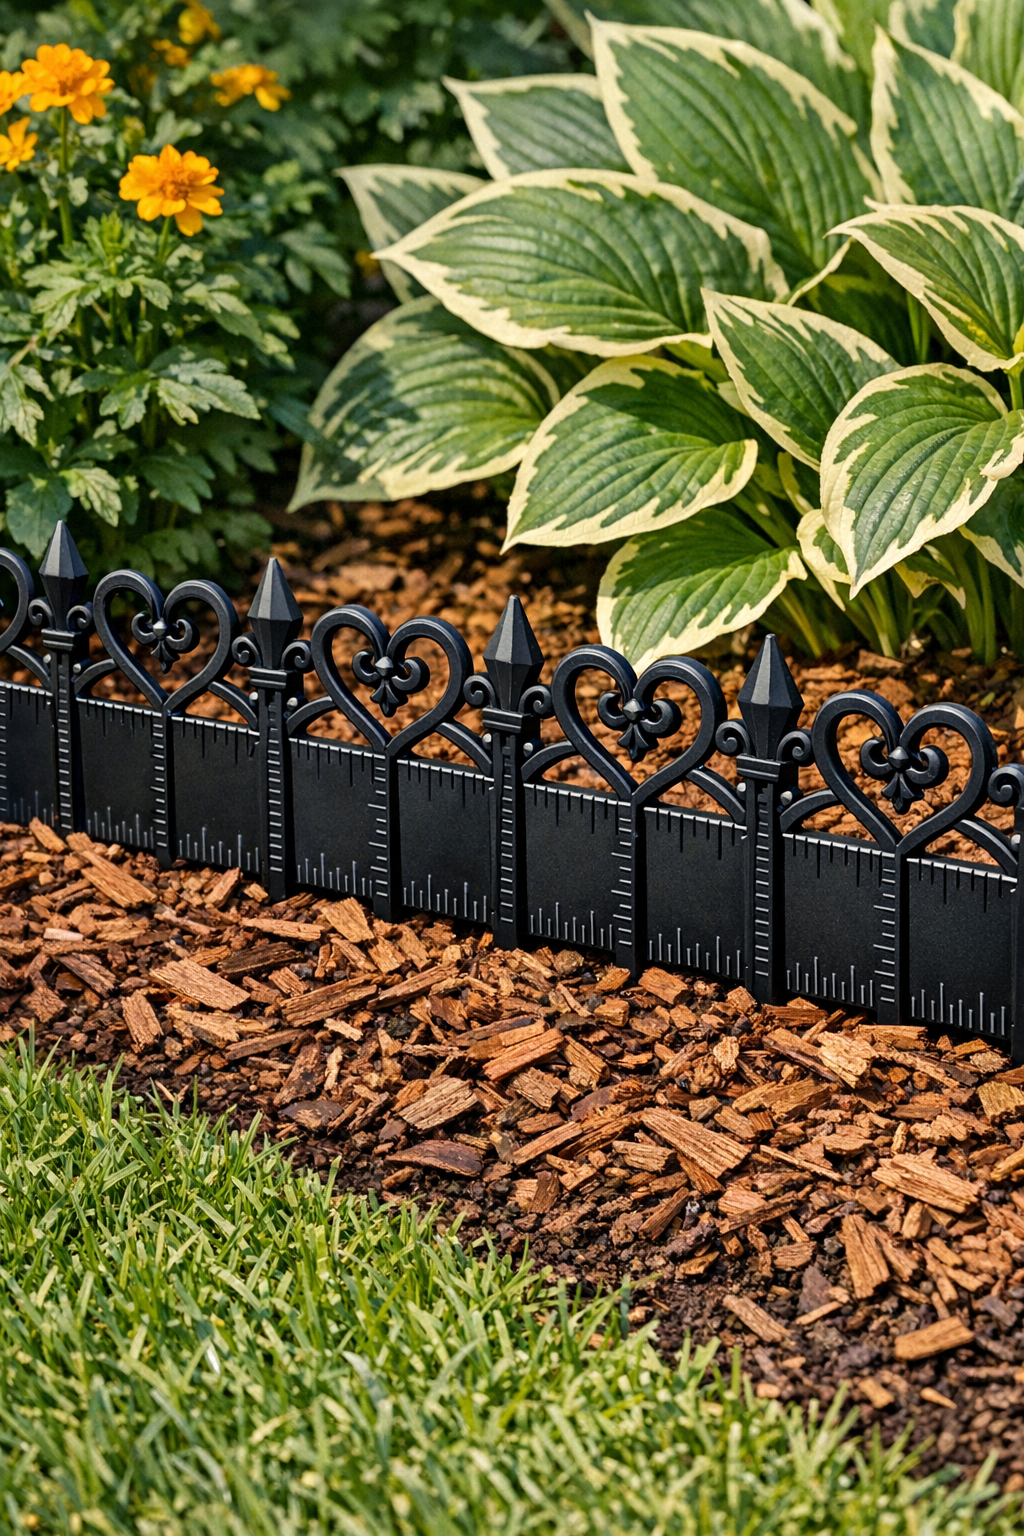
There’s something about a neat little border in the garden that makes the whole yard feel tended with love. Out here, where a patch of flowers can brighten an old fence line or soften the edge of a walkway, I’ve always believed you don’t need fancy supplies to make a place feel special. This faux wrought iron garden trim is a clever little project made from black plastic school rulers and two everyday household items, and it gives a flower bed or path a surprisingly elegant finish.
I especially like this project for folks who enjoy a good budget-friendly makeover and don’t mind a bit of patient shaping work. The finished trim has that old-fashioned ironwork look without the cost or weight of real metal, and it’s just the sort of practical transformation that reminds me of how we used to make do with what we had and still end up with something handsome.
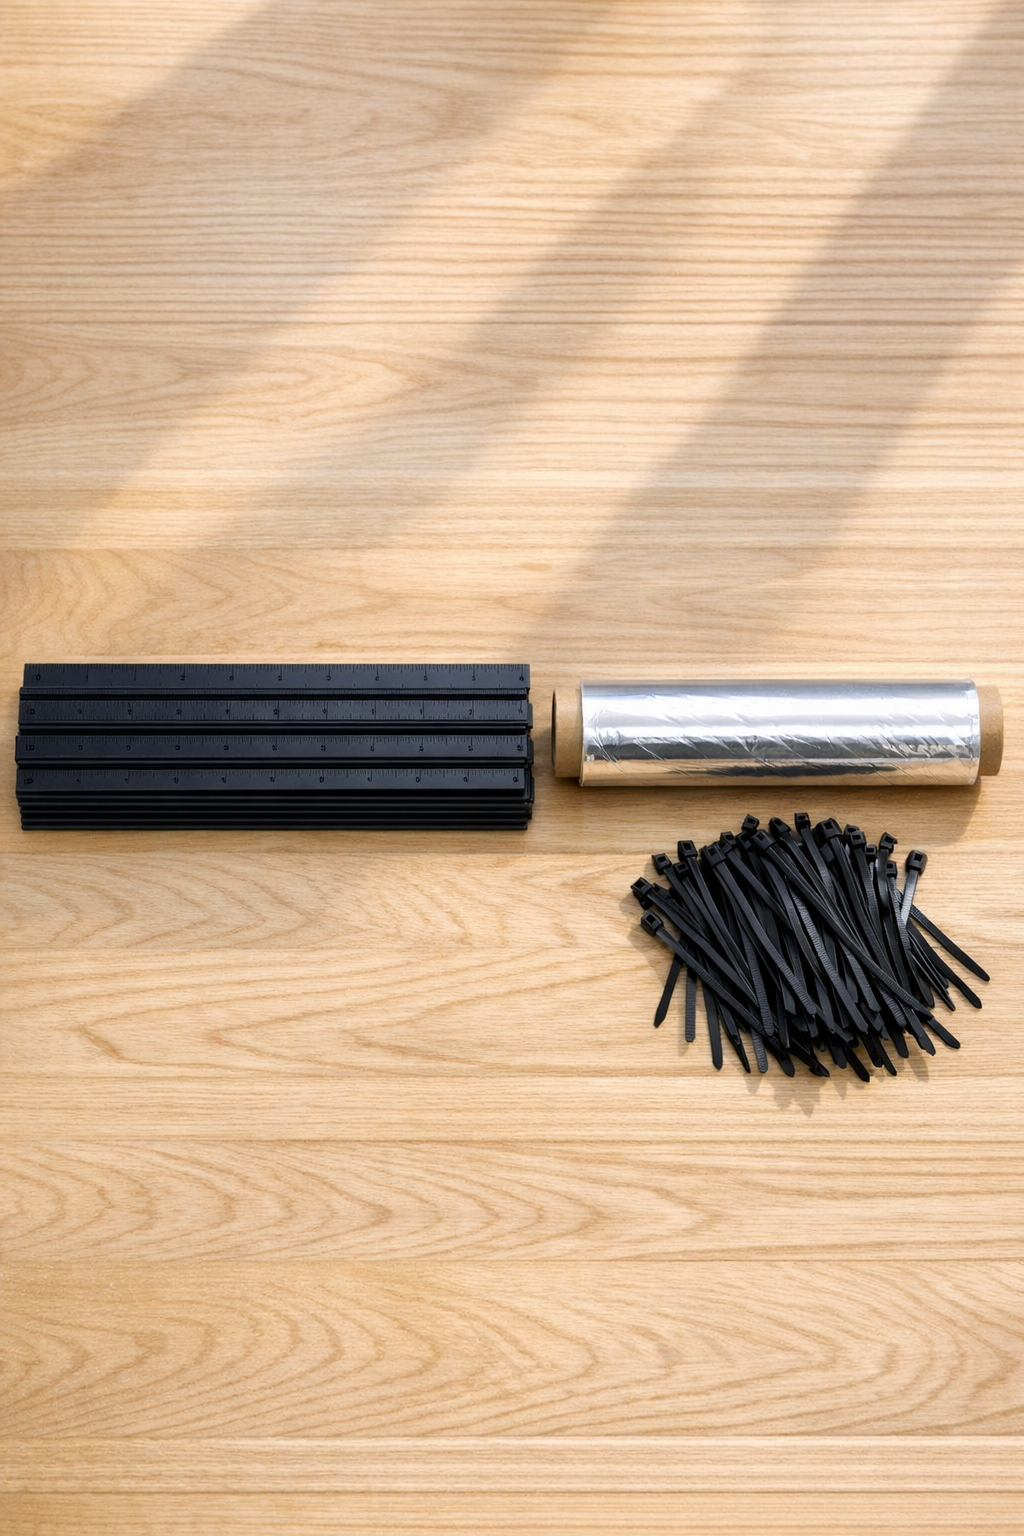
Materials
18 black plastic school rulers, 12 inches long each
Instructions
1. Measure the section of garden edge you want to trim, then divide that length by 12 inches to estimate how many ruler sections you’ll need. Plan on 1 ruler per vertical picket, with extra rulers if you want denser spacing or decorative tops.
2. Clean the rulers with a dry cloth so dirt or sticker residue won’t interfere with shaping. If any ruler has printed ink that feels raised, rub it lightly until the surface is smooth.
3. Mark 3 inches up from one end of each ruler to create the portion that will go into the soil. Keep the remaining 9 inches above ground for the decorative visible section.
4. Tear off a sheet of aluminum foil and wrap it loosely around the top 4 to 5 inches of the first ruler. Shape the foil by hand into a rounded loop, point, or scroll-style top to mimic decorative wrought iron.
5. Gently press and crease the foil so it holds its shape firmly around the ruler without slipping. Repeat this on each ruler, keeping the designs as uniform as you can for a tidy finished border.
6. Place two finished rulers side by side about 2 to 3 inches apart, then connect them with a black zip tie positioned just below the foil detail. Pull the tie snug so the pair stays aligned but not so tight that it bends the plastic.
7. Add a second zip tie about 4 inches lower on the same pair to make a sturdier panel. Continue joining rulers into small panels of 2 or 3 pickets each so installation outdoors will be easier.
8. Trim the tails off the zip ties so the connections look clean and unobtrusive. Set the panels side by side and check that the tops line up evenly before taking them outside.
9. Press each ruler panel into moist soil along the garden edge, sinking the lower 3 inches into the ground. Space the panels closely so they read as one continuous decorative border.
10. Adjust the angle and depth of each panel until the trim follows the curve or straight line of your bed neatly. Once everything is in place, firm the soil around the bottoms with your hands so the border stands upright.
11. Step back and make small corrections to spacing so the decorative tops repeat in a pleasing pattern. If a section feels loose, add one more zip tie between neighboring rulers to stiffen it.
Variations & Tips
Classic straight border: Use the same rounded or pointed top on every ruler for a more formal look. That repeating pattern gives the trim the feel of old iron fencing around a cottage garden.
Curved bed tip: Make smaller 2-ruler panels instead of wider sections if your flower bed has a lot of curves. Shorter panels are much easier to fit neatly around bends.
Windy-yard support: If your area gets strong wind, push the rulers a little deeper into the soil and add extra zip ties between adjacent panels. A snug installation will help the border hold its line.
Budget-saving advice: Check discount or back-to-school bins for matching black rulers so the finish stays consistent. Uniform color is what really sells the faux wrought iron effect.
Best placement: This trim works nicest in low-traffic spots around flower beds, small paths, or decorative corners. I wouldn’t use it where a mower wheel or heavy foot traffic will catch it often.
Seasonal upkeep: After a hard rain or at the start of each season, press any shifted pieces back into place and retighten loose zip ties. A quick little tune-up keeps the border looking crisp all summer long.