
I love a yard project that looks high-end but starts with something totally ordinary from the home improvement store. This one turns black corrugated drain pipe and cement into heavy, fluted garden borders that look surprisingly custom once they’re set around a flower bed or walkway. The ridges in the pipe do all the design work for you, so the finished pieces have that classic fluted texture without any fancy molds.
As someone who’s usually squeezing outdoor projects into a weekend between work, groceries, and figuring out what’s for dinner, I really appreciate that this build is simple and repeatable. If you want a durable border that won’t blow away, shift easily, or look flimsy after one season, this is a smart DIY for beginner and intermediate makers alike.
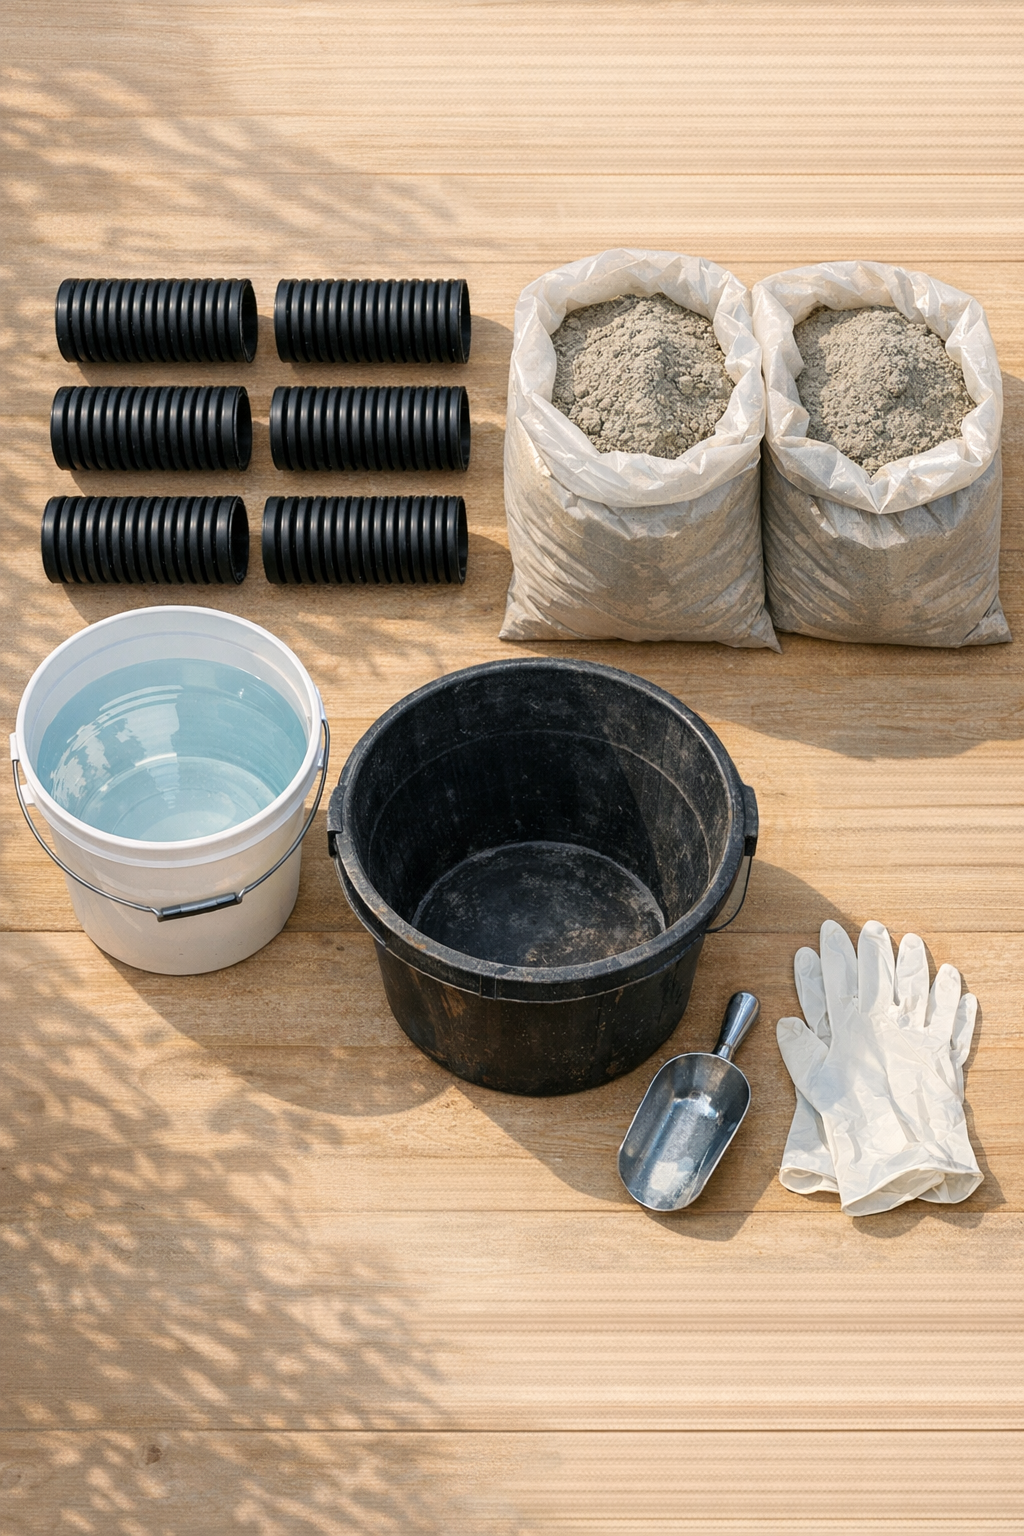
Materials
4-inch black corrugated drain pipe, 10 feet total length, cut into 12 pieces at 10 inches each
Instructions
1. Measure and mark the corrugated drain pipe into 10-inch sections, then cut it into 12 equal pieces so your finished borders will match in height.
2. Set the pipe sections upright on a flat, protected surface, and lightly coat the inside of each piece with vegetable oil or mold release so the concrete is easier to release later.
3. Mix a small batch of concrete in a bucket according to the package directions, aiming for a thick, spoonable consistency like stiff oatmeal instead of a runny mix.
4. Scoop the concrete into each pipe section a few inches at a time, tapping the sides as you go to settle the mix and reduce air pockets.
5. Fill each section to the top, then smooth the exposed surface with a trowel so every piece will sit evenly once installed.
6. Let the filled molds cure undisturbed for at least 24 to 48 hours, or longer if the weather is cool or humid, until the concrete feels fully hard.
7. Peel or cut the plastic pipe away from each cured piece, working slowly along the ridges so you don’t chip the edges of the new fluted borders.
8. Dig a shallow trench around your garden bed or walkway edge, then set the pieces side by side with 2 to 3 inches buried for stability and backfill soil tightly around them.
9. Check the top line as you go and tap pieces down as needed so the border looks even, then water the soil lightly to help everything settle in place.
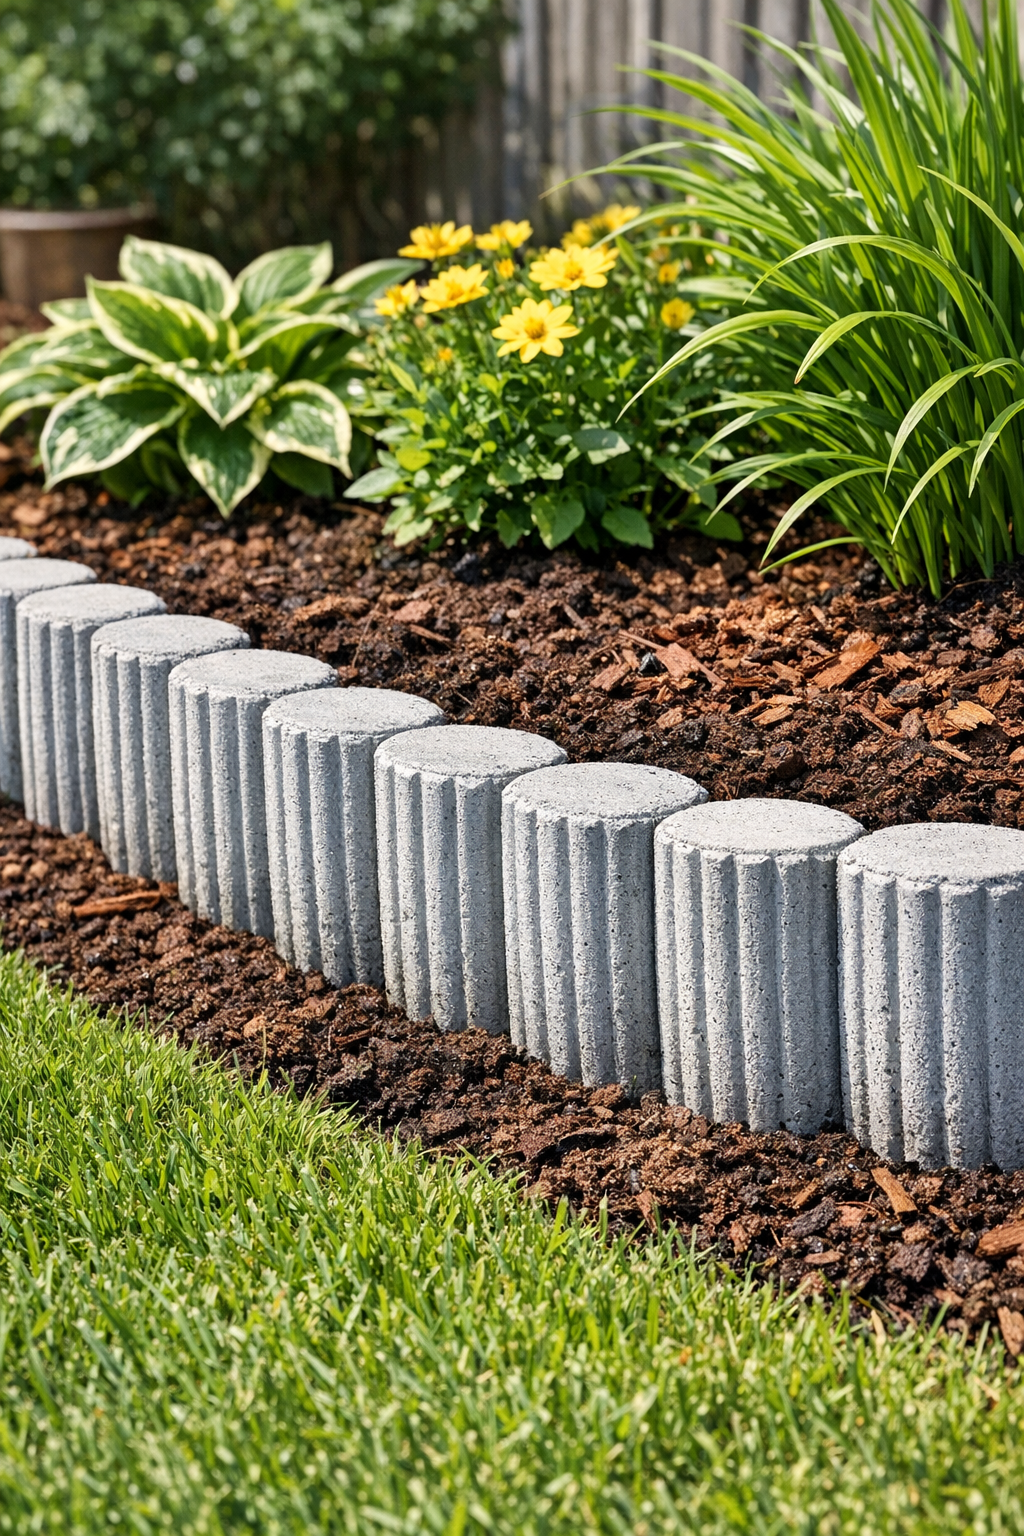
Variations & Tips
Shorter Border Look: Cut the drain pipe into 6- to 8-inch sections instead of 10-inch sections if you want a lower, more subtle edging around flower beds.
Taller Statement Edge: Use 12-inch sections for a chunkier, more dramatic border, but plan to bury at least 3 inches for stability.
Smoother Tops: If you want the top of each piece to look extra finished, lightly mist the concrete surface while smoothing it before curing.
Easier Demolding: I’ve found that cutting one straight slit down the pipe after curing makes removal much easier than trying to twist the concrete free.
Color Option: Concrete pigment can be mixed in if you prefer a darker stone look, but even plain gray concrete looks polished once it’s grouped together in the landscape.
Batching Tip: Mix concrete in smaller batches instead of one giant one, especially if you’re doing this solo like I usually do, because fast-setting mixes can harden quicker than expected.
Installation Tip: For curves, place the pieces closer together on the inside of the bend and leave the tiniest gap on the outside so the border follows the shape naturally.
Cold-Weather Note: If temperatures are low, give the pieces extra curing time in a sheltered spot before installing them outdoors.