
If you’ve got a drafty garage window, a stack of torn plastic school folders, and a couple of basic household items, this is one of those surprisingly useful projects that feels a little scrappy and a little genius at the same time. I love a DIY that turns something destined for the trash into something practical, and these homemade shatter-resistant window panes are great for garages, sheds, and utility spaces where you want light to come in without worrying so much about broken glass.
As someone who is always trying to keep the house functional without turning every small fix into a full weekend renovation, this kind of project really speaks to me. It’s budget-friendly, beginner-friendly, and especially good for older outbuildings or side garage windows that need a quick refresh. This is not a code-rated replacement window, but it is a smart way to make a non-living-space window safer, cleaner-looking, and more weather-resistant.
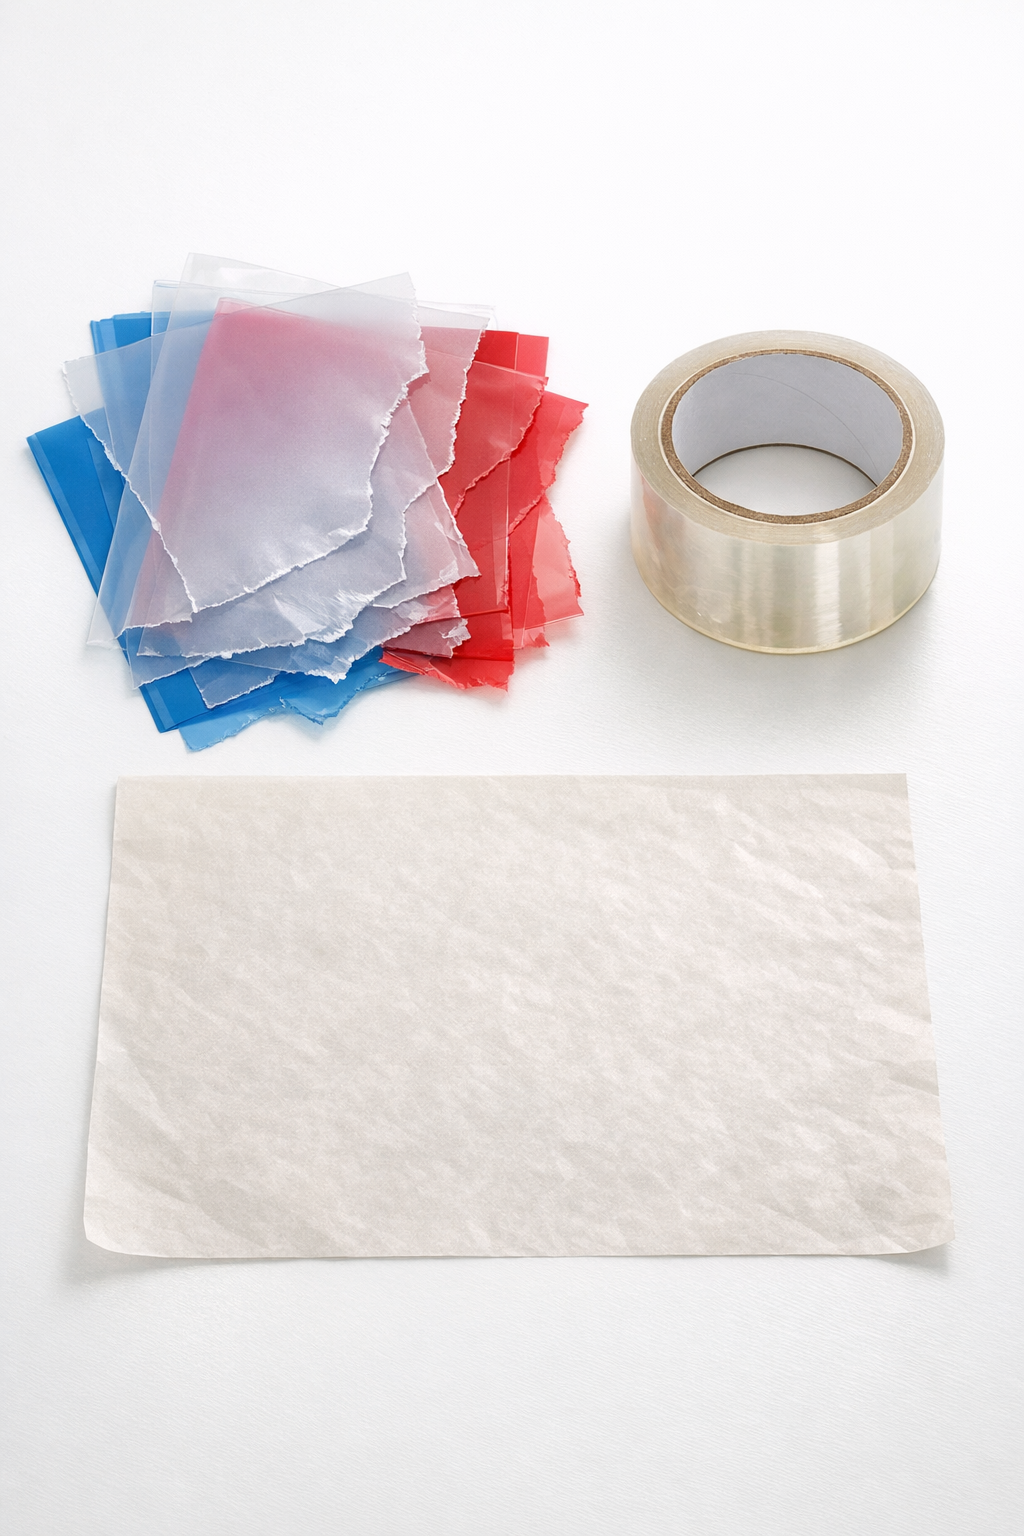
Materials
Instructions
1. Measure the inside opening of your garage window sash or frame, and subtract 1/8 inch from both the width and height so the finished pane can fit without buckling.
2. Cut the usable flat sections from the plastic school folders, removing seams, tabs, and badly damaged spots so you are left with clean rectangular pieces.
3. Arrange the plastic pieces on a flat ironing-safe surface, overlapping each edge by about 1/2 inch until you create a panel slightly larger than your final window measurement.
4. Place one sheet of parchment paper under the plastic and one on top, then set your iron to low or synthetic with steam turned off.
5. Press the iron gently over the layered plastic for 5 to 10 seconds at a time, lifting and moving instead of sliding, until the overlaps soften and fuse together.
6. Let the panel cool for 30 seconds, peel back the parchment, and check the seams; re-cover and press again anywhere the layers have not bonded fully.
7. Once the full sheet is fused, trim it to your exact window measurement using scissors or a utility knife and straightedge.
8. Reinforce every seam on both sides with strips of clear packing tape, then run tape around all four outer edges to reduce sharp corners and add strength.
9. Test-fit the finished pane in the window frame and shave off tiny amounts if needed until it sits flat without bowing.
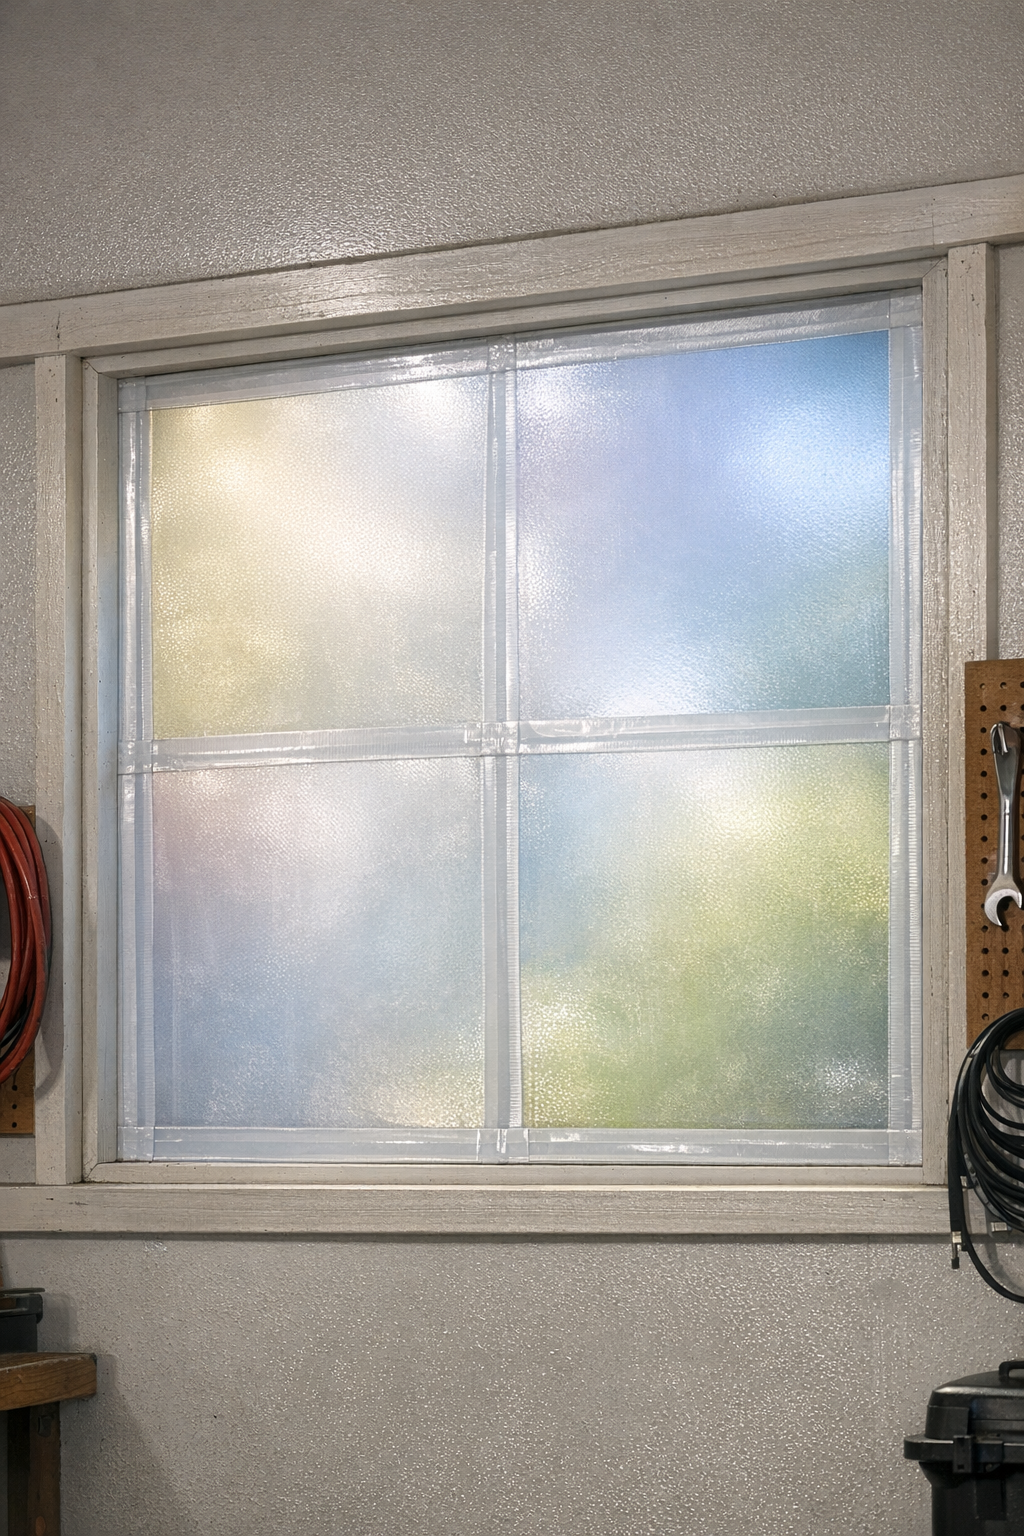
10. Secure the pane into the garage window frame using additional strips of packing tape along the frame edges, pressing firmly to seal out drafts and hold the panel in place.
11. If your window opening is large, make two narrower panes instead of one wide sheet, and tape them into separate sections for better stability.
12. Wipe the surface clean with a soft dry cloth, then check from outside and inside to make sure the pane is evenly attached and letting light through.
Variations & Tips
For frosted privacy: Use translucent folders rather than fully clear ones if you want light to come through while hiding clutter inside the garage. I actually prefer this look for utility spaces because it feels tidy even when real life is not.
For larger windows: Build the pane in smaller sections and install them side by side. It is much easier to handle, and the seams are less likely to pull apart over time.
Iron setting tip: Start with the lowest heat possible and test on one scrap overlap first. Plastic can warp fast, so I always treat this like cooking caramel: slow and cautious wins.
Best use case: Save this project for garages, sheds, basements, or workshop windows rather than primary living-space windows. It works best as a light-duty, shatter-resistant insert or temporary replacement.
Cleaner finish: Trim all folder pieces with straight edges before fusing so the final panel looks more uniform. That extra five minutes makes the finished pane look much more intentional.
Weather help: If drafts are your main problem, add an extra border of tape where the pane meets the frame. It is a simple little step, but in a Midwest winter, those tiny gaps really do matter.