
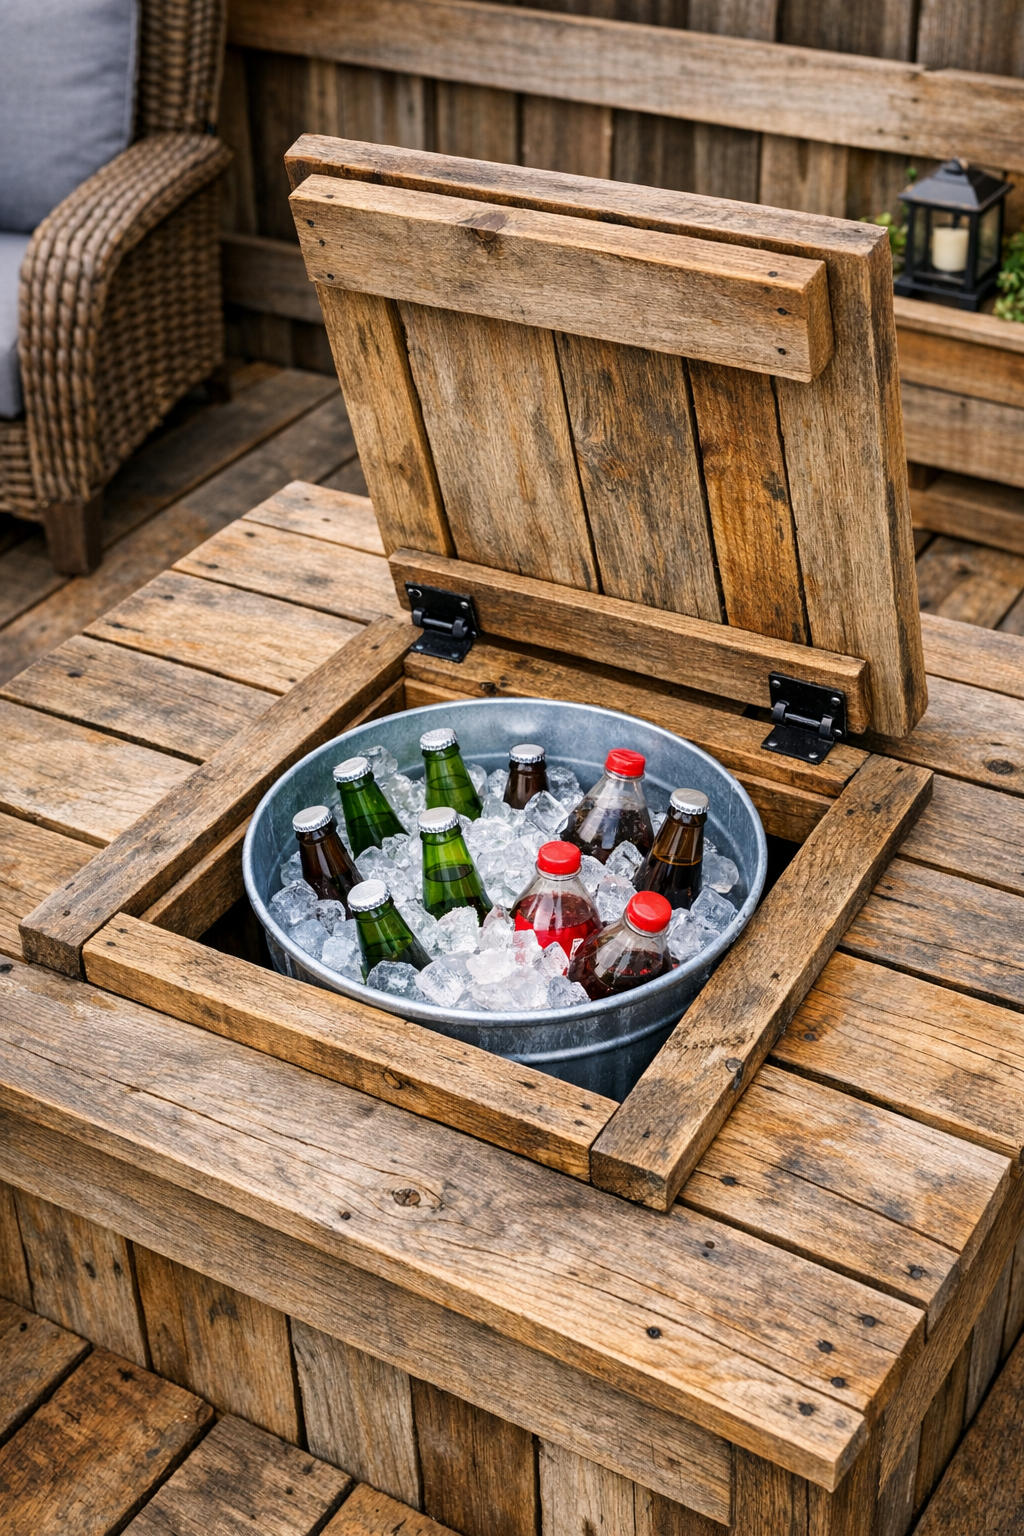
There’s something mighty satisfying about building a project that makes folks stop in their tracks and say, “Now why didn’t I think of that?” This floating deck cooler does exactly that. You cut a neat square opening through weathered pallet-style deck boards, set a galvanized trash can down below, and suddenly you’ve got a tucked-away drink station that keeps ice and bottles close at hand without taking up precious space on the deck.
I love projects like this because they’re practical, sturdy, and made for gathering. It reminds me of the kind of backyard entertaining we’ve always done out here in the Midwest—simple food, cold drinks, lawn chairs pulled into a circle, and everybody helping themselves. If you’ve got a wood deck or a low pallet-style platform and a little patience with measuring and cutting, this is a very doable weekend build.
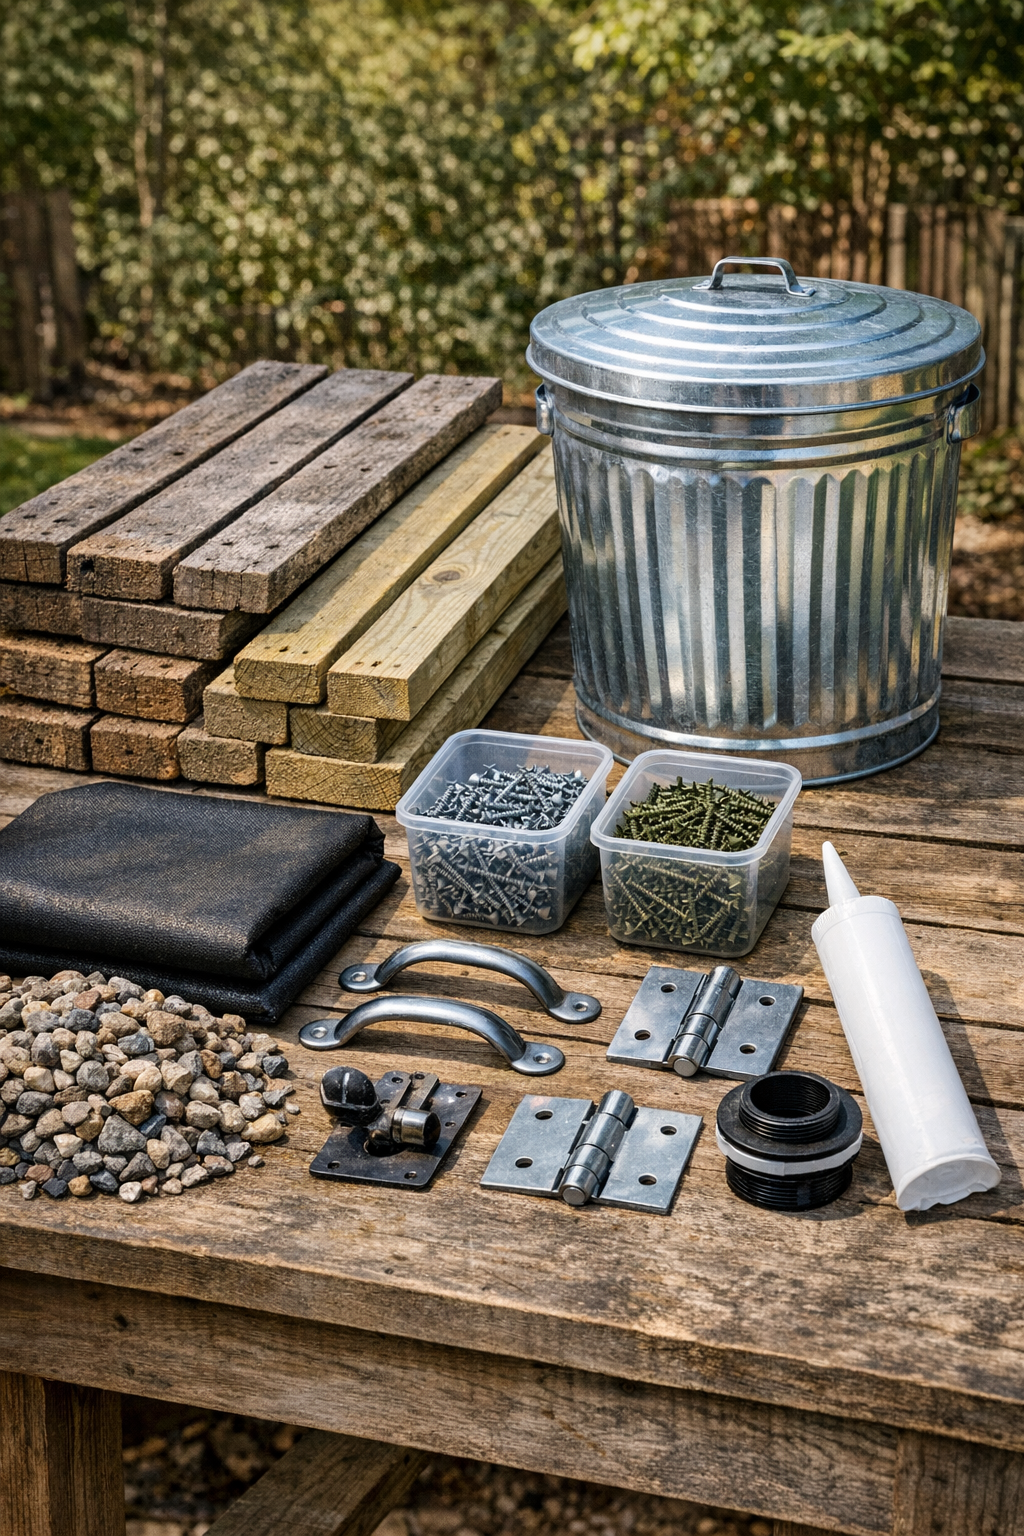
Materials
1 galvanized steel trash can with lid, 20-gallon size, about 18 to 19 inches in diameter
Instructions
1. Choose the cooler location in your deck or pallet platform, making sure there’s room below for the trash can plus 2 to 3 inches of gravel underneath it. Mark a square opening slightly wider than the can lid opening frame, usually about 20 x 20 inches.
2. Lift or remove any boards necessary and check below for clearance, drainage, and level ground. If this cooler is going into an existing raised deck, be certain you are not cutting through a joist or any structural support.
3. Dig a hole beneath the marked opening about 24 inches wide and deep enough so the top rim of the galvanized can will sit 1 inch below the finished deck surface. Tamp the soil flat, then add 2 to 3 inches of gravel for drainage.
4. Line the bottom of the hole with landscape fabric, then set the galvanized trash can into place to test the fit. Adjust the gravel until the can sits plumb and stable.
5. Build a square support frame from pressure-treated 2 x 4s around the opening, fastening it securely to the deck framing with 3-inch lag screws. This frame should cradle the cooler opening and support the lid section you’ll create.
6. Add short 2 x 4 blocking at the corners and wherever the pallet boards need extra backing, then check that the frame is square. A snug, well-supported opening is what keeps the finished lid from shifting later.
7. Reinstall or lay the weathered pallet boards across the framed area so the surface pattern matches the rest of the deck. Mark the square lid section by tracing the framed opening onto the boards from below or with careful top-side measurements.
8. Drill a starter hole near one inside corner, then cut the square opening through the pallet boards with a jigsaw or circular saw, staying just inside your lines. Lift out the cut section and trim as needed so it drops back into place with an even gap of about 1/8 inch on all sides.
9. Flip the cut lid section over and screw two cross braces of 2 x 4 or plywood battens underneath it to keep the boards together. Leave enough clearance so the reinforced lid still sits flush inside the opening.
10. Attach the strap hinges along one side of the lid and fasten the other hinge leaves to the support frame. Test the swing so the lid opens easily without rubbing the surrounding boards.
11. Install the recessed pull handle near the front edge of the lid, and fill any rough screw holes or splinters with exterior wood filler. Sand only the cut edges and touch points so the weathered boards keep their old character.
12. If you want melted ice to drain, drill a 3/4-inch hole near the bottom side of the galvanized can and install the bulkhead drain fitting with silicone caulk. Attach the vinyl tube and route it toward a gravel area away from the deck footings.
13. Run a bead of exterior caulk anywhere water might sit against raw wood edges, then brush or wipe on exterior deck sealer to the cut edges, lid underside, and support framing. Let everything dry fully before loading the cooler with ice.
14. Set the can back in place, close the lid, and make a final check that the top sits flush and steady under foot. Fill the can with ice and drinks, then lift the hatch whenever company comes by.
Variations & Tips
Use a liner: If you want cleanup to be easier, tuck a removable plastic party tub or heavy-duty bin inside the galvanized can so you can lift it out and wash it separately.
Add a cedar top: If your deck boards are rougher than you’d like, make the lid from cedar boards instead of pallet wood. It gives a prettier finish and naturally handles moisture well.
Think about drainage first: Around here, anything that sits wet too long won’t last, so I always say the gravel base and drain matter just as much as the carpentry. A dry cooler cavity will save you trouble later.
Keep it food-safe in practice: I use this kind of setup for canned drinks, bottled soda, and sealed containers rather than loose food. It’s a cooler for entertaining, not long-term cold storage.
Make it child-friendly: Soft-close lid supports or a light chain on the hinge side can keep the lid from falling open too far or slamming shut on little fingers.
Match the deck age: If your new cut edges look too fresh against old weathered boards, let the wood tone down naturally or use a light wash of sealer that blends rather than darkens. Sometimes the best-looking patch is the one that doesn’t try too hard.