
There’s something satisfying about using up odds and ends that would otherwise get tossed, and this little repair reminds me of the old-fashioned make-do spirit I grew up around. If you’ve got small cracks, chips, or narrow gaps in a hard floor and a pile of broken school crayons in a drawer somewhere, you can turn them into a sturdy wax filler with just two inexpensive extras.
This project is best for cosmetic touch-ups on wood or laminate floors in low-moisture areas, especially when you want a quick, budget-friendly fix that blends in better than a glaring crack. I like this method for tiny problem spots that catch your eye every time you pass by, and it’s simple enough for a careful beginner to tackle in an afternoon.
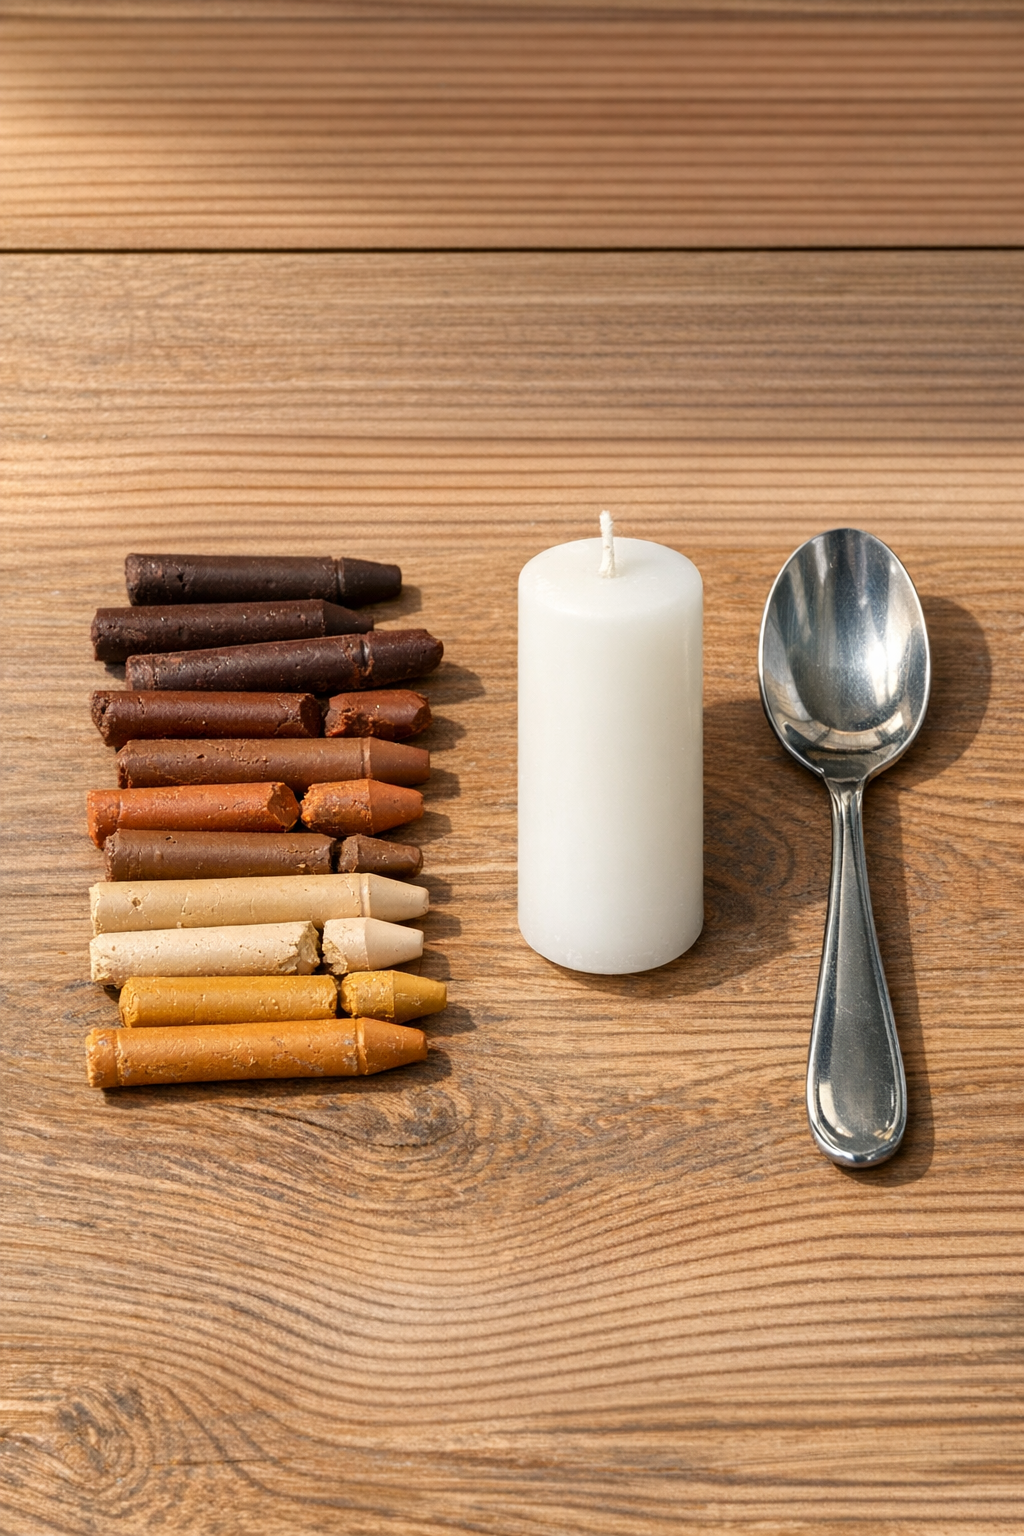
Materials
Instructions
1. Sort your broken crayons by color and choose two or three shades that closely match the floor around the crack. Peel off every bit of paper wrapper so none of it scorches in the wax.
2. Break the crayons into small pieces and place them in the metal spoon. Start with more of the lightest color, then add darker bits little by little so you can control the shade.
3. Light the candle and hold the spoon just above the flame until the crayon pieces melt fully. Stir gently by tilting the spoon so the colors blend into one even wax mixture.
4. Test a drop of the melted wax on a hidden spot or scrap surface and let it cool for a minute to check the color. Adjust by adding another small piece of lighter or darker crayon and remelting if needed.
5. Slowly pour a small amount of the melted wax directly into the floor crack, filling from one end to the other. Keep the spoon low so the wax lands neatly in the gap instead of splashing onto the surrounding floor.
6. Let the wax sit for 2 to 3 minutes until it begins to firm up, then add a second thin layer if the crack settles lower than the floor surface. It’s better to build the fill in small pours than flood the area all at once.
7. Allow the filled crack to cool completely for 15 to 20 minutes. Once hard, scrape the spoon edge lightly across the top to level any excess wax flush with the floor.
8. Buff the area gently with a soft dry cloth using small circular motions until the repair looks smooth and blended. If the color still looks off, remelt a tiny new batch and add a very thin top layer.
Variations & Tips
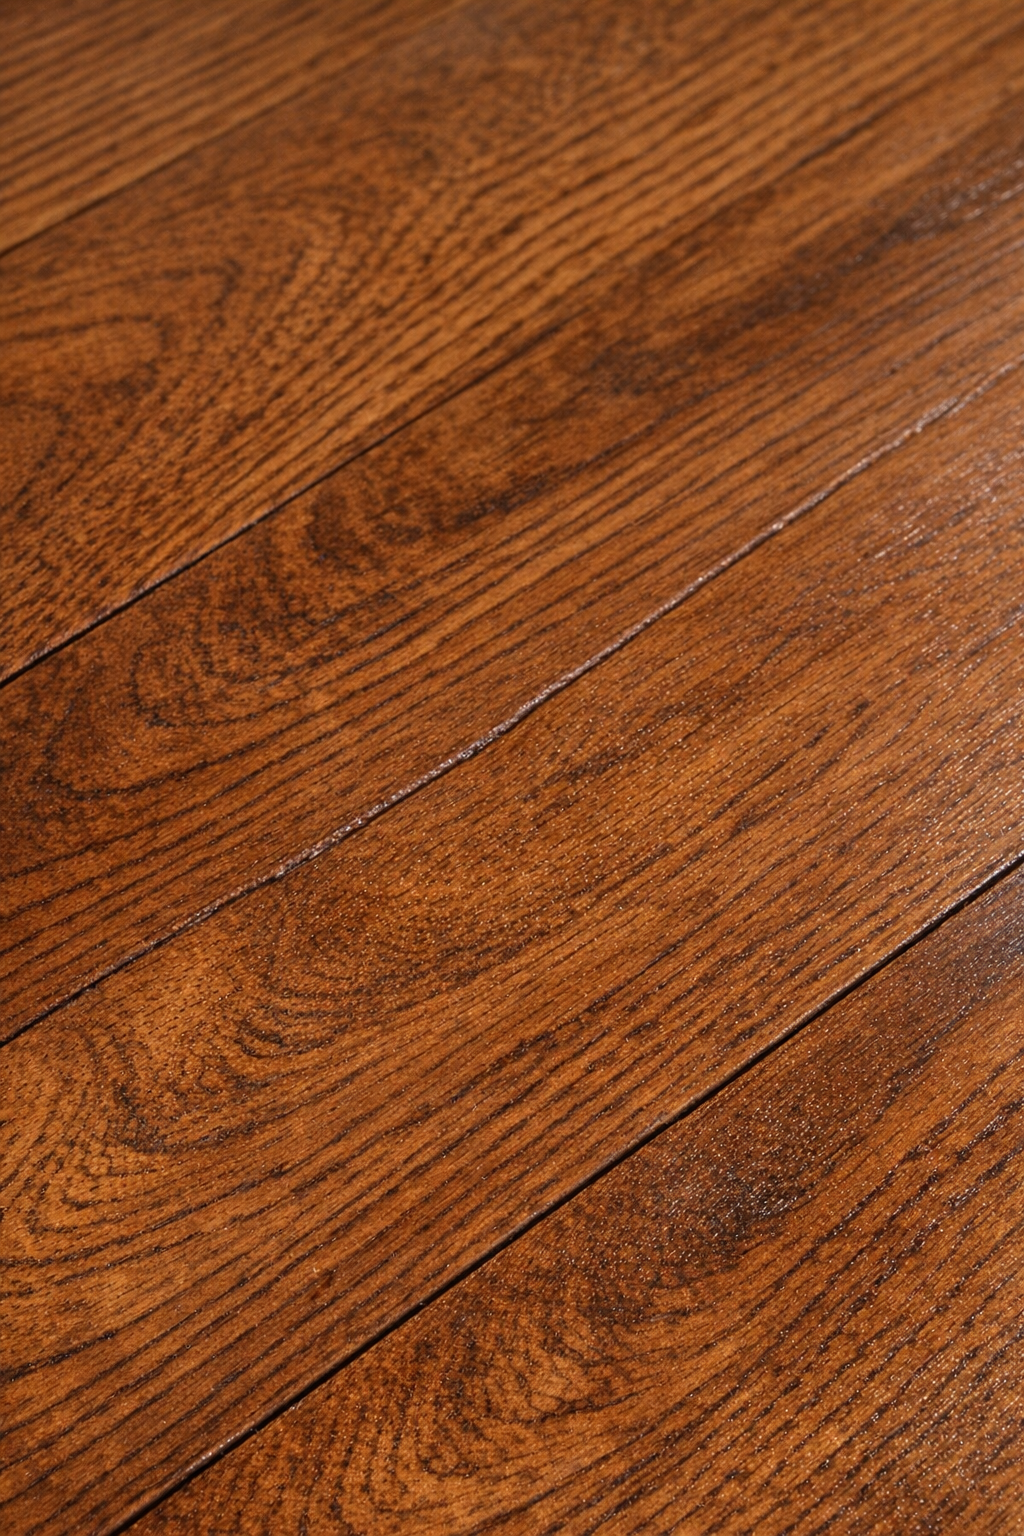
For darker floors: Mix brown crayons with a tiny touch of black rather than using black alone. That gives a softer, more natural look, much like the old stained oak floors I’ve seen in farmhouses all over the Midwest.
For lighter floors: Start with tan, beige, or golden yellow crayons and add darker color in very small amounts. It’s always easier to darken wax than to lighten it once the mix gets too deep.
Best use: This works best on narrow cracks, shallow chips, and small gouges rather than wide structural gaps. Think of it as a cosmetic patch, not a substitute for a true floor repair product in high-traffic damage.
Work safely: Melt the wax slowly and keep the spoon above, not inside, the flame. The spoon will get hot, so hold it with an oven mitt, pliers, or a folded thick cloth.
Keep the repair tidy: If a little wax drips outside the crack, let it harden before scraping it away. Wiping warm wax usually spreads it and makes more of a mess.
Moisture caution: I only use this kind of wax fix in dry indoor spaces. In bathrooms, entryways, or anywhere that gets damp, a proper commercial filler will usually hold up better over time.