
I’m always drawn to little fix-it projects that use simple supplies and solve an annoying household problem fast, especially when I don’t have time for a full hardware-store run after work. This DIY heat-resistant grout substitute made with crushed old blackboard chalk and one everyday liquid is the kind of practical experiment I love: inexpensive, easy to mix in small batches, and useful for patching tiny gaps or hairline areas around non-structural, heat-exposed surfaces.
That said, I want to be realistic from the start: this is best for small cosmetic touch-ups and light-duty repairs, not for major masonry work, firebox interiors, food-contact areas, or anything structural. If you’ve got a narrow crack around tile near a fireplace surround, a little gap in a heat-adjacent decorative joint, or a spot that just needs a tidy, durable filler, this is a handy weekend project.
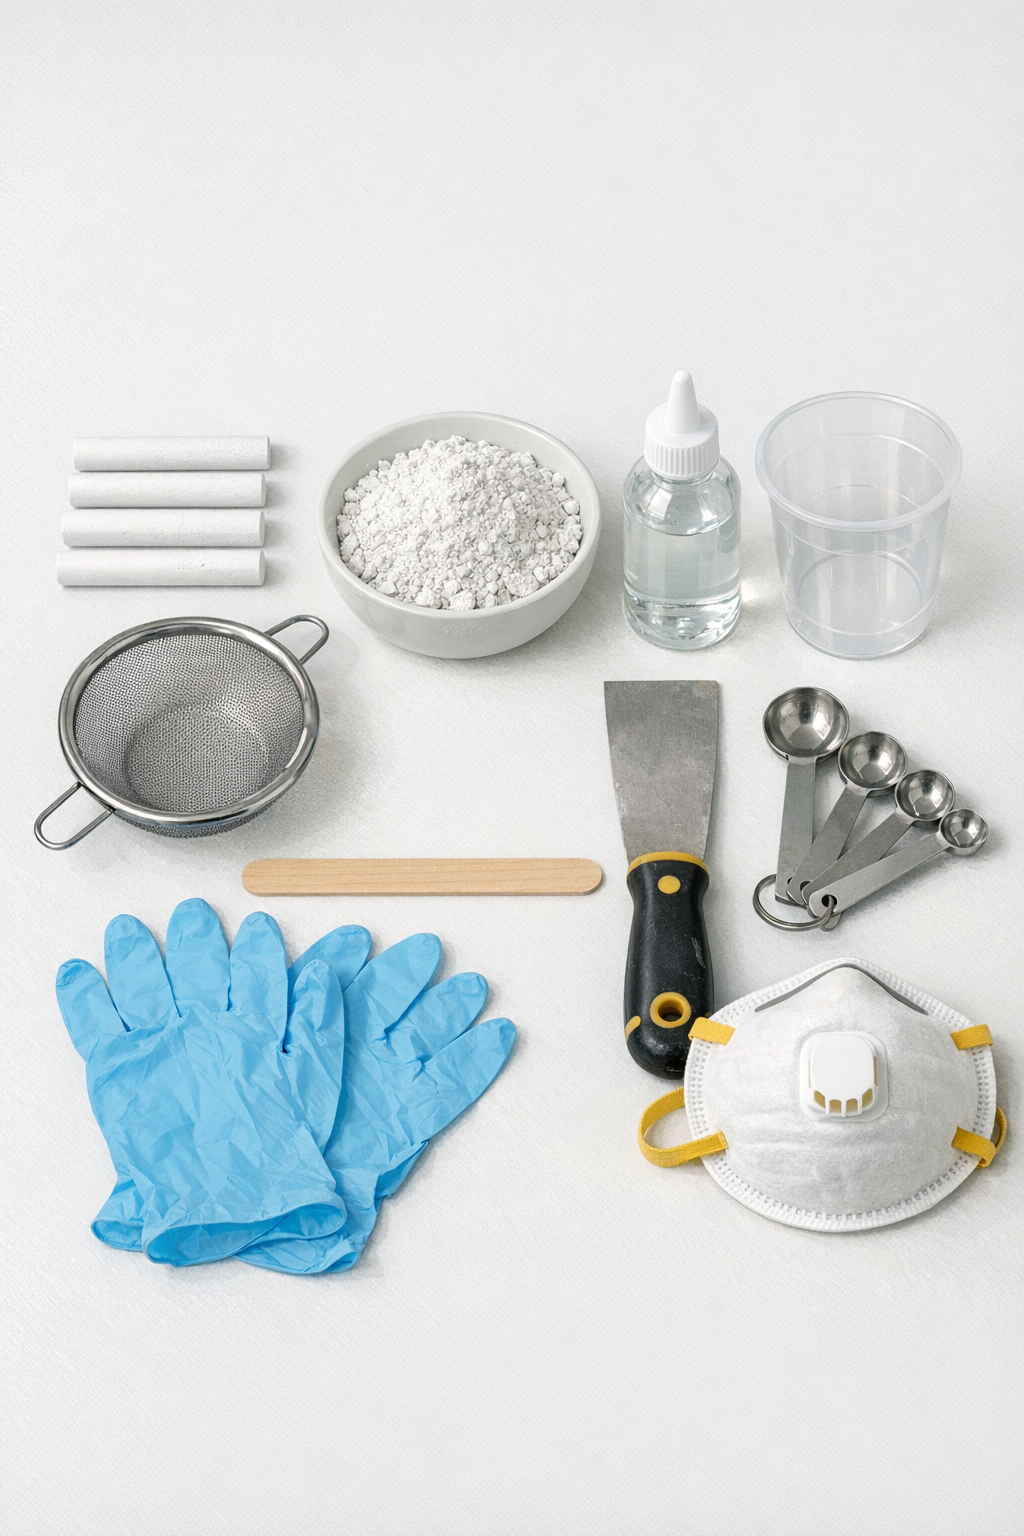
Materials
8 to 10 sticks old blackboard chalk, enough to make 1/2 cup finely crushed powder
Instructions
1. Put on gloves and a dust mask, then crush the blackboard chalk into small pieces and grind it until it becomes a fine powder. Sift the powder through a fine mesh strainer so the finished grout will mix smoothly.
2. Wipe the repair area clean and dry, removing dust, loose grout, soot, or grease so the patch can bond properly. Lightly sand glossy edges if needed, then wipe again with a damp rag and let the surface dry fully.
3. Add 1/2 cup of sifted chalk powder to the mixing cup, then stir in 3 tablespoons of sodium silicate liquid a little at a time. Mix until it forms a thick paste similar to peanut butter; add up to 1 more tablespoon of liquid only if the mixture is too dry and crumbly.
4. Let the paste sit for 2 to 3 minutes, then stir again to check the texture. If it slumps off the stir stick, add a little more chalk powder; if it feels stiff and won’t spread, add a few drops of sodium silicate.
5. Press the mixture firmly into the crack or joint with a putty knife, working in thin layers for the strongest result. Smooth the surface with the edge of the knife and wipe away extra material before it starts to set.
6. Allow the patch to air-dry for at least 24 hours before touching it, and give it 48 to 72 hours before exposing it to significant heat. For the first heat exposure, warm the area gradually instead of going straight to high heat.
7. Once fully cured, lightly sand any rough spots with 220-grit sandpaper and wipe the area clean. If needed, apply a second thin batch the same way to fill minor shrinkage or pinholes.
Variations & Tips
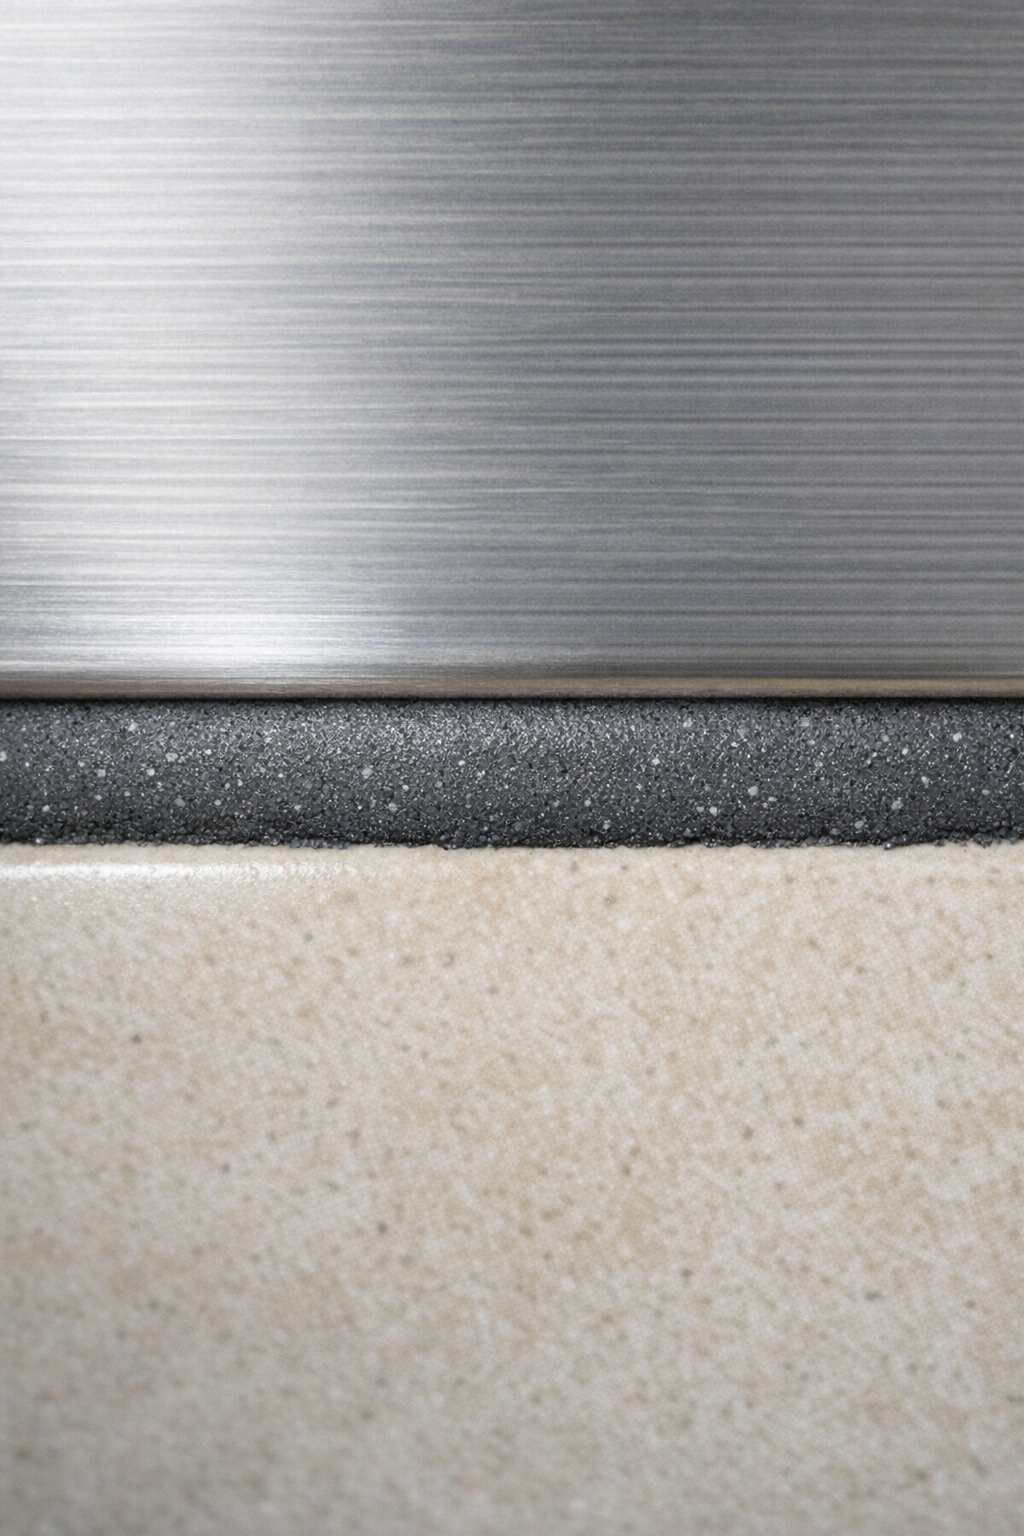
For tiny cracks: Make the mixture slightly looser so it can be pushed deeper into hairline gaps. I usually do this with just a few extra drops of sodium silicate instead of mixing a whole new batch.
For wider joints: Apply in two or three thin layers rather than one thick pass. It takes a little more patience, but I’ve found layered repairs cure more evenly and crack less.
Color matching: Blackboard chalk usually dries to a pale gray-white finish, so this works best where an off-white grout blend is acceptable. If appearance matters a lot, test a tiny hidden spot first before doing the visible repair.
Batch size: Mix only what you can use in about 10 to 15 minutes. On busy evenings, I love projects like this because a small batch is usually plenty for one quick touch-up and there’s less waste.
Best use case: Use this for non-structural, small-area patching around decorative tile, stove surrounds, or fireplace-facing surfaces outside the direct flame zone. It is not a substitute for commercial refractory mortar where code-rated, high-heat materials are required.
Cleanup tip: Wipe tools immediately after use, because sodium silicate-based mixes harden fast. A little warm water and quick cleanup right away is much easier than chiseling it off later.