
Hot afternoons on the patio can wear a person out in a hurry, especially where I live, where summer air seems to just sit still over the yard. This outdoor fan misting ring is one of those practical little projects that feels almost old-fashioned in the best way: simple materials, a bit of careful drilling, and suddenly an ordinary pedestal fan becomes a much more comfortable spot to sit beside while you shell beans, visit with family, or watch supper cook on the grill.
I like this project for anyone who wants a lower-cost cooling setup for a porch, patio, or workshop corner without fussing with a big commercial mister. The idea is straightforward: bend soft copper tubing into a ring, drill tiny misting holes, fasten it around the fan guard, and connect it to a garden hose through a valve so you can control the spray. As with any project involving water and electricity, I keep this strictly for outdoor use and take extra care to keep the motor housing and plug protected and dry.
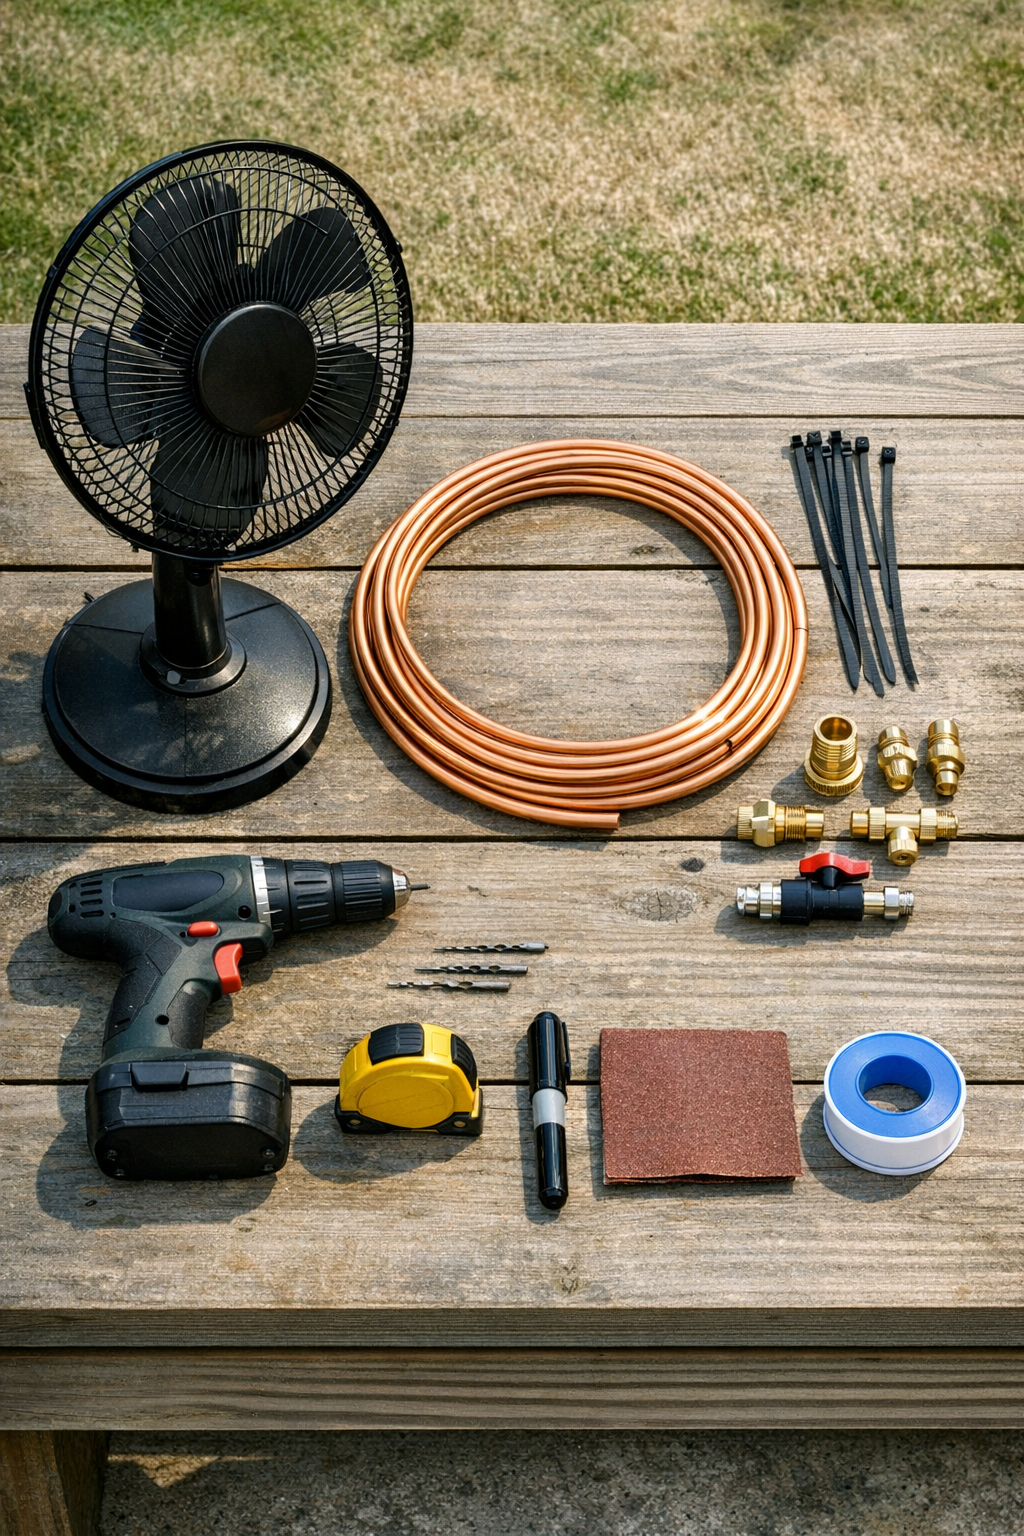
Materials
Instructions
1. Measure the inner circumference of the fan’s front wire guard where you want the misting ring to sit, usually 1 to 2 inches inside the outer edge. Add 2 inches for fitting connections, then cut the 1/4 inch copper tubing to that length.
2. Gently bend the copper tubing into a circle by hand, working slowly so you do not kink it. Test-fit it against the front fan guard and adjust until the ring sits evenly and clears the blades by at least 1 inch all the way around.
3. Mark a short section about 3 inches long at the bottom of the ring with no holes; this will be the connection area. On the rest of the ring, use the marker to place dots every 1 inch for the misting holes.
4. Clamp the tubing lightly with cardboard under the jaws so it does not get crushed. Drill a 1/32 inch hole at each mark, aiming all the holes in the same direction so the mist will spray slightly forward through the fan guard.
5. Use a small file or deburring tool to smooth the cut ends of the tubing, and lightly sand away any burrs around the drilled holes. Wipe the tubing clean so metal shavings do not clog the line.
6. Attach the brass compression end cap to one end of the copper ring and tighten it snugly. Attach the compression x garden hose adapter to the other end, wrapping threaded garden-hose connections with PTFE tape before tightening.
7. Screw the inline shutoff valve onto the hose side of the adapter, then connect your hose fitting or quick-connect. Keep the valve closed for the first test.
8. Before mounting it on the fan, test the ring outdoors by connecting it to a garden hose and turning the water on slowly. Open the valve little by little and check that each tiny hole produces a fine spray; if a few holes are too weak, clear them gently or enlarge only those with great care.
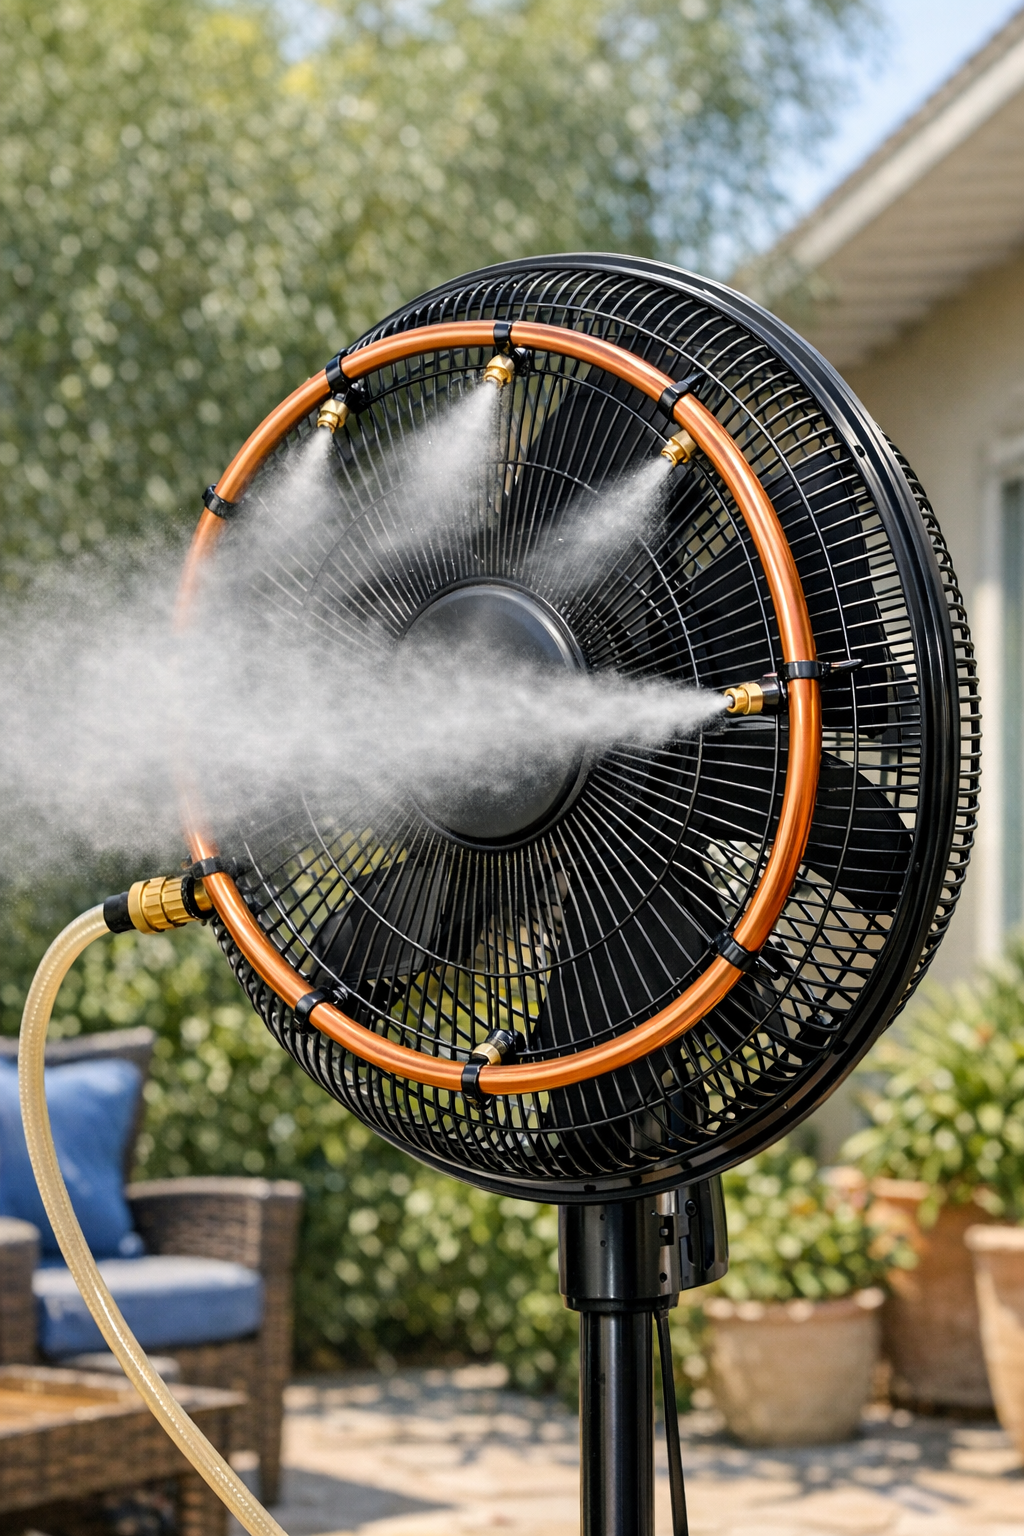
9. Fasten the finished ring to the front wire guard of the pedestal fan with 8 to 12 zip ties, spacing them evenly so the ring stays centered. Position the drilled holes to face forward and slightly inward, and route the hose connection to the bottom side of the fan guard.
10. Trim the zip tie tails and make sure the tubing does not touch the guard in a way that points water toward the motor housing. Confirm again that the fan blades spin freely without striking the ring.
11. Set the fan outdoors on a stable, dry surface and plug it into a GFCI-protected outlet rated for outdoor use. Turn on the fan first, then slowly open the water valve until you get a light mist instead of a heavy spray.
12. Fine-tune the angle of the ring or slightly rotate it on the guard if the mist is blowing back toward the motor or controls. Once adjusted, you should feel a cooler breeze across the seating area without puddling under the fan.
Variations & Tips
For a cleaner look: Use small black UV-resistant zip ties on a black fan guard so the fasteners blend in better. I find that little detail makes a homemade project look more finished.
If your water pressure is high: Open the shutoff valve only partway to keep the spray misty rather than forceful. Too much pressure can turn a cooling mist into a shower, and nobody wants that beside the patio table.
If the holes clog: Hard water can leave mineral buildup in tiny openings, so flush the ring after use and soak the tubing ends in vinegar now and then if needed. A fine needle can help clear a stubborn hole, but work gently so you do not enlarge it too much.
For easier shaping: If you have a bucket or planter close to the fan’s diameter, use it as a form while bending the copper. That old trick helps keep the circle even without flattening the tubing.
Fan safety: I only recommend this for outdoor use with a GFCI outlet, a stable pedestal fan, and careful mist direction away from the motor, controls, cord, and plug. If the fan design puts the motor too close to where overspray might collect, choose a different fan or skip the project.
Alternative tubing choice: Soft nylon misting tubing and premade mist nozzles can be substituted if you want a lighter ring, but copper holds its shape beautifully. Around here, I appreciate a project that stays put once you get it just right.
Best placement: Aim the fan across a seating area rather than straight at a wall or railing. The moving air carries the mist better, cools more evenly, and keeps the space from feeling damp.