
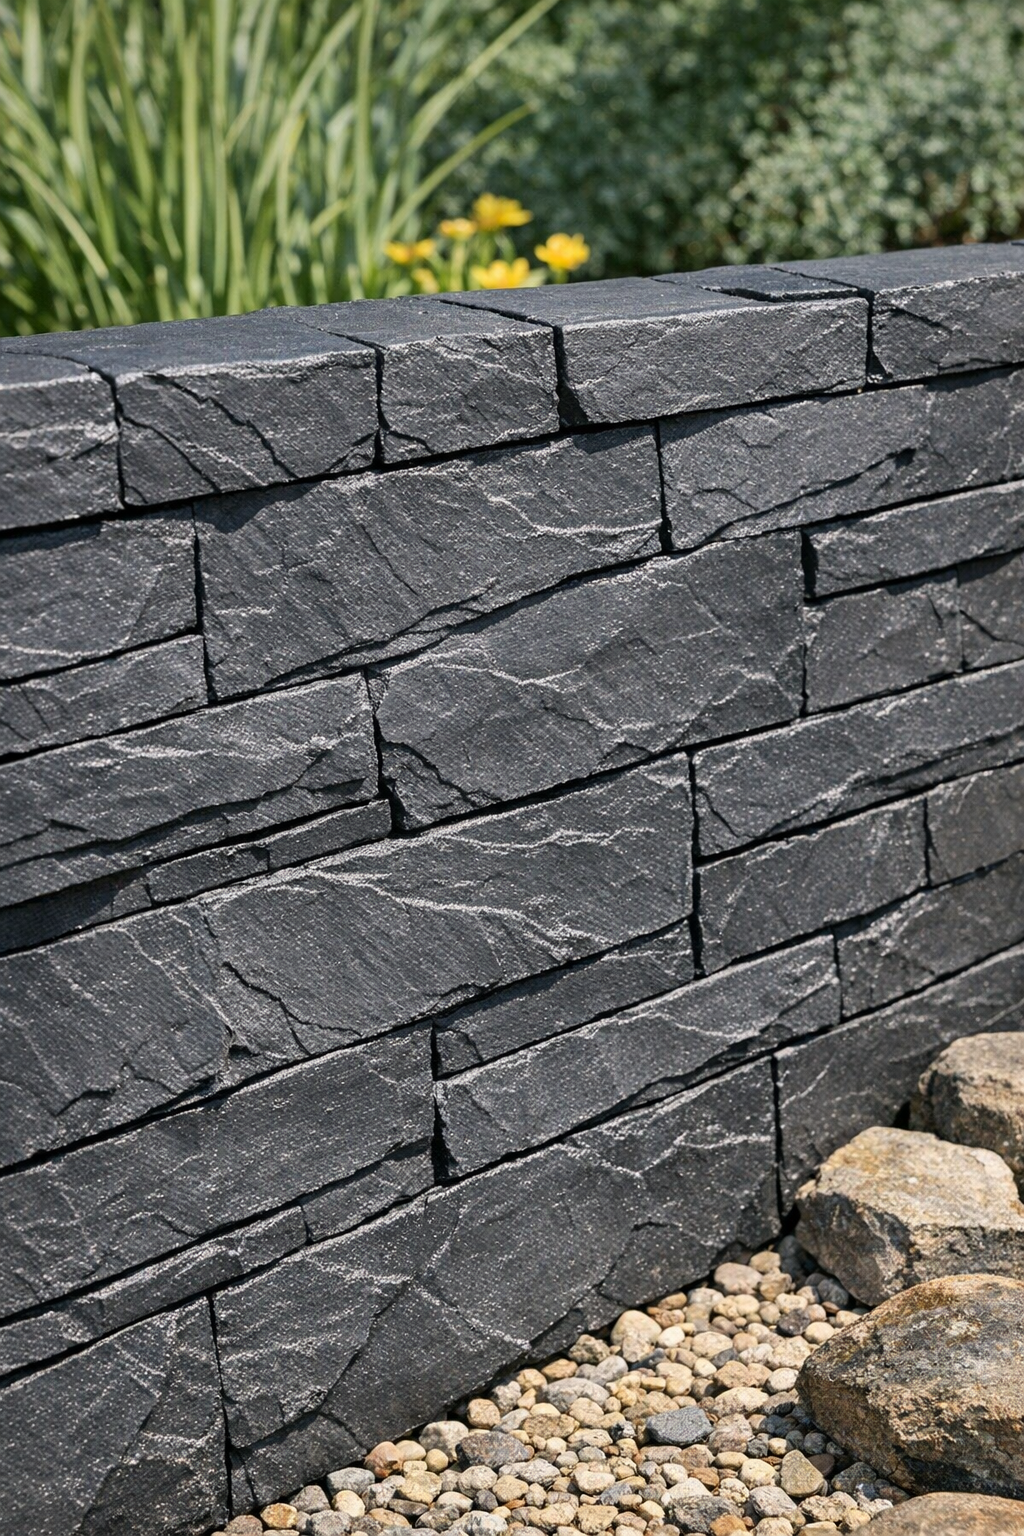
I’m always looking for outdoor DIYs that give me a high-end look without sending me to the garden center for expensive stone panels, and this one honestly surprised me the first time I tried it. By slicing up flimsy plastic nursery pots and pairing them with two basic supplies, you can make lightweight faux slate-style panels that add tons of texture to a patio wall, planter backdrop, or small garden corner.
This project is great if you like upcycling and want something durable-looking but budget-friendly. I especially love that it uses materials I tend to collect without meaning to—those leftover nursery pots after planting season are basically free craft supplies in my garage by the time spring settles down.
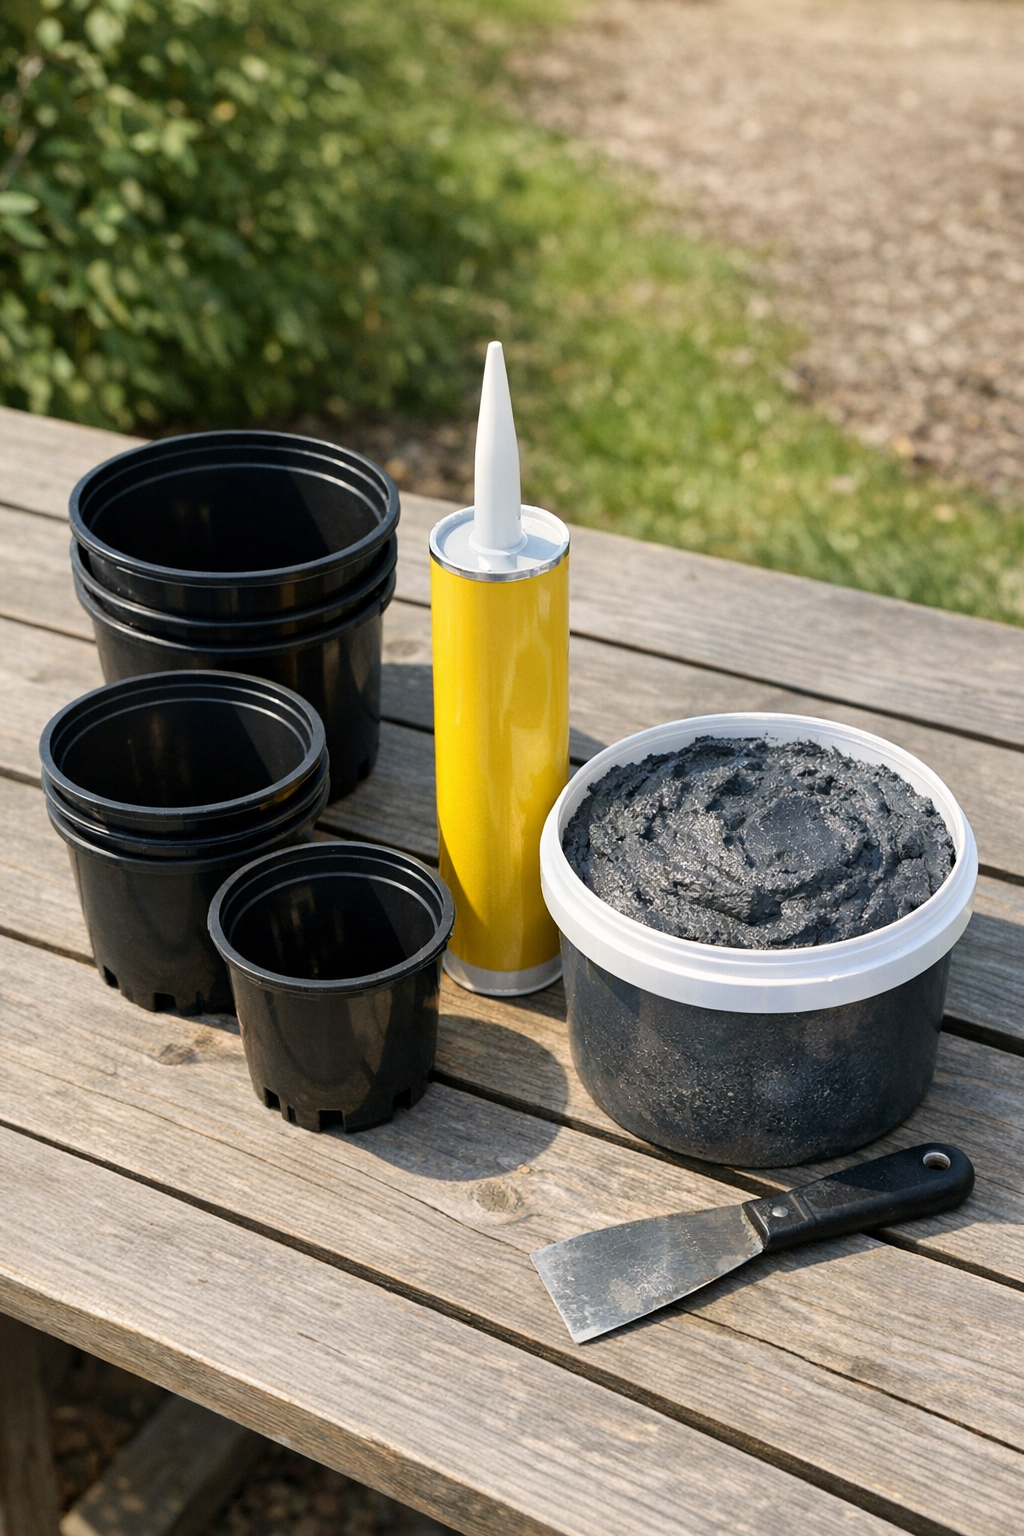
Materials
Instructions
1. Wash the nursery pots thoroughly and let them dry completely so the adhesive and paint will stick well. If there are any stickers or soil stuck on the plastic, peel and scrub them off now.
2. Use sturdy scissors or utility snips to cut off the rims and bases of the pots, then slice each pot vertically so it opens into a curved sheet. Trim the sheets into irregular slate-like pieces in a mix of rectangles, trapezoids, and rough organic shapes about 3 to 6 inches across.
3. Arrange the cut pieces on your outdoor surface or backing panel before gluing, overlapping some edges slightly to mimic natural stacked slate. Leave small uneven gaps here and there instead of making the layout too perfect.
4. Apply construction adhesive to the back of each plastic piece and press it into place one at a time. Hold each piece for a few seconds and continue until the whole panel area is covered in a natural-looking pattern.
5. Let the adhesive cure fully according to the package directions before painting. I usually give it overnight because rushing this part always comes back to annoy me later.
6. Brush on the dark gray textured exterior paint, working it into the seams and over every visible bit of plastic. Use a dabbing motion in some spots and a sweeping motion in others so the finish looks more like varied stone than smooth paint.
7. Add a second coat if needed once the first coat dries, especially on edges and corners where black plastic may still show through. The goal is a matte, uneven, slate-inspired surface with good coverage.
8. Allow the finished panel to dry completely before installing or displaying it outdoors. Once dry, step back and check for any spots that need a little extra paint to blend everything together.
Variations & Tips
Use a backing panel: If you do not want to glue directly onto a wall or fence, build the design on a scrap cement board or exterior plywood panel first, then mount it later.
Try layered color: A little light gray dry brushing over the dark base coat can make the “slate” look even more realistic. I love this step when I have an extra ten minutes and want the finish to look less flat.
Work in batches: If you are covering a larger space, cut all your plastic pieces first, sort them by size, and then glue. It makes the whole project feel much more manageable on a busy weeknight.
Choose similar pot colors: Black nursery pots are easiest to disguise under paint because they do not create bright color show-through if you miss a tiny edge at first.
Mind the weather: Pick a dry day with mild temperatures for the adhesive and paint to cure properly. Midwest humidity has taught me that “almost dry” is not the same thing as actually ready.