
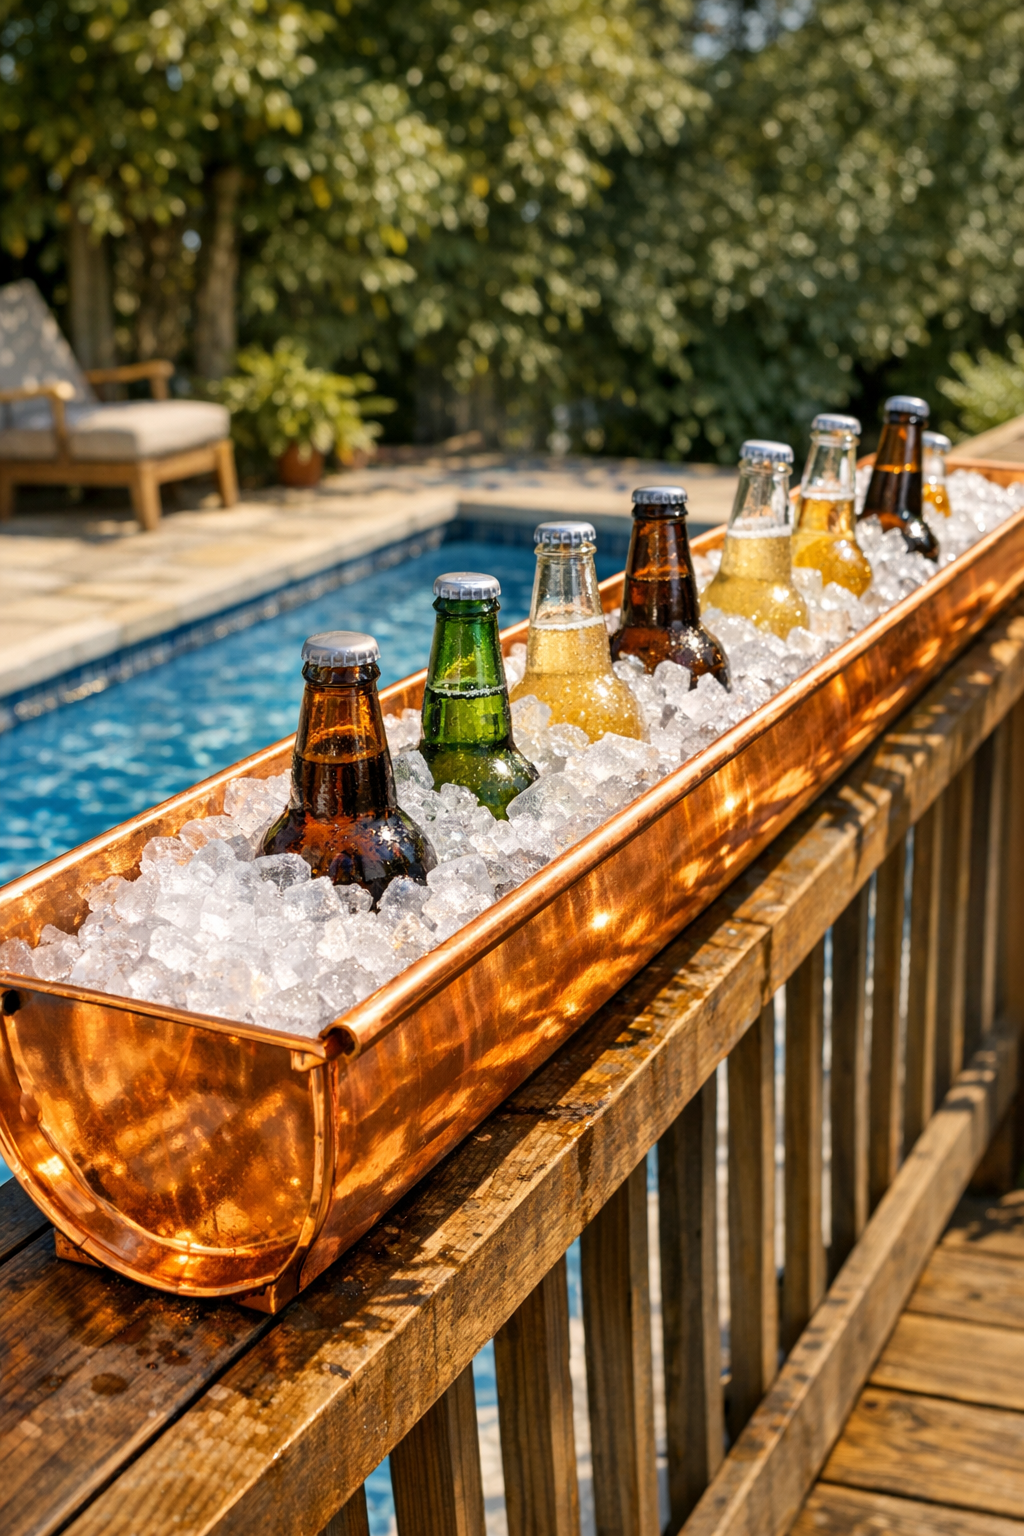
When I entertain in summer, I like anything that lets people help themselves without trekking in and out of the house dripping pool water across the floor. This poolside drink rail does exactly that: a half-round copper gutter mounted along a deck railing, filled with ice and bottled drinks so everything stays cold right where people gather.
It’s a straightforward weekend project if you’re comfortable measuring carefully, cutting metal, and fastening into an existing railing. I especially like this build because it has that polished, old-house copper charm, but the function is wonderfully practical. If you’ve got a patio, deck, or pool area that could use a clever cold-drink station, this one is absolutely worth the effort.
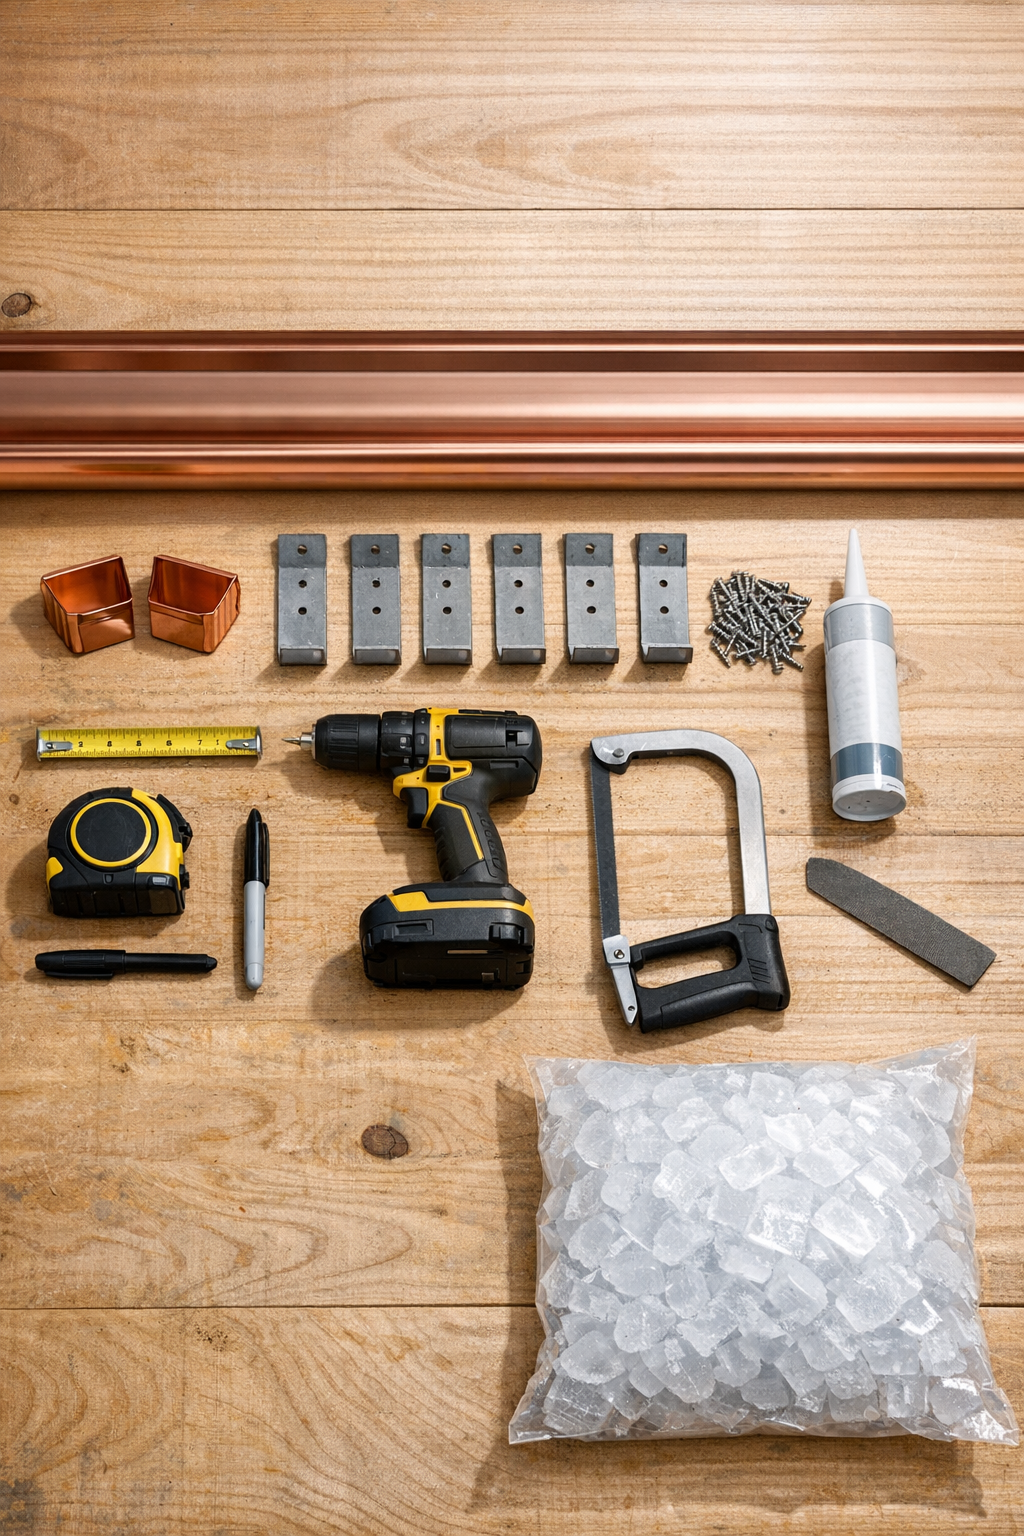
Materials
1 copper gutter, 10 feet long, 5-inch K-style or half-round style, 16 oz. copper
Instructions
1. Measure the top rail where you want the drink trough to sit, and choose a finished length that leaves at least 3 inches clear at both ends of the railing section.
2. Mark the copper gutter to that length with painter’s tape and a marker, then cut it square with a hacksaw or metal-cutting saw.
3. Slice the gutter lengthwise so you create a trough from roughly one half of the piece; use metal snips for thin copper or a metal-cutting blade if the gauge is heavier.
4. Smooth every cut edge with a metal file and then sand lightly so there are no sharp spots where hands, towels, or swimsuits could catch.
5. Dry-fit the end caps onto the trough and check that the shape sits level on your railing side or on the support brackets you plan to use.
6. Clean the copper with degreaser, apply a bead of clear exterior silicone inside each end cap, and press the caps firmly into place.
7. Let the sealant set according to the manufacturer’s directions, then fill the trough with a little water to test for leaks before mounting it outside.
8. Mark bracket locations on the railing, spacing 6 brackets evenly across a 10-foot section, with one bracket near each end and the rest distributed for support.
9. Pre-drill the railing for the bracket screws, then fasten each bracket securely with stainless steel exterior screws and check that all brackets line up level.
10. Set the copper trough onto the brackets, center it carefully, and mark the bracket hole locations onto the copper underside or back face.
11. Remove the trough, drill the marked holes through the copper, and bolt it to the brackets with machine screws, washers, and nuts.
12. Wipe the copper clean, add ice, and nestle in bottled or canned drinks so the weight distributes evenly along the full rail.
Variations & Tips
Add a drain: If you plan to use this often, drill a small drain hole at one end and fit a short brass or stainless drain fitting so meltwater can empty into a bucket or onto a gravel bed.
Try a shorter section: For a compact deck or balcony, make a 4- to 6-foot version with 3 or 4 brackets. It still holds plenty of drinks and is easier to mount solo.
Use beverage-safe ice only: I always fill the trough with clean bagged ice rather than loose freezer ice, especially when bottles and cans will be handled all afternoon.
Protect wood railings: If your railing is painted or stained wood, run a thin bead of silicone or add rubber washers at contact points to reduce trapped moisture against the finish.
Expect the copper to age: Fresh copper starts bright and penny-colored, then deepens and eventually develops patina outdoors. I think that weathered look is part of the charm, but you can polish it periodically if you prefer the shine.
Mind the weight: Ice and drinks get heavy fast, so make sure the railing is structurally sound before mounting anything to it. When in doubt, reduce the length or add extra brackets for support.