
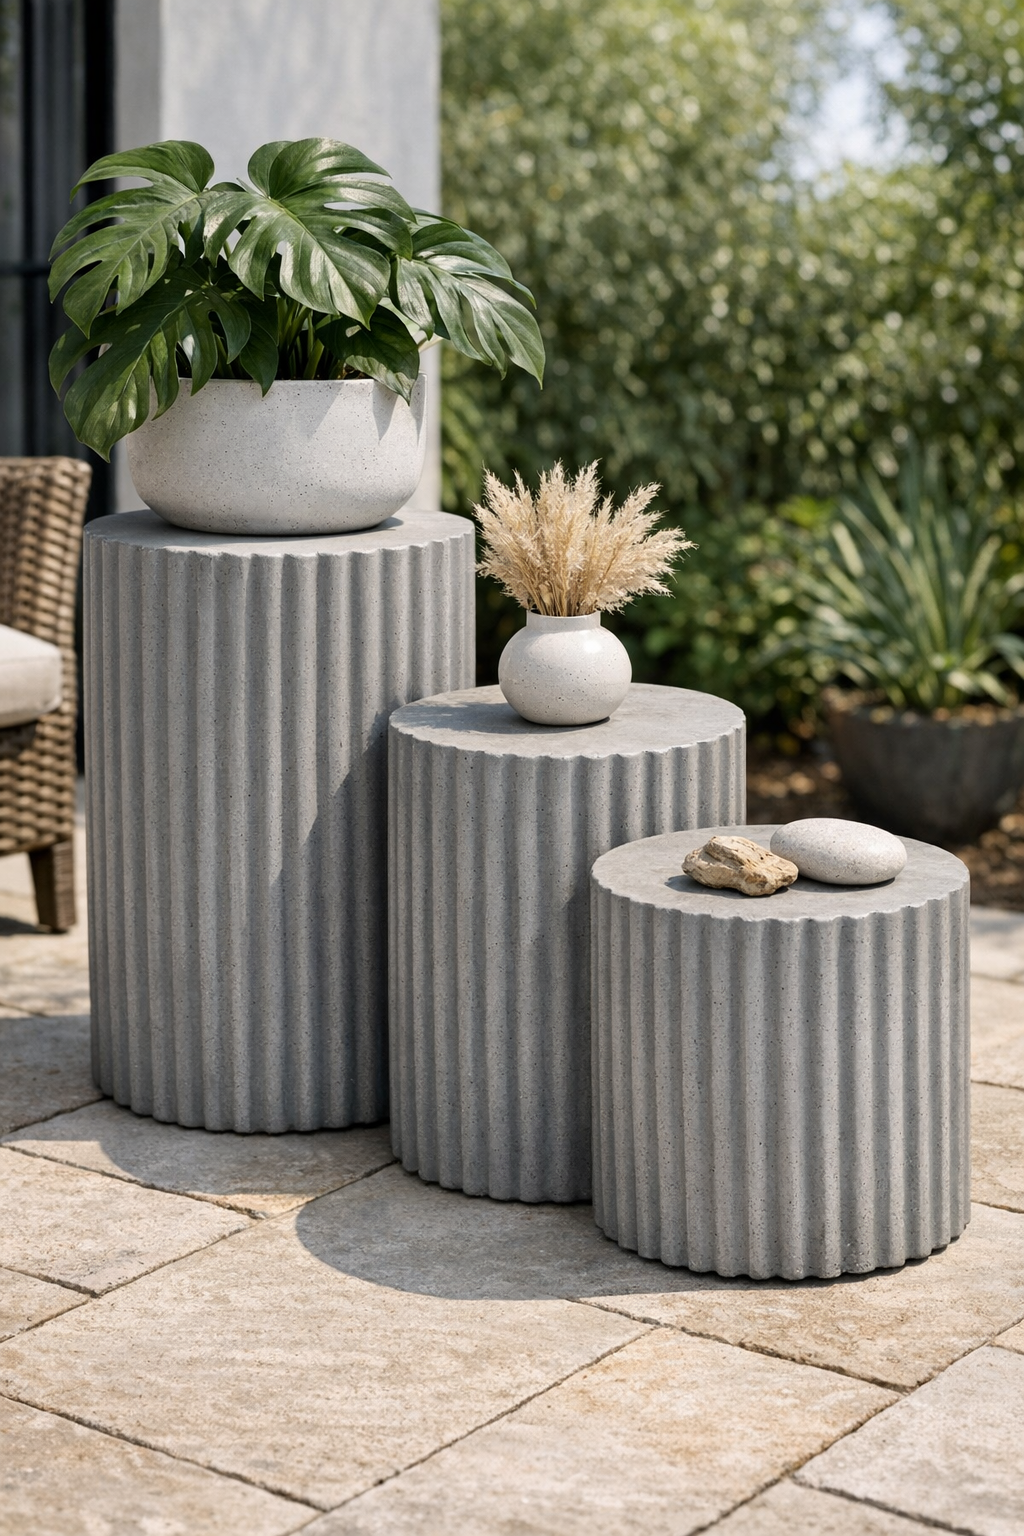
I love a project that looks high-end but starts with the kind of humble materials you can pick up almost anywhere, and these heavy ribbed patio plinths are exactly that kind of build. By using plastic sand buckets as molds, you can cast a set of three sturdy cement pedestal stands that look sculptural, modern, and surprisingly expensive once they’re finished.
This is a great weekend project if you want to elevate potted plants, lanterns, or outdoor décor on a patio, porch, or garden corner. I’m especially fond of projects like this because they borrow a little from the kitchen mindset I know so well: measure carefully, work in batches, and let patience do part of the job for you.
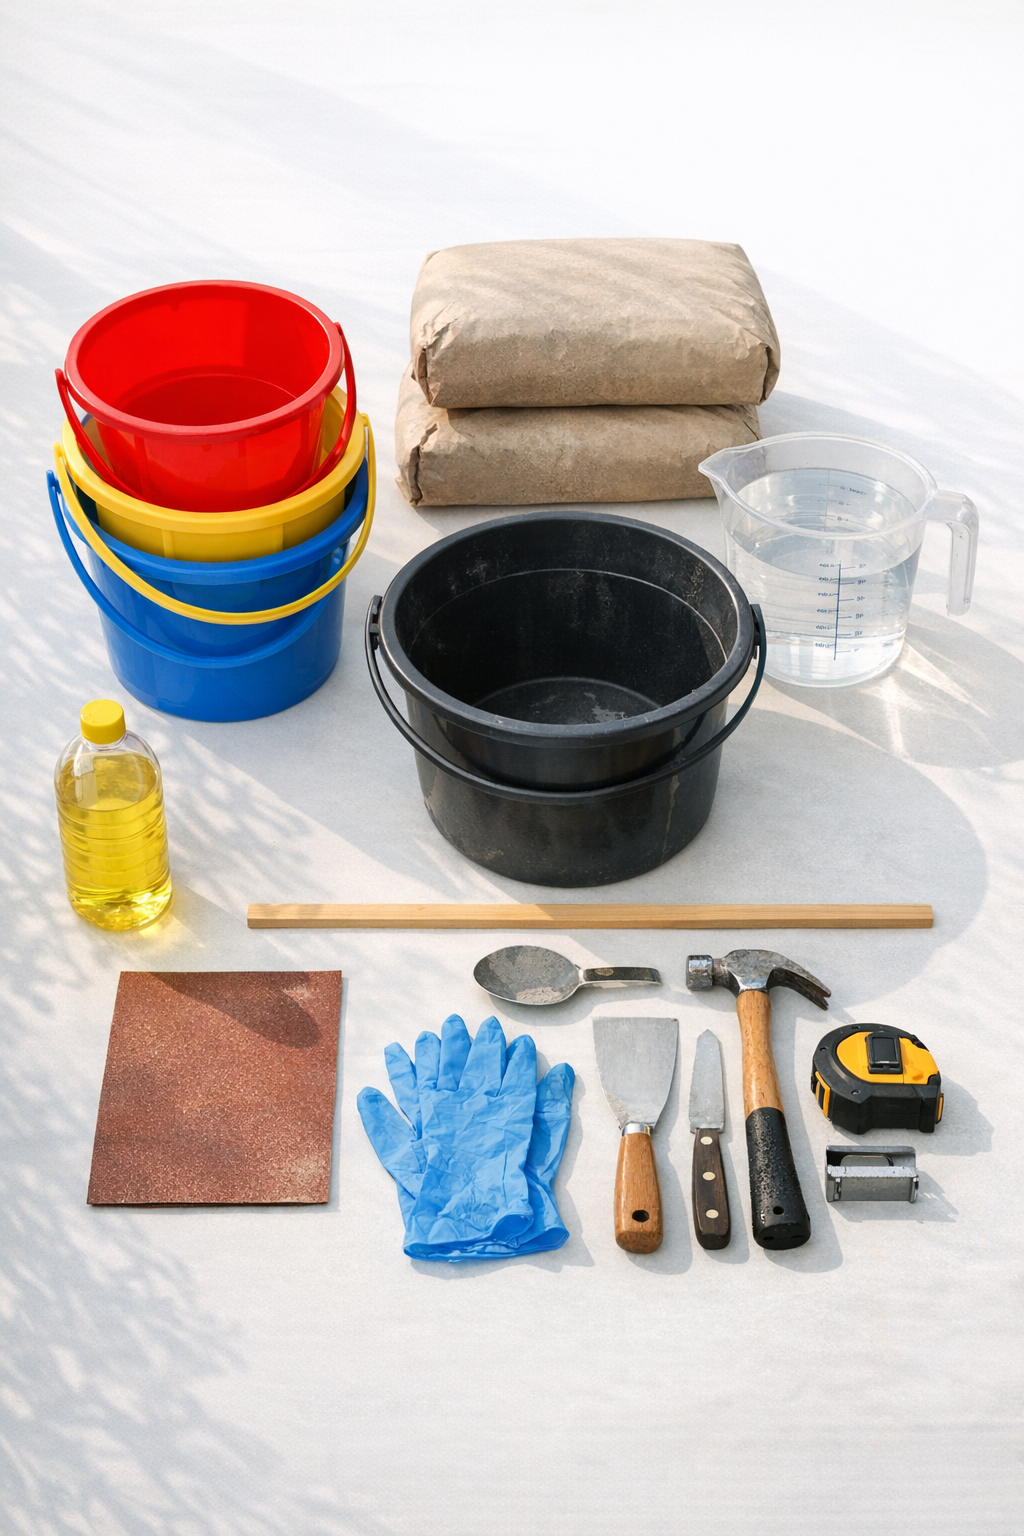
Materials
Instructions
1. Cover your work area with a drop cloth or cardboard, then set out the three sand buckets and check that they sit level and have no cracks or holes.
2. Wash and dry the inside of each bucket, then rub a thin, even coat of cooking oil or mold release over the interior so the cured cement releases more easily.
3. Put on gloves and a dust mask, then mix your first batch of concrete in the large mixing bucket using the amount of water recommended on the bag, adding water slowly until the texture is thick like stiff oatmeal.
4. Fill the largest sand bucket first, scooping in the concrete a few inches at a time and tapping the bucket firmly on the ground after each addition to release trapped air.
5. Repeat the process for the medium and small buckets, filling each to the top and tapping the sides with a rubber mallet to help the mix settle into the ribbed shape.
6. Smooth the exposed top surface of each bucket with a trowel or scoop so the bottom of each finished plinth will sit as flat as possible once unmolded.
7. Let the filled buckets rest undisturbed for at least 24 to 48 hours, or until the concrete feels fully hard and cool rather than damp and soft.
8. Flex each plastic bucket gently to loosen the sides, then cut down the rim with a utility knife or scissors if needed and peel the bucket away from the cured concrete.
9. Stand the plinths upright and allow them to cure for another 3 to 5 days so they gain more strength before heavy use outdoors.
10. Sand any sharp edges or rough spots around the base and top with medium-grit sandpaper, keeping the ribbed sides intact for the best finished look.
11. If you want extra weather resistance, brush or wipe on a thin coat of exterior concrete sealer and let it dry according to the manufacturer’s directions.
12. Add felt or rubber pads to the bottoms if the plinths will sit on finished stone or wood, then arrange the three pieces together on your patio with plants, candles, or decorative objects on top.
Variations & Tips
For a smoother finish: Use a finer sand-topping mix instead of standard coarse concrete if you want a cleaner, more refined surface with less pitting.
For extra weight: Choose taller or wider buckets, but keep in mind that larger plinths need more curing time and become very heavy to move.
For a softer color: After full curing, you can limewash or use masonry paint on the outside for a pale stone look that feels a bit Mediterranean.
To reduce air bubbles: Tap the filled molds several times on all sides and lightly shake them after filling; it reminds me of settling cake batter, and it makes a real difference in the finished texture.
For level tops: Check the filled buckets on a flat surface before curing, because even a slight tilt will show once you start using the plinths as display stands.
For outdoor durability: Let the plinths cure fully before exposing them to heavy rain or freezing temperatures, especially if you’ve made them in a humid or cool climate.