
There’s something especially satisfying about turning a couple of inexpensive straw sun hats into sturdy garden basins that look like they came from a boutique garden shop. In this project, I use the hats as ready-made molds, then coat them with a wet cement mixture strengthened and smoothed with one common ingredient: acrylic craft paint. The result is a pair of heavy, sculptural basins that work beautifully as planters, birdbath bases, or simple decorative pieces tucked among herbs and flowers.
I’m always drawn to projects that borrow from the kitchen mindset of using what you have and trusting texture and proportion, and this one fits that perfectly. If you’re comfortable mixing pancake batter, you can handle this. It’s a good weekend project for beginners, and it’s especially nice if you want high-end garden décor without paying the high-end price.
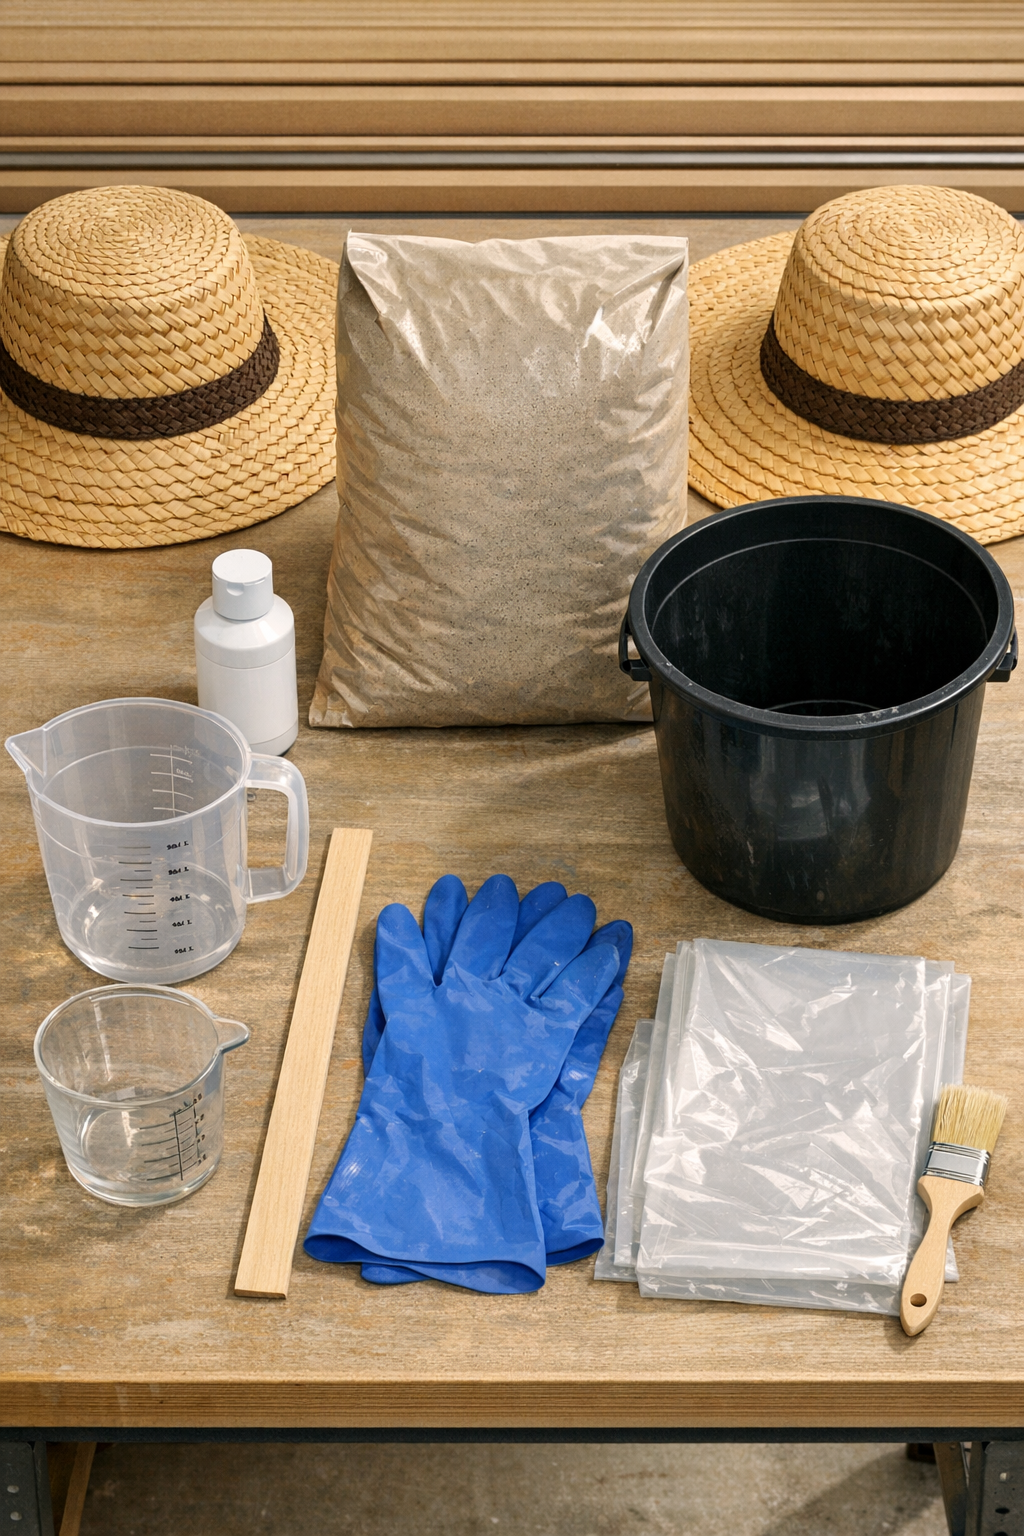
Materials
Instructions
1. Set up your workspace outdoors or in a well-ventilated area, and cover the surface with the plastic drop cloth. Wrap your support bowls or buckets in plastic so the cement won’t stick as it cures.
2. Place each straw hat upside down over a covered bowl or bucket, then adjust the brim until you like the basin shape. I usually let one brim dip a little more than the other so the finished pair looks collected rather than identical.
3. In the mixing bucket, combine the cement mix and acrylic craft paint, then add water a little at a time until you get a thick, spreadable consistency like Greek yogurt. Stir thoroughly so there are no dry pockets.
4. Put on gloves and press the cement mixture into the straw, starting at the crown and working outward across the brim. Coat the entire outside surface in a layer about 1/4 inch thick, using the brush to push cement into small gaps along the weave.
5. Smooth the surface with your gloved hand or brush, but don’t worry about making it perfectly polished; a little texture looks beautiful in the garden. Check the brim edges and add a bit more mix anywhere the straw still shows through heavily.
6. Let the hats sit undisturbed for 24 hours on their supports until the cement firms up. If the weather is hot and dry, lightly mist the surface once or twice during the first several hours to slow cracking.
7. Carefully lift each basin off its support and turn it right side up. If you want a thicker, more finished interior, spread a thinner 1/8-inch coat of the remaining cement mixture inside each hat basin.
8. Allow the basins to cure for another 24 to 48 hours until fully hard. Once dry, sand any sharp ridges lightly with medium-grit sandpaper.
9. If you plan to use them as planters or birdbath-style garden accents, brush on a clear outdoor sealer and let it dry according to the product directions. This extra step helps with weather resistance, especially in freeze-thaw climates like ours in the Midwest.
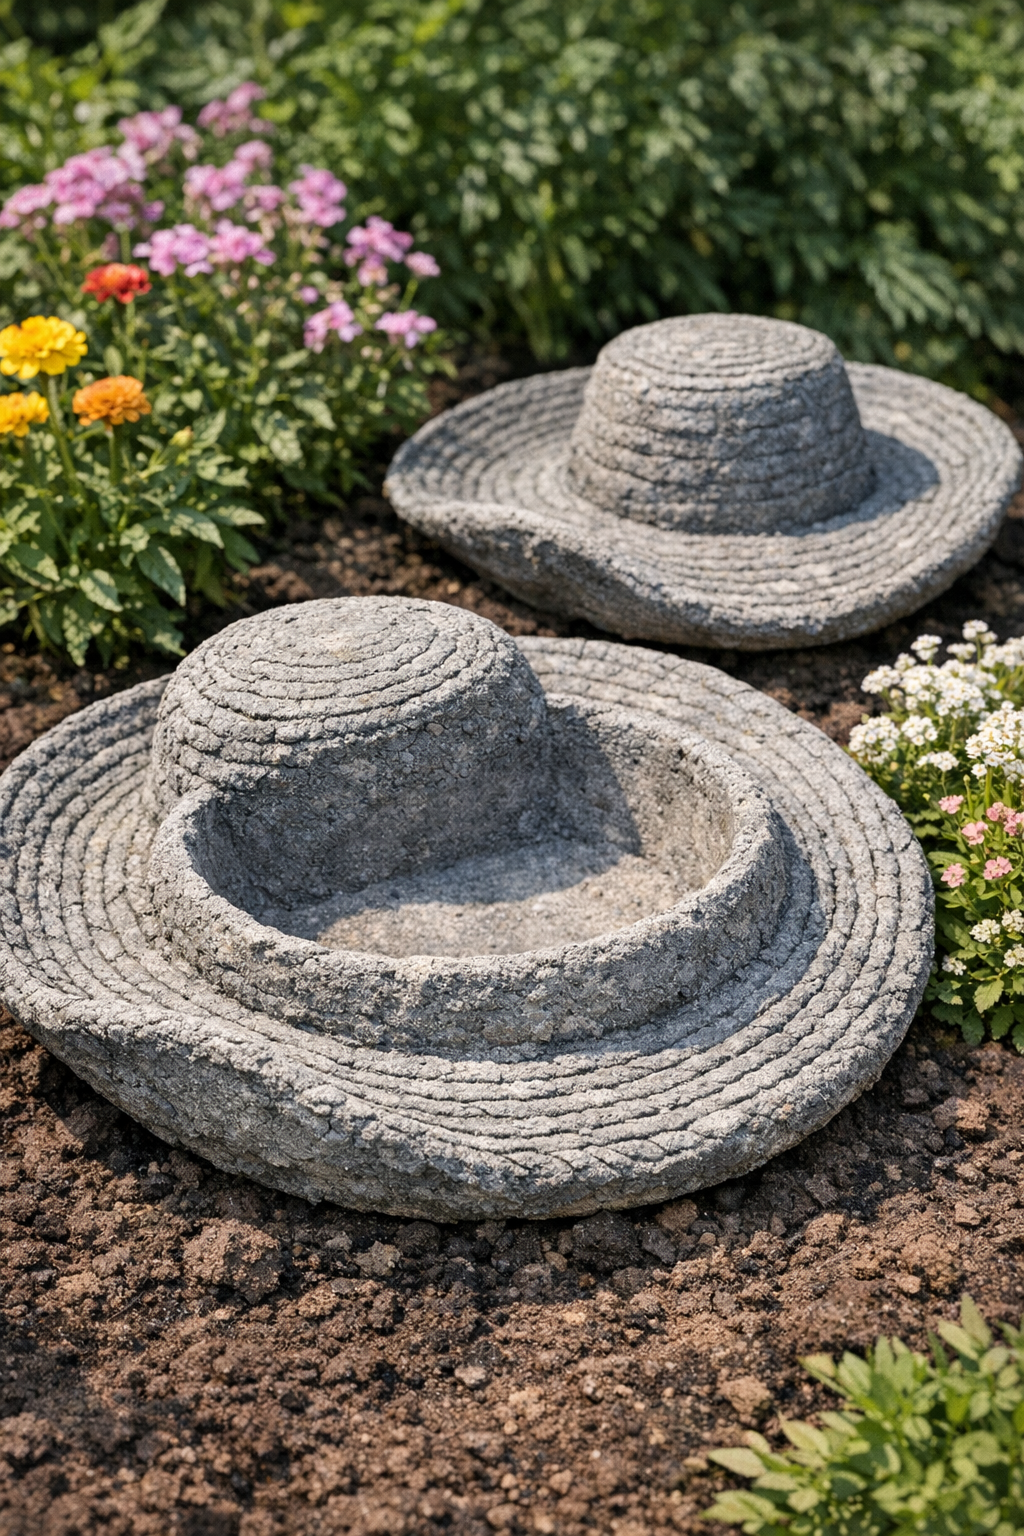
10. Set the finished basins in the garden on level ground or on small spacers for drainage and stability. Style them as a pair for the best effect, filling them with succulents, moss, trailing flowers, or simply leaving them empty as sculptural pieces.
Variations & Tips
Use different hat shapes: Floppier brims create softer, more organic basins, while tightly woven hats with a firmer brim give a cleaner, shallower profile.
Try tinted finishes: If you want a warmer stone look, use beige or gray acrylic craft paint in the mix, or dry-brush the cured basins with exterior paint after sealing.
Make them planter-friendly: I like to nest a plastic nursery pot inside rather than planting directly into the basin; it makes watering easier and protects the finish over time.
Watch the mixture texture: If the cement is too thin, it will slump off the brim; if it’s too dry, it won’t bond well to the straw. Aim for thick and spreadable, and mix small adjustments as needed.
Expect a handmade finish: Much like rustic bread or a hand-formed tart, this project looks best when it doesn’t feel factory perfect. A few ripples and texture marks are part of the charm.
Plan for weight: Once cured, these pieces are heavy, so place them near their final garden location before filling or styling them.