
I love a backyard project that solves two problems at once, and this one absolutely does that. By cutting a plywood circle to fit snugly inside a concrete fire ring rim, you can turn an unused fire pit into a sturdy cover table for drinks, snacks, planters, or even a casual weeknight dinner outside. It is one of those simple patio hacks that looks surprisingly polished once it is finished.
As someone who is always trying to make outdoor spaces work harder without spending a fortune, I appreciate projects like this because they are practical, beginner-friendly, and easy to customize. If you already have a concrete fire ring sitting in the yard, this is a smart way to give it a second life when you are not using it for a fire.
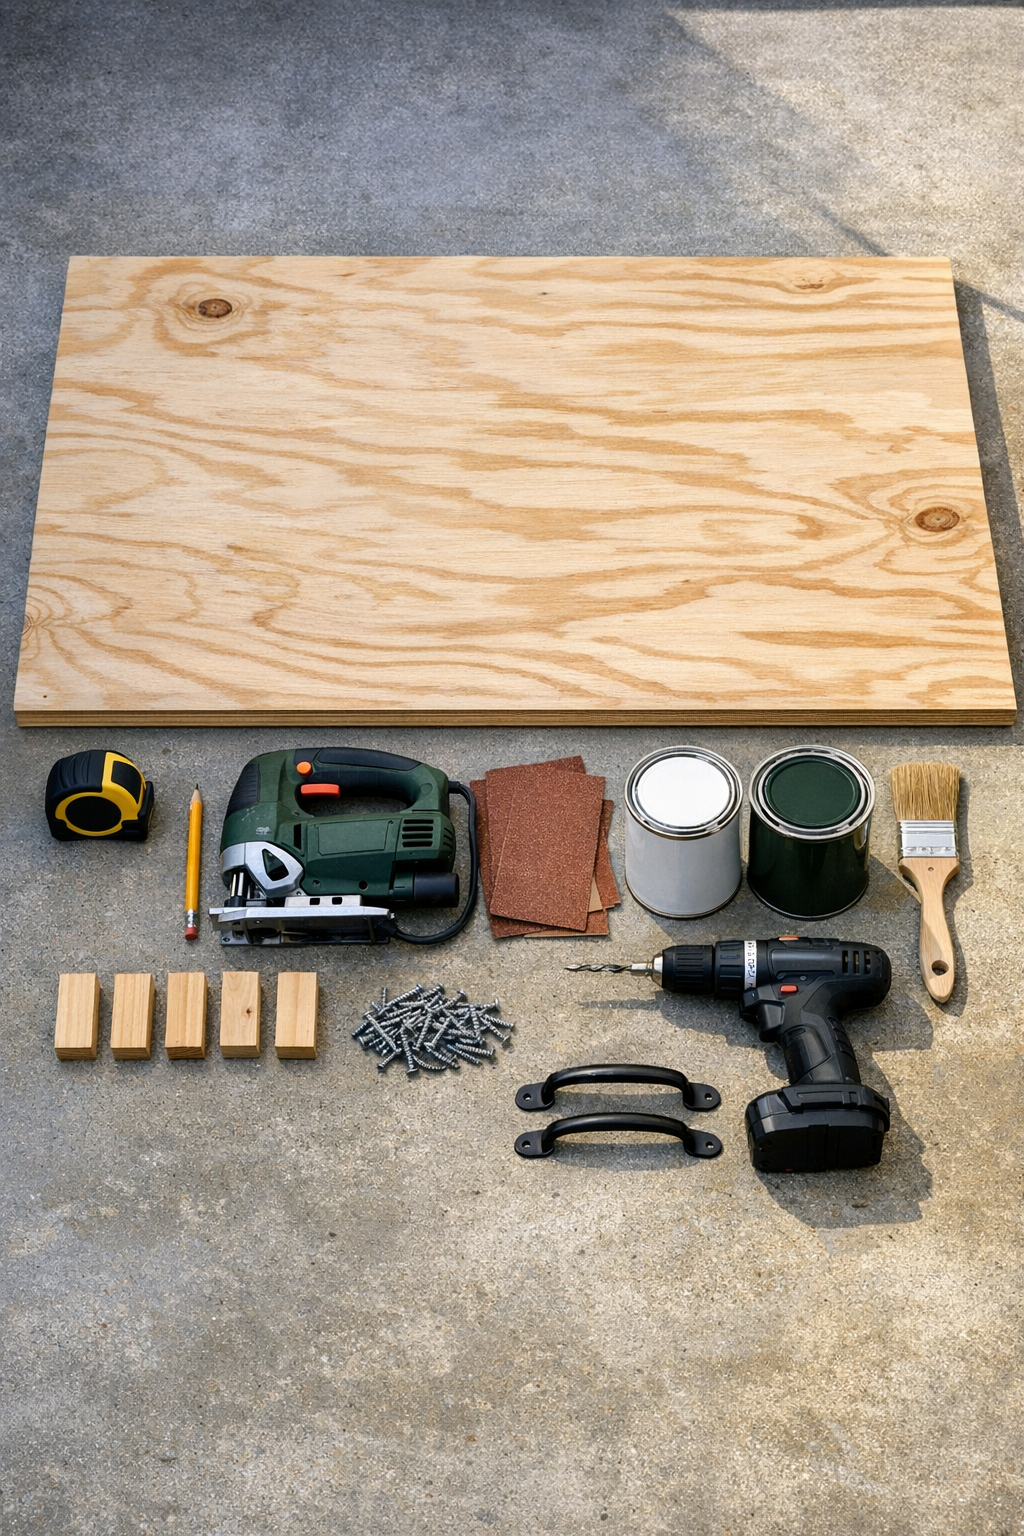
Materials
Instructions
1. Measure the inside diameter of the concrete fire ring rim where the plywood top will sit. Subtract about 1/4 inch from that measurement so the cover will drop in easily without scraping.
2. Mark the center point on your plywood and use a pencil tied to a string to draw a circle using your adjusted radius. Double-check the measurement before cutting so the fit is as close as possible.
3. Cut along the circle line slowly with a jigsaw, keeping the saw steady to avoid flat spots on the edge. Test-fit the circle inside the concrete rim and trim any tight areas as needed.
4. Sand the cut edge first with 80-grit sandpaper and then smooth everything with 150-grit. Round over the top edge slightly so it feels nicer to the touch and sheds water better.
5. Turn the plywood circle upside down and position the four wood cleats evenly underneath, just inside the edge. Attach them with two screws per cleat so they act as stops and help keep the top centered on the concrete ring.
6. Set the top back into the fire ring to make sure the cleats fit inside the rim without binding. If needed, shift or trim the cleats until the cover sits flat and lifts out easily.
7. Prime the top, bottom, edges, and cleats with exterior primer, then let it dry fully. Do not skip the edges, because that is where outdoor wood tends to absorb moisture first.
8. Apply two coats of exterior paint or stain and sealer, allowing proper drying time between coats. I like a dark charcoal, black, or warm wood tone here because it blends in nicely with most patio furniture.
9. Add a thin bead of exterior caulk around the plywood edge if you want extra moisture protection, then smooth it with a finger and let it cure. This small step helps extend the life of the cover if it stays outdoors often.
10. Attach the two metal pull handles on top, spacing them evenly so the cover is easy to lift on and off. Set the finished cover into the concrete fire ring and check that it sits level and secure.
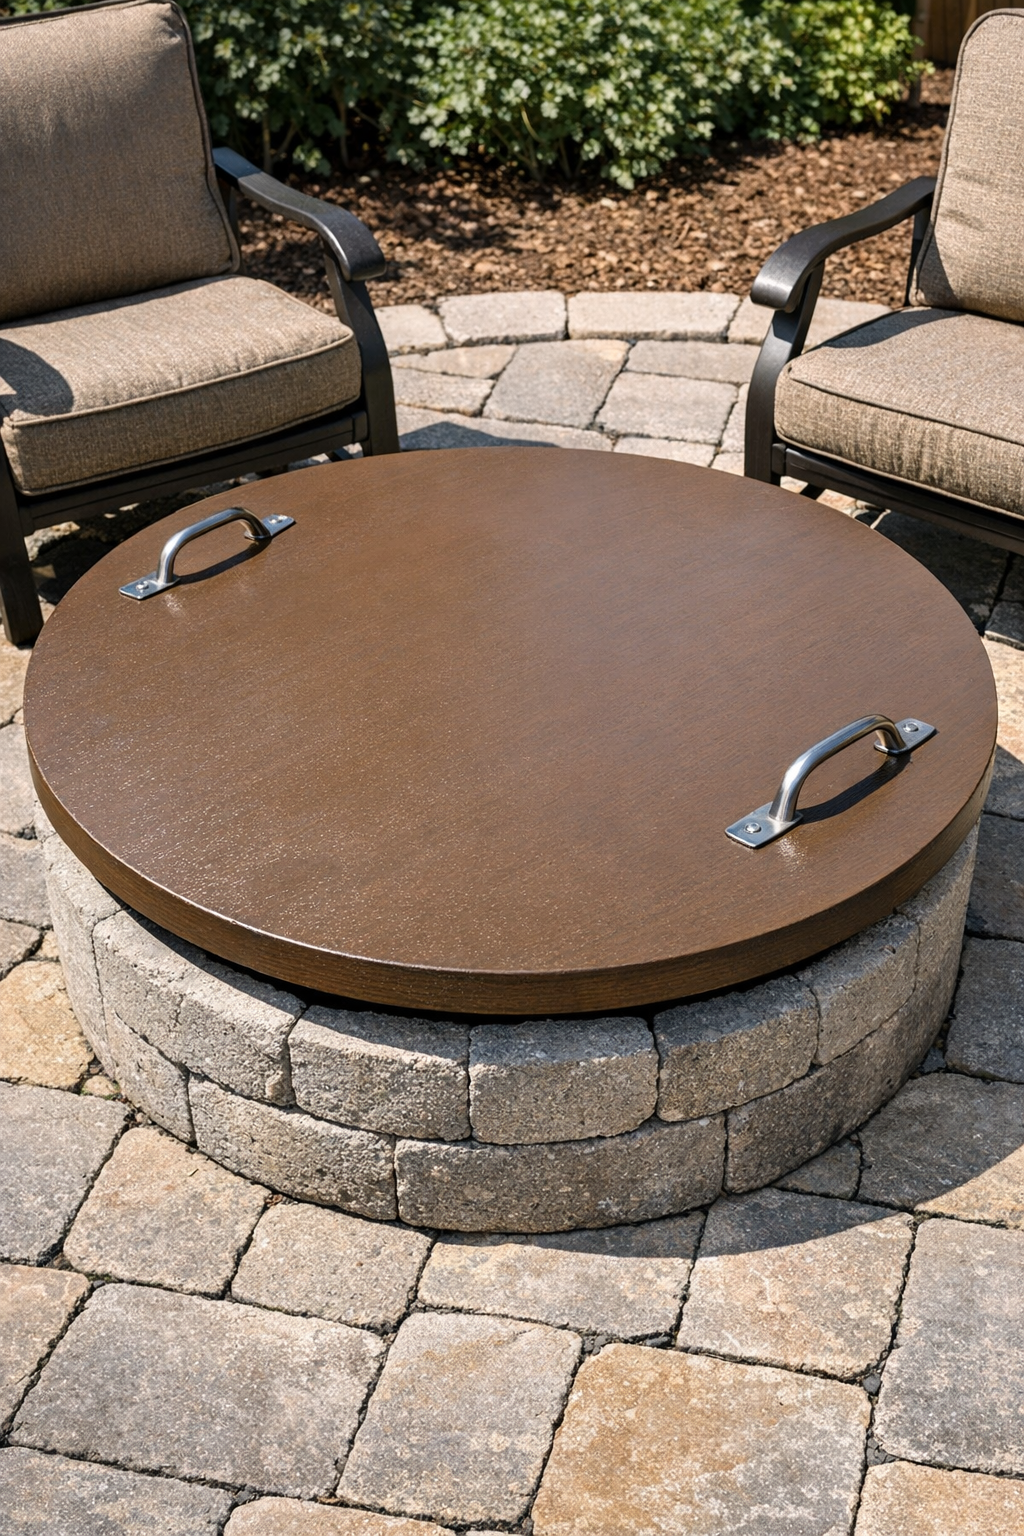
Variations & Tips
Add a center umbrella hole: If your fire ring is in a sunny open area, you can drill a centered hole sized for a patio umbrella pole and use the covered pit as a seasonal table.
Use deck stain instead of paint: If you prefer a more natural look, an exterior stain and sealer can show off the wood grain while still protecting the surface.
Upgrade the top material: For a longer-lasting version, use marine plywood instead of standard exterior plywood, especially if your patio gets a lot of rain.
Make it easier to grab: Rope handles or recessed handles can work if you want a softer look or a flatter tabletop surface for serving.
Check fire pit safety: Only use this cover when the fire pit is completely cool and cleaned out. I would never place a wood cover over any lingering heat or embers.
Store it longer between uses: Even with exterior finishes, your cover will last better if you lean it in a shed or garage during harsh winter weather. That is usually my move with outdoor DIY pieces here in the Midwest.