
I love a porch project that looks high-end but comes together in one afternoon, and this woven basket side table is exactly that. By flipping a seagrass basket over a set of painted wooden furniture legs, you get a light, airy patio table that feels relaxed and coastal without spending boutique-furniture money.
This is a great DIY if you want something beginner-friendly, renter-friendly, and easy to customize. I’m always looking for simple projects that fit into a busy week, and this one checks every box: minimal cuts, straightforward assembly, and a finished piece that’s actually useful for holding a drink, a small planter, or my favorite weekend coffee.
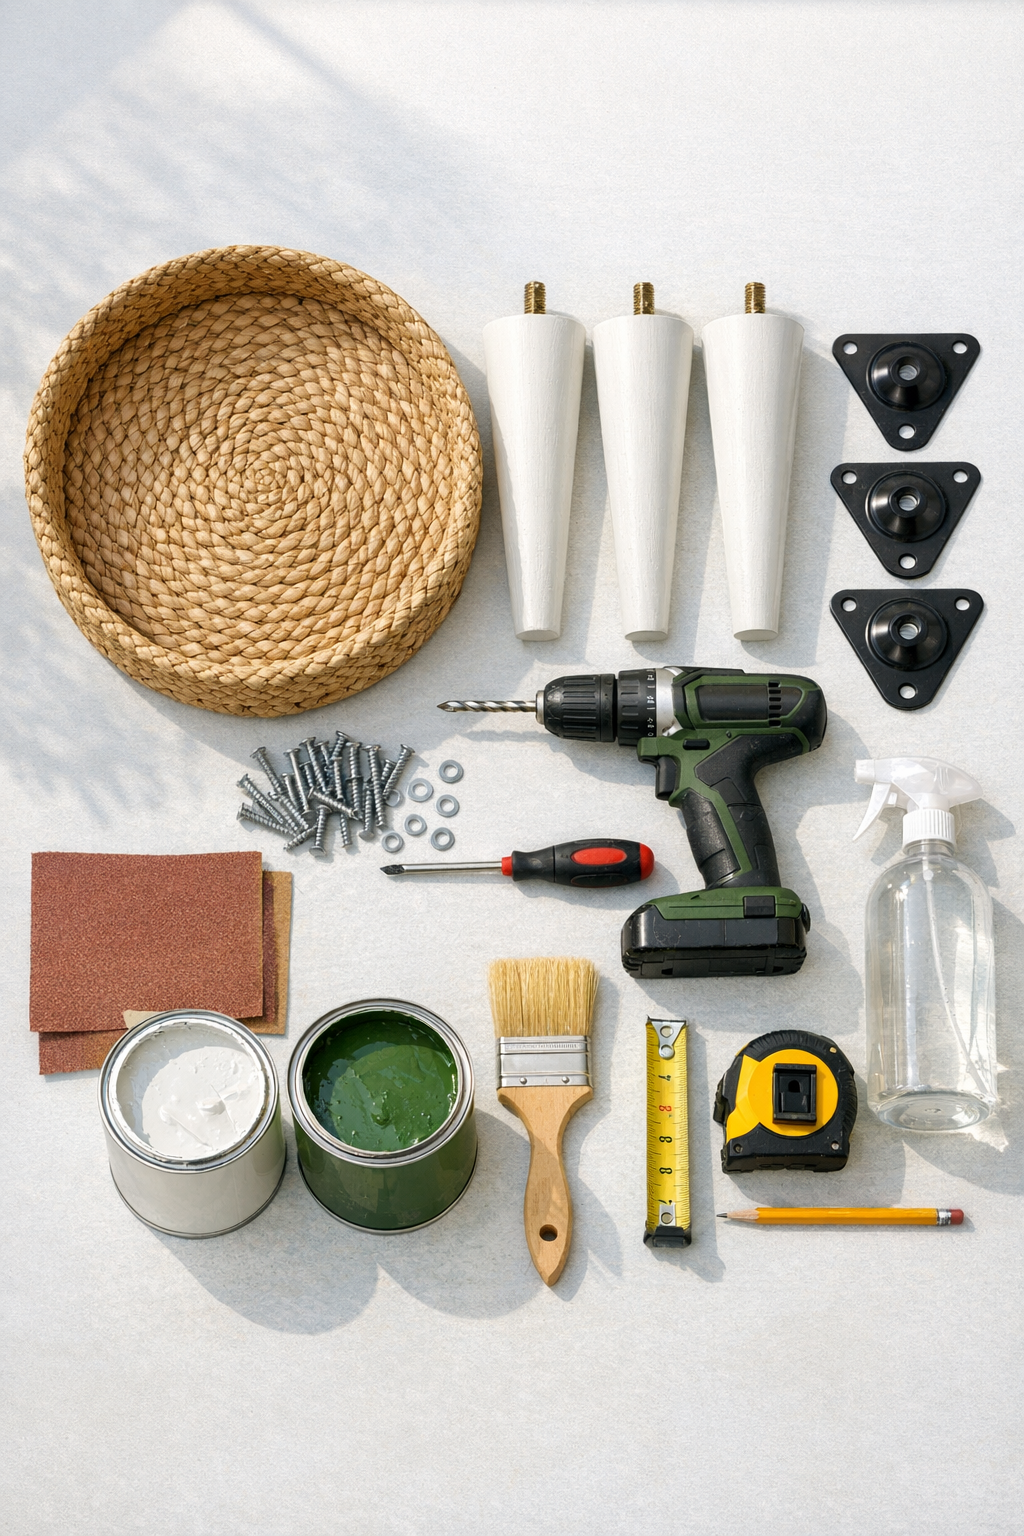
Materials
1 round woven seagrass basket, 16 to 18 inches wide and 14 to 16 inches tall
Instructions
1. Turn the seagrass basket upside down and decide which side will become the tabletop, making sure it sits evenly and doesn’t wobble.
2. Wipe the wooden legs clean, then sand them lightly with 120-grit sandpaper followed by 220-grit so the paint goes on smoothly.
3. Apply a coat of bonding primer to the legs and let it dry completely according to the product directions.
4. Paint the legs with 1 to 2 coats of outdoor-rated paint, allowing proper drying time between coats, then seal them with a clear topcoat for extra durability.
5. While the legs dry, measure the bottom center of the upside-down basket and mark a triangle layout so the three legs will sit evenly spaced.
6. Place the mounting plates over your marks, check that they are the same distance from the center, and adjust until the spacing looks balanced.
7. Drill small pilot holes carefully through the basket’s firm base or inner support structure where each mounting plate will attach.
8. Screw the mounting plates onto the basket using short screws, tightening them by hand at the end so you don’t strip the woven material or crack any support pieces.
9. Twist the painted legs into the mounting plates and set the table upright on a flat surface.
10. Check for wobble, then tighten the legs or make small adjustments until the table stands level and feels sturdy.
11. If desired, add felt pads or outdoor rubber caps to the bottoms of the legs to protect your porch floor and help the table stay put.
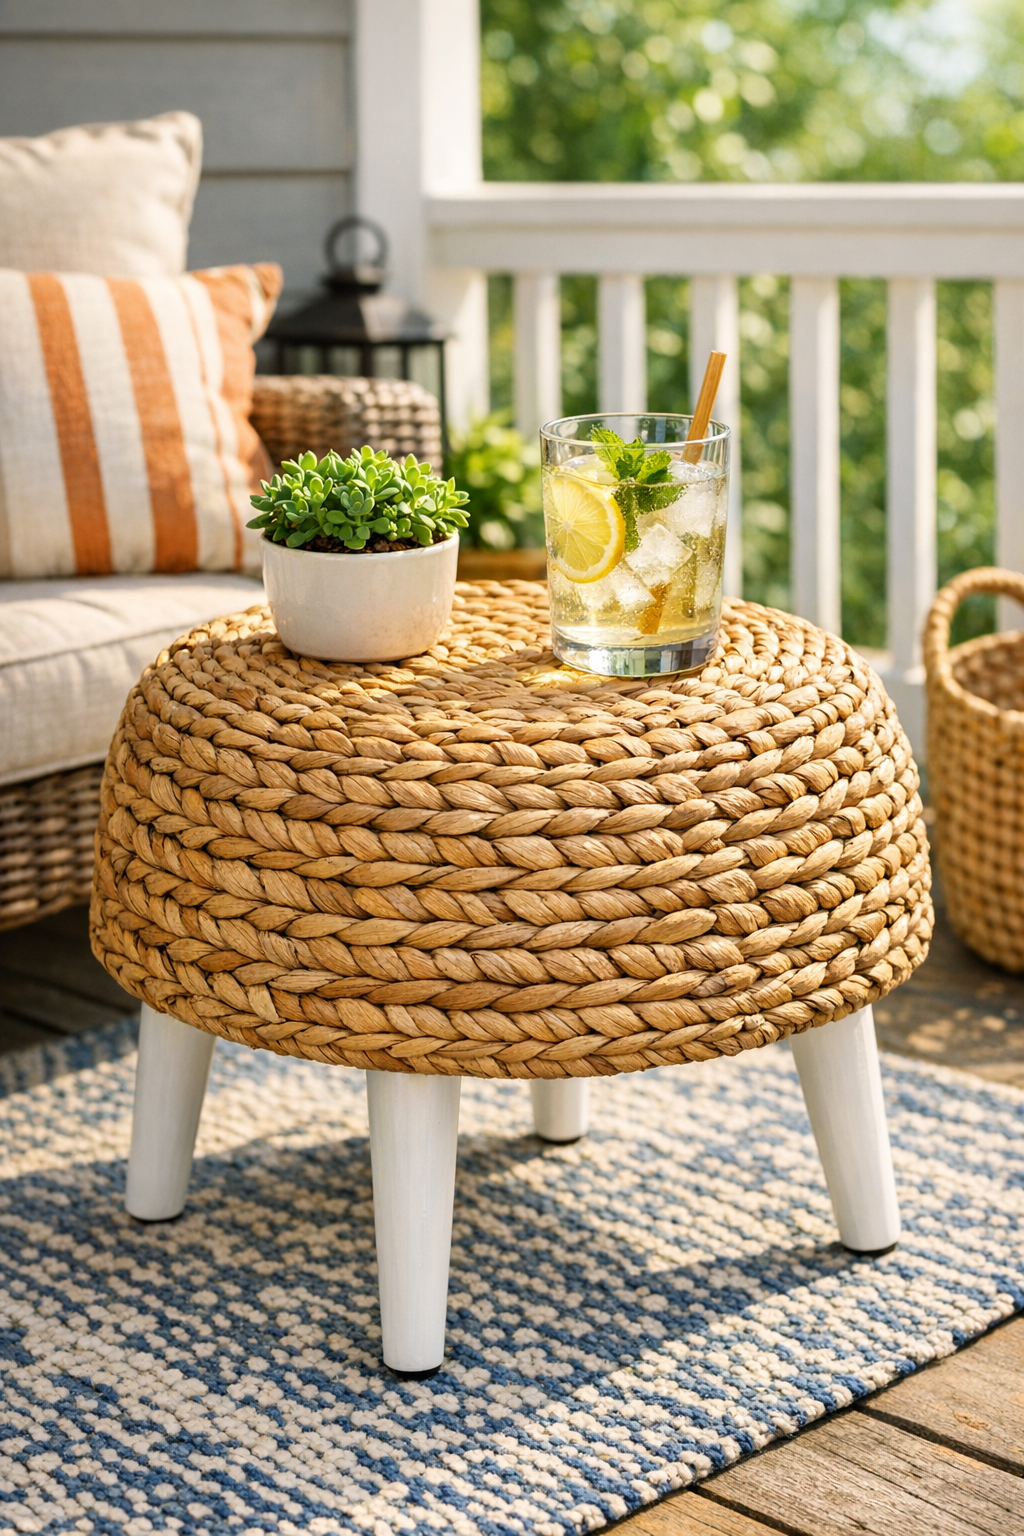
Variations & Tips
Use the right basket: Choose a basket with a sturdy base and tight weave so it can handle the mounting hardware. I’d avoid anything too floppy, because it won’t feel secure once the legs are attached.
Pick a porch-friendly finish: If your table will live outside full-time, use exterior paint and a weather-resistant topcoat. In my Midwest weather, that extra protective layer really helps with humidity and temperature swings.
Try a different leg look: Tapered legs give this a mid-century feel, while chunkier turned legs make it read more traditional. Black paint looks crisp, but soft white, sage green, or natural wood can be beautiful too.
Add a tray top: If you want a flatter surface for drinks, set a round wood tray or a piece of cut glass on top of the basket. That’s especially handy if the weave on your basket has a lot of texture.
Keep it lightweight: This table is best for light everyday use like holding a book, a candle, or a coffee mug. I treat it as an accent table, not a heavy-duty plant stand.
Make assembly easier: Painting the legs before attaching them is much simpler than trying to paint around the basket later. It’s one of those small time-saving steps I really appreciate on a busy weeknight project.