
I love a project that solves a real family problem without sending me on a big shopping trip, and this one does exactly that. These DIY waterproof patio sun shades are made by melting layers of plastic party tablecloths together with one simple secret item: parchment paper. The result is a thicker, sturdier sheet of plastic that can be turned into lightweight outdoor shade panels for a patio, pergola, play area, or picnic corner.
If you like budget-friendly outdoor fixes and don't mind a little careful ironing, this is a fun weekend project. I especially like it for families who want a little more sun protection during lunch outside or afternoon playtime, and because the finished shades wipe clean so easily, they hold up nicely around kids, snacks, and all the usual backyard mess.
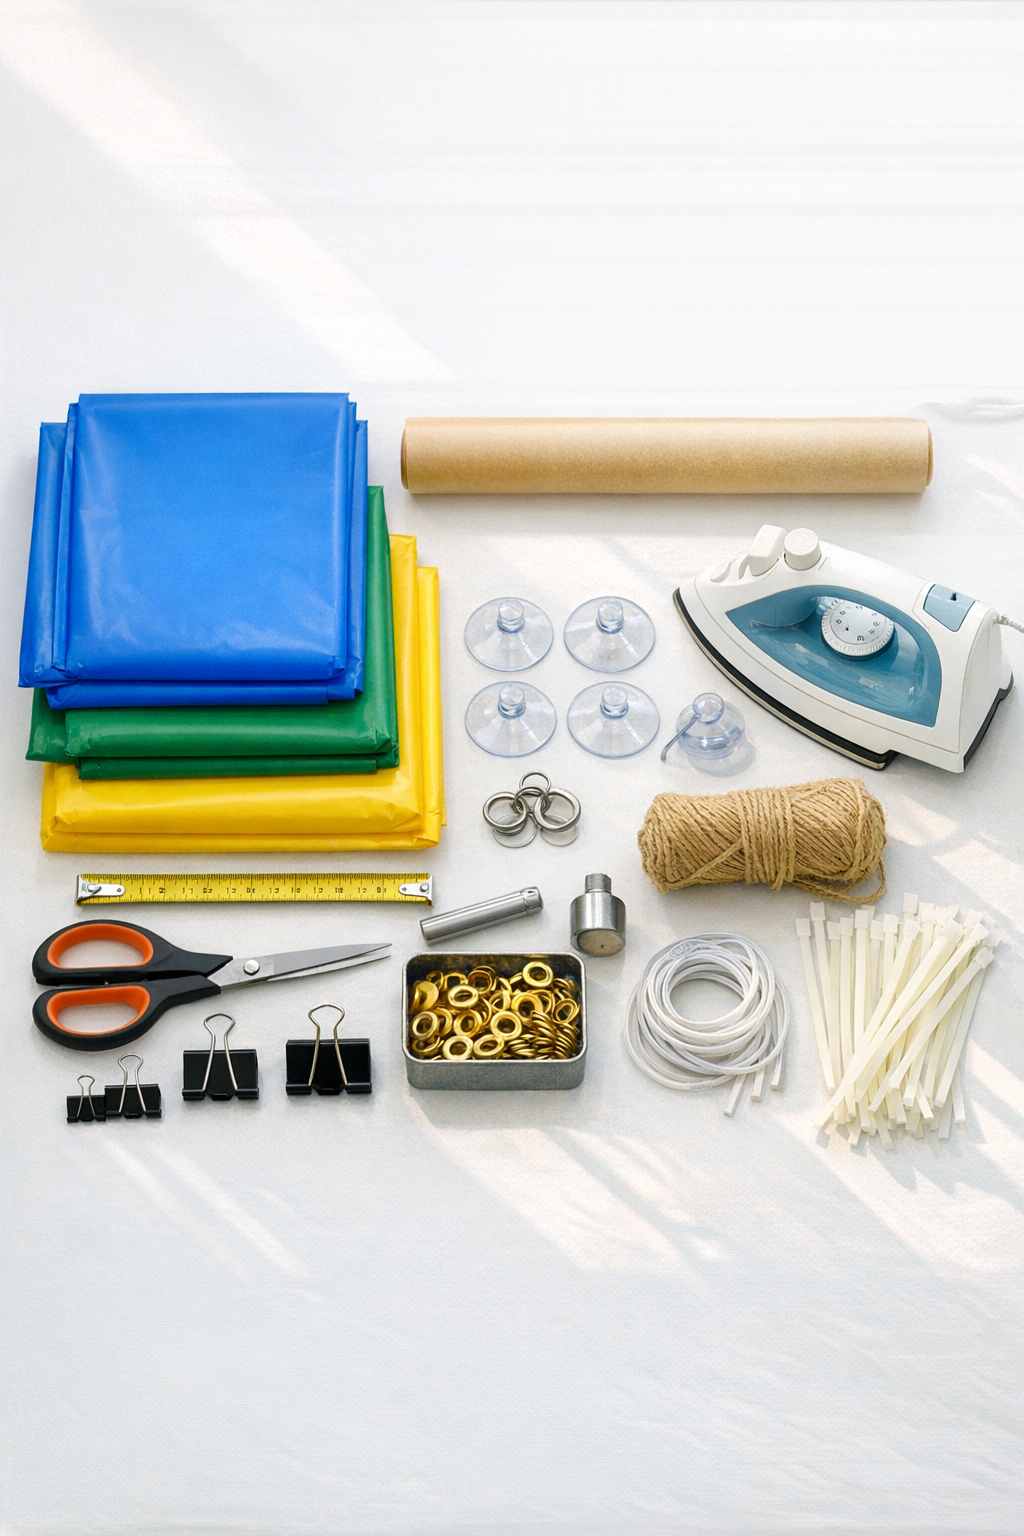
Materials
Instructions
1. Clean and dry your work surface, then plug in the iron and set it to low heat with steam turned off. Open a window or work in a well-ventilated space so everything stays comfortable while you fuse the plastic.
2. Unfold two plastic tablecloths and lay one directly on top of the other, smoothing out as many wrinkles as you can with your hands. Fold the layered piece in half lengthwise if you want a narrower shade panel.
3. Place a full sheet of parchment paper under the layered plastic and another full sheet on top so the plastic is completely covered anywhere the iron will touch. This parchment paper is the secret item that keeps the plastic from sticking and helps it melt evenly.
4. Press the iron gently over the parchment using slow, steady passes, working in sections about 10 inches wide. Lift the parchment every so often to check that the two plastic layers have fused into one thicker sheet without holes or overly shiny burnt spots.
5. Continue until the entire panel is fused, then let it cool flat for 2 to 3 minutes before moving it. Repeat the same process with the remaining two tablecloths to make a second shade panel.
6. Trim each cooled panel to an even rectangle, removing rough edges and keeping both finished shades the same size. A good final size for each shade is about 50 x 80 inches, but you can adjust that to fit your patio space.
7. Fold over 1 1/2 inches along the top edge of each panel and fuse that folded section under parchment paper to create a stronger header. If you'd like extra strength, fold and fuse the side edges by 1 inch as well.
8. Mark three grommet positions across the top of each panel: one about 2 inches from each corner and one centered in the middle. Add one grommet to each top corner and the top center, then add three matching grommets along the bottom edge if you want the shade secured against wind.
9. Install the grommets according to your kit directions, making sure each one is set tightly through the reinforced area. Give each grommet a light tug to confirm it is secure before hanging the panel.
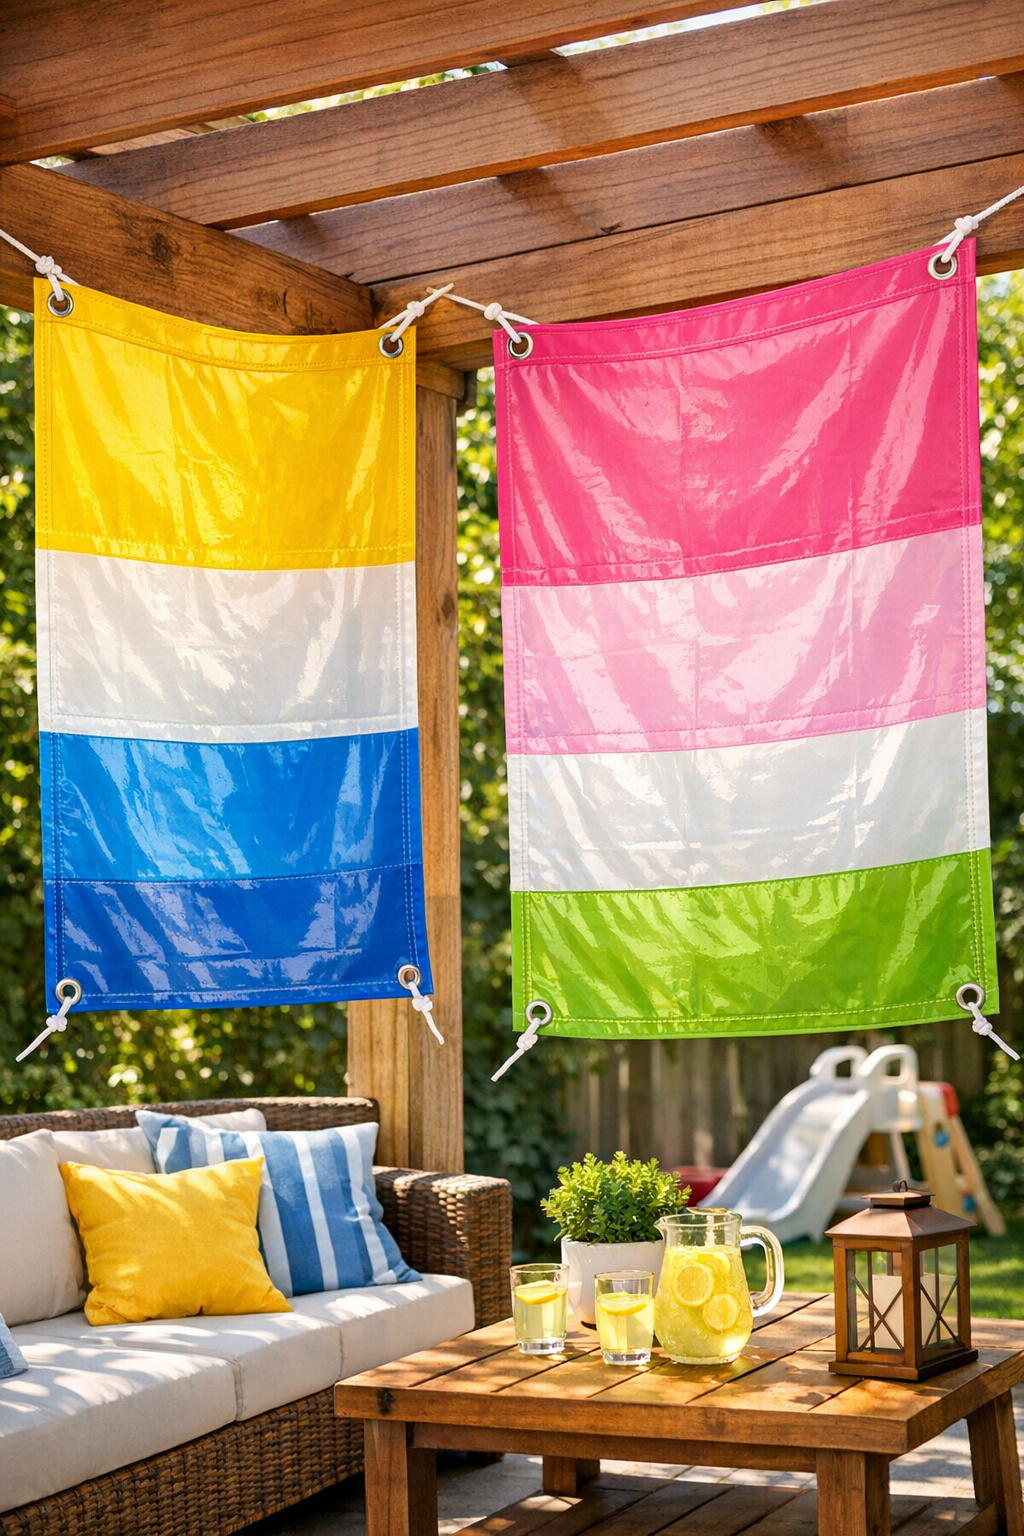
10. Thread nylon cord through the top grommets and tie each panel to a pergola, porch frame, fence, or other stable support. Use zip ties or outdoor straps through the bottom grommets to keep the shades from flapping on breezy days.
11. Adjust the spacing so the two panels overlap slightly or hang side by side where your patio gets the strongest sun. Wipe them down with a damp cloth when needed, and take them down during severe weather to help them last longer.
Variations & Tips
For more shade: Fuse three layers instead of two for each panel, but test your iron carefully on a small scrap first since thicker plastic can melt unevenly if the heat is too high.
For picky color preferences: Use two identical tablecloth colors for a solid look, or layer two different colors for a slightly custom tinted shade. I think this is a fun way to match patio cushions or make the kids' play area feel a little more cheerful.
For a cleaner finish: Round the corners before adding grommets so the panels look more polished and are a little less likely to catch in the wind.
For easier handling: Make more narrow panels instead of one wide one if your patio frame is small or if you want to move the shades around during the day.
Heat tip: Start with the lowest iron setting that softens the plastic. If you ever smell strong melting plastic or see shrinking happen quickly, stop right away, let it cool, and reduce the heat.
Weather tip: These are great for light rain and sun, but I would still bring them in during storms or high winds. A quick fold-and-store routine saves a lot of repair work later.