
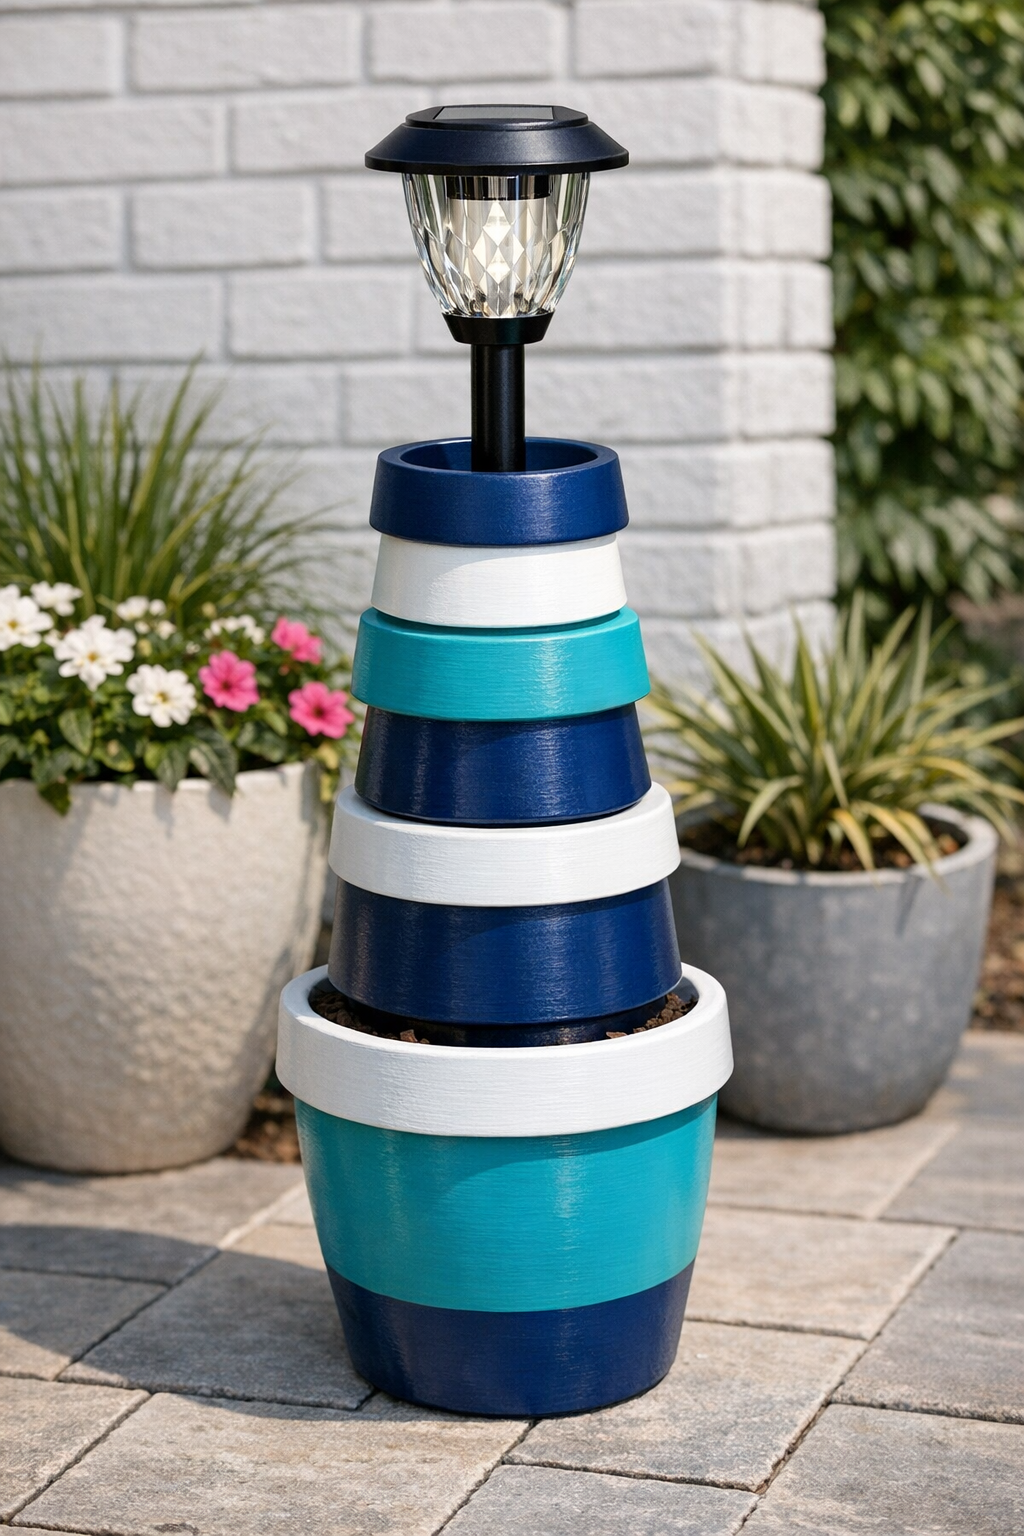
This patio lantern post is one of those simple yard projects that looks far more expensive than it really is. By stacking painted terracotta pots around a tall solar stake light, you can create a pretty vertical accent that adds soft evening glow to a patio, walkway, or garden bed without dealing with wiring.
I love projects like this because they fit real life: they’re affordable, they come together in an afternoon, and they make an outdoor space feel finished. As someone who is usually squeezing DIY time in between work and dinner prep, I appreciate anything that gives a big visual payoff without turning into a full weekend commitment. If you want an easy outdoor upgrade and you’re comfortable with basic painting and assembly, this is a great one to try.
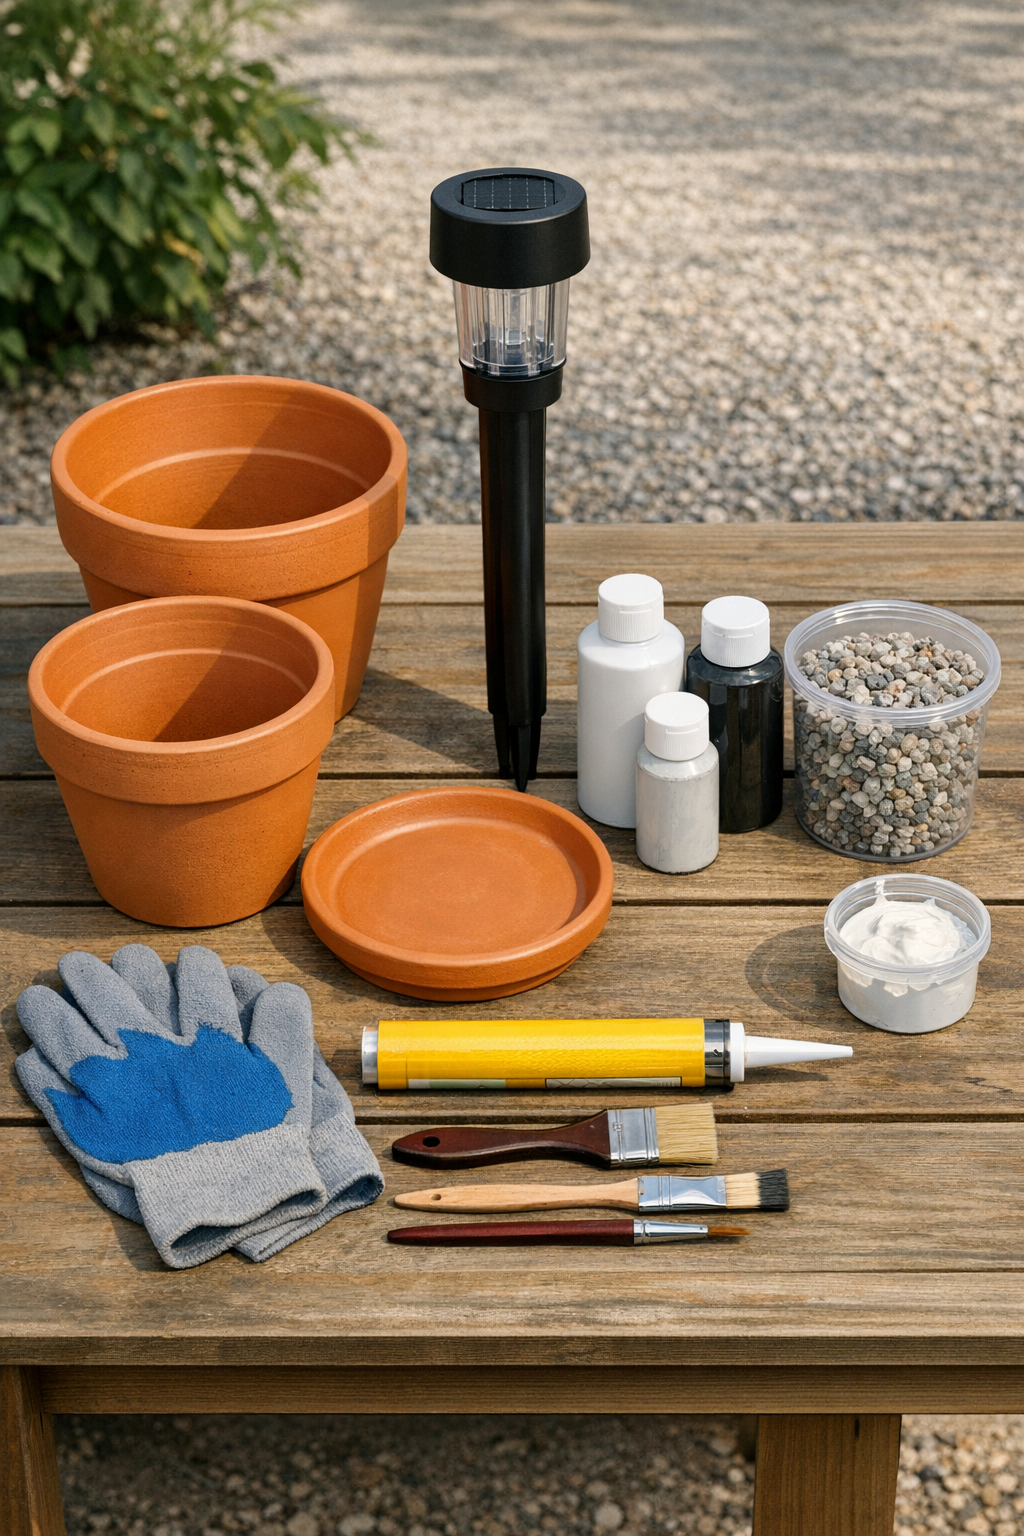
Materials
Instructions
1. Wipe all terracotta pieces clean and let them dry fully, then lightly sand any rough spots so the paint goes on evenly.
2. Set the pots and saucer on a drop cloth and apply a light coat of primer to all outer surfaces, letting it dry according to the package directions.
3. Paint the pots and saucer in your chosen color, using two thin coats for the best finish, and let each coat dry completely before adding the next.
4. Seal the painted pieces with a clear outdoor sealer and allow them to cure fully so they hold up better in sun and rain.
5. Fill the large pot with about 3 inches of pea gravel to add weight, then set the medium pot upside down centered on top of the large pot.
6. Run a bead of exterior construction adhesive where the two pots touch, then place the small pot upside down on top of the medium pot, centered carefully.
7. Let the stacked pots sit undisturbed until the adhesive has set enough to hold them securely, following the adhesive drying time on the package.
8. Insert the solar stake light down through the top drainage hole and into the center opening of the stacked pots, pushing the stake into the gravel and lower cavity so the light stands straight.
9. Add a small bead of outdoor silicone around the top hole if needed to reduce wobble, being careful not to glue any removable part of the solar light that needs access for charging or replacement.
10. Center the terracotta saucer beneath the light head or at the top of the stack as a decorative collar if your light design allows it, then move the finished post to a sunny spot where the solar panel can charge well.
Variations & Tips
Color choice: I love a matte black or warm cream finish for a classic look, but soft sage, navy, or even a weathered white can make this blend beautifully with garden planters and patio furniture.
Extra stability: If your patio gets windy, add more gravel or even a couple of flat stones inside the bottom pot before stacking. A heavier base makes a big difference.
No-paint option: You can leave the terracotta natural and just add a clear outdoor sealer. This is perfect if you like that earthy garden look or want something more neutral.
Adhesive tip: Dry-fit all the pots before gluing so you can check the balance and spacing. I’ve learned the hard way that taking two extra minutes here saves a lot of fussy repositioning later.
Light sizing: Bring the solar light with you when buying pots if possible. The center holes need to accommodate the stake, and it’s much easier to confirm the fit ahead of time than to modify the pots later.
Placement: This looks especially pretty flanking patio steps, lining a walkway, or tucked near a seating area. Just make sure the solar panel gets several hours of direct sun each day for the best glow at night.