
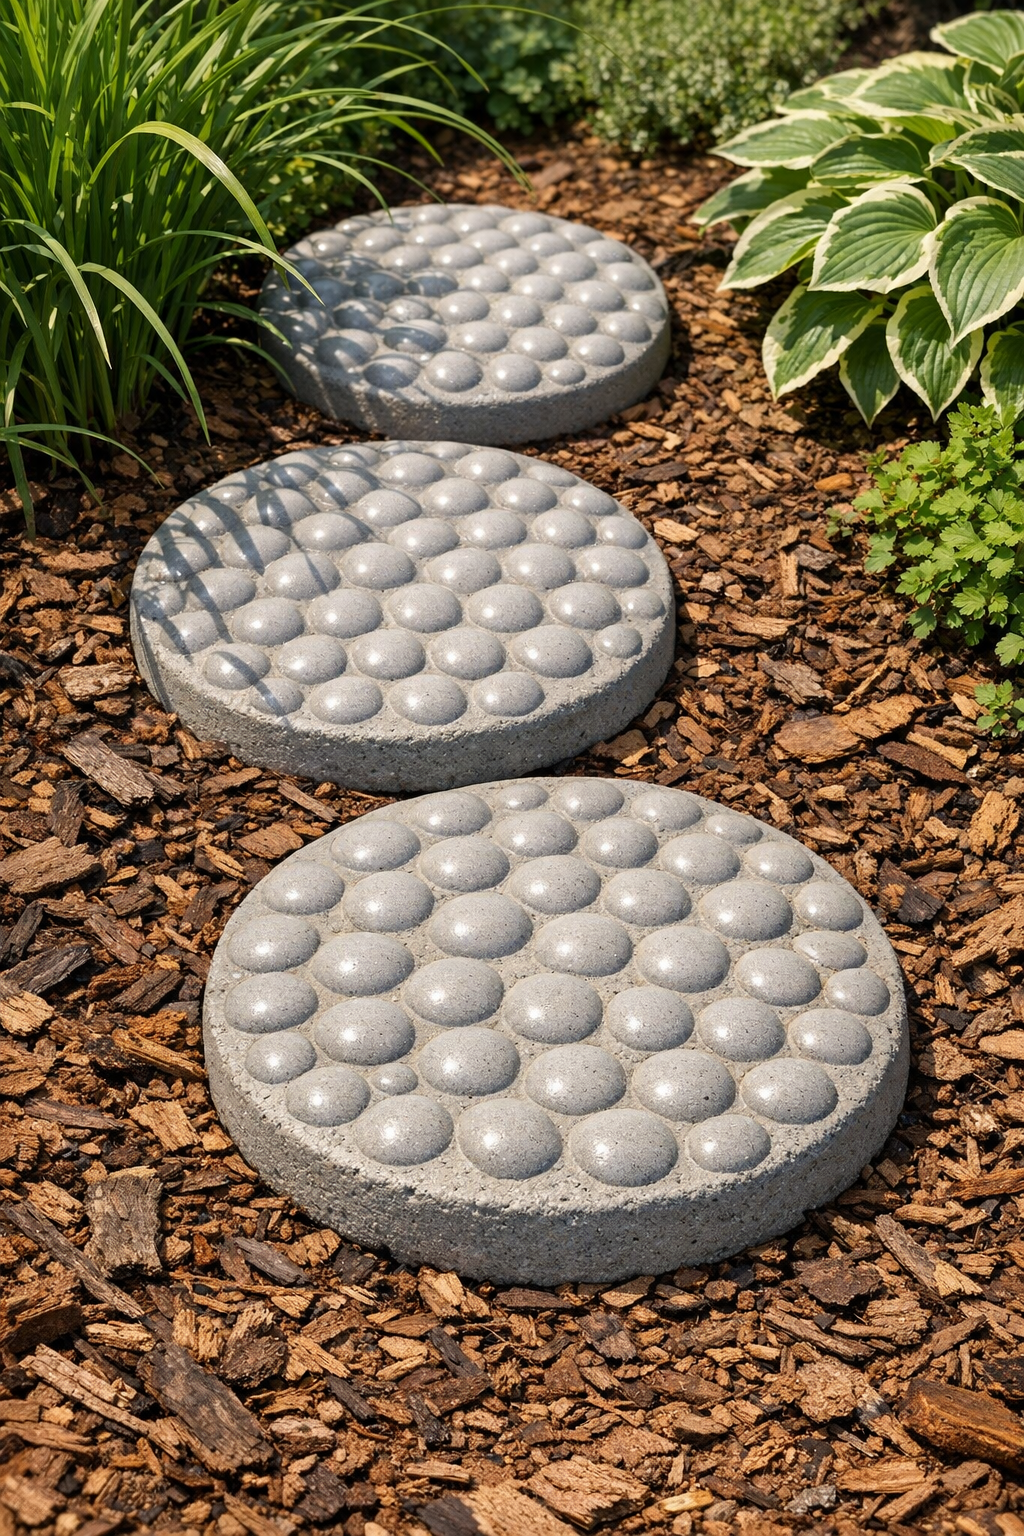
I’ve always had a soft spot for garden projects that look a whole lot fancier than the handful of supplies they actually take. These heavy dimpled garden stones are one of those satisfying little makes: just thick cement, large bubble wrap, and a simple mold, and you end up with sturdy stepping stones that have a beautiful pebbled texture. Around here in the Midwest, I like anything that can stand up to weather and still make the yard feel cared for, and these certainly do.
If you’ve never worked with cement before, this is a fine place to start. The process is simple, forgiving, and inexpensive, and the finished stones can be tucked into a flower bed, lined along a path, or used as a small landing spot near a hose or birdbath. They’ve got that lovely homemade look I remember from practical garden projects folks used to make from whatever they had on hand.
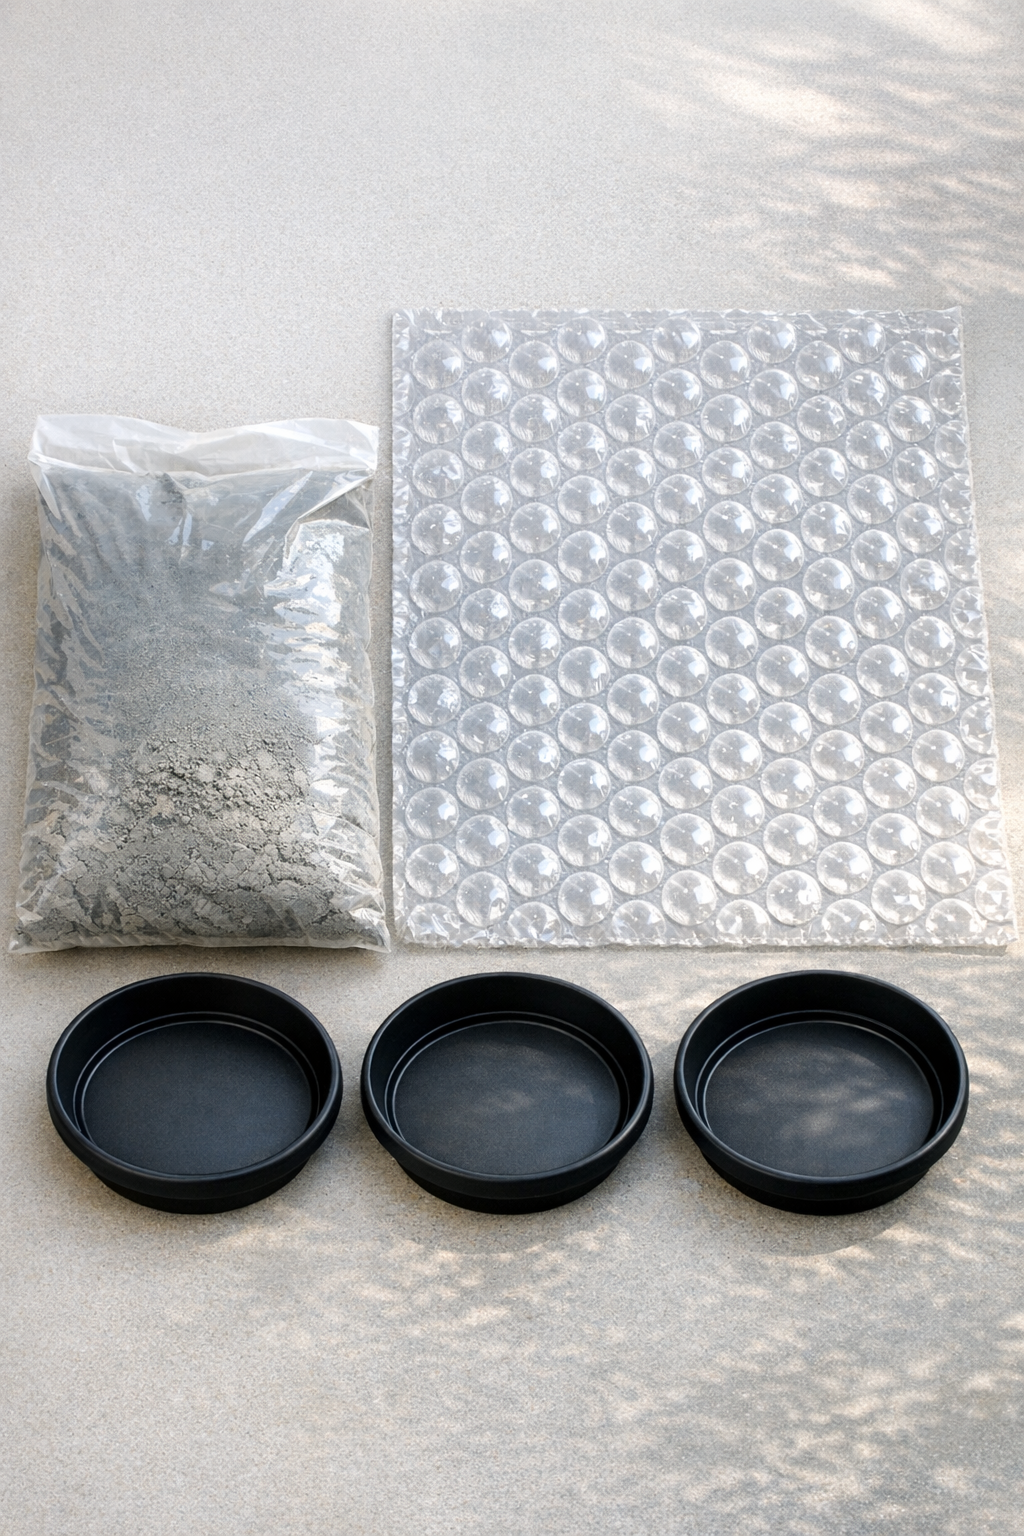
Materials
1 bag cement mix, 20 pounds
Instructions
1. Set your molds on a flat protected surface where they can sit undisturbed for at least 24 hours. Cut three pieces of large bubble wrap to fit inside the saucers, leaving just a little room around the edges.
2. Lightly coat the inside of each saucer with cooking spray or a thin wipe of oil so the cement releases more easily later. Press a bubble wrap piece into each saucer with the bubbles facing up.
3. Put on gloves and a dust mask, then pour the cement mix into the bucket. Add water a little at a time and stir until the mix is thick like stiff oatmeal and holds its shape without turning runny.
4. Spoon or scoop cement into each lined saucer until it is about 1 1/2 to 2 inches thick. Tap the saucers gently on the table a few times to settle the cement and release trapped air.
5. Smooth the backs with your trowel or stick so each stone sits flat once cured. If you’d like, round the outer edges slightly with a gloved finger for a softer finished look.
6. Let the stones rest in the molds for 24 to 48 hours, depending on temperature and humidity, until they feel firm. Keep them out of direct hot sun while they begin curing so they don’t dry too fast and crack.
7. Turn each saucer over and gently peel away the plastic mold and bubble wrap. If any wrap sticks, pull it off slowly and brush away loose bits once the cement is fully set.
8. Cure the stones for another 5 to 7 days before placing them in the garden. Once fully cured, set the stones into soil, gravel, or mulch so they stay level and stable underfoot.
Variations & Tips
For a more rustic shape: You don’t have to use perfectly round saucers. Shallow plastic containers in oval or square shapes work nicely too, as long as they’re sturdy enough to hold thick cement.
For extra strength: If your stones are larger than 12 inches across, make them a full 2 inches thick. That extra bit of thickness helps them hold up better through rain, heat, and freezing weather.
For easier release: Don’t skip the light oiling of the mold. I’ve learned over the years that a tiny bit of preparation saves a lot of fussing later.
For a cleaner texture: Use large, firm packing bubble wrap rather than the small type. The big bubbles give you those bold dimples that really catch the light in the garden.
For placement: Nestle each finished stone slightly into the soil instead of just laying it on top. That makes it look more natural and keeps it from wobbling when someone steps on it.
For color changes: If you want a different look, you can mix in a small amount of cement colorant before adding water. Earthy gray, charcoal, or soft terracotta shades fit especially well in an old-fashioned garden.