
I’m always looking for little fixes that make our home feel easier to live in, especially the kind that save a piece of outdoor furniture from scraping up the patio or wobbling during dinner on the deck. These simple patio furniture glides are made from melted, chopped plastic prescription bottles plus two common add-ins, and the result is surprisingly sturdy, smooth, and useful. It’s one of those projects that sounds unusual until you see it work.
This is a good project for anyone who likes practical upcycling and doesn’t mind a little careful shaping. I especially love this for older metal patio chairs and table legs that have lost their factory foot caps. Around my house, anything that keeps chairs from screeching across the concrete while everyone’s trying to enjoy burgers and corn on the cob is a win.
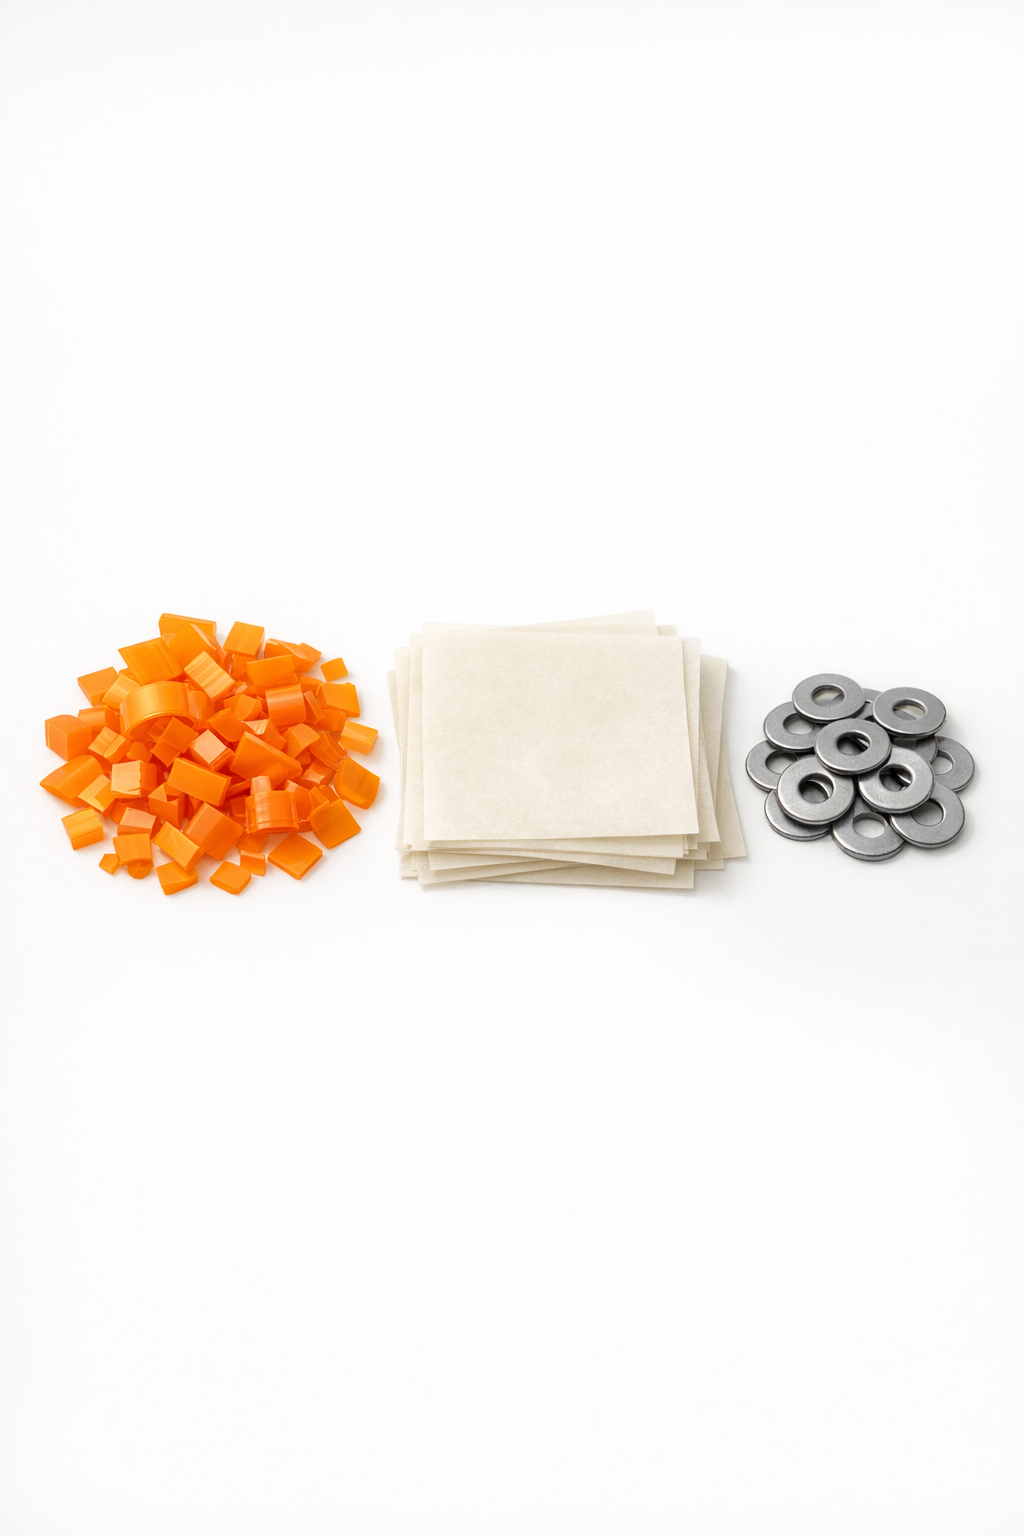
Materials
4 to 6 empty plastic prescription bottles, washed, dried, and chopped into 1/4-inch pieces
Instructions
1. Measure the inside diameter or bottom footprint of each patio furniture leg so you can choose washers that match the size closely.
2. Wash and thoroughly dry the prescription bottles, remove any residue, and cut them into small 1/4-inch pieces so they melt more evenly.
3. Set a square of parchment paper on a heat-safe surface, place one washer in the center, and pile enough chopped plastic over and around it to create one glide about 1/4 to 3/8 inch thick.
4. Cover the pile with a second piece of parchment paper and apply steady heat until the plastic softens and fuses into a solid puck around the washer.
5. Press the softened plastic flat while it is still warm so it forms a level bottom and the washer stays centered.
6. Let the piece cool completely, then peel away the parchment paper and check that the glide is firm and fully fused.
7. Trim or sand any rough edges so the glide slides smoothly and sits flat against the ground.
8. Repeat the process until you have enough glides for all chair or table legs, keeping the thickness as consistent as possible.
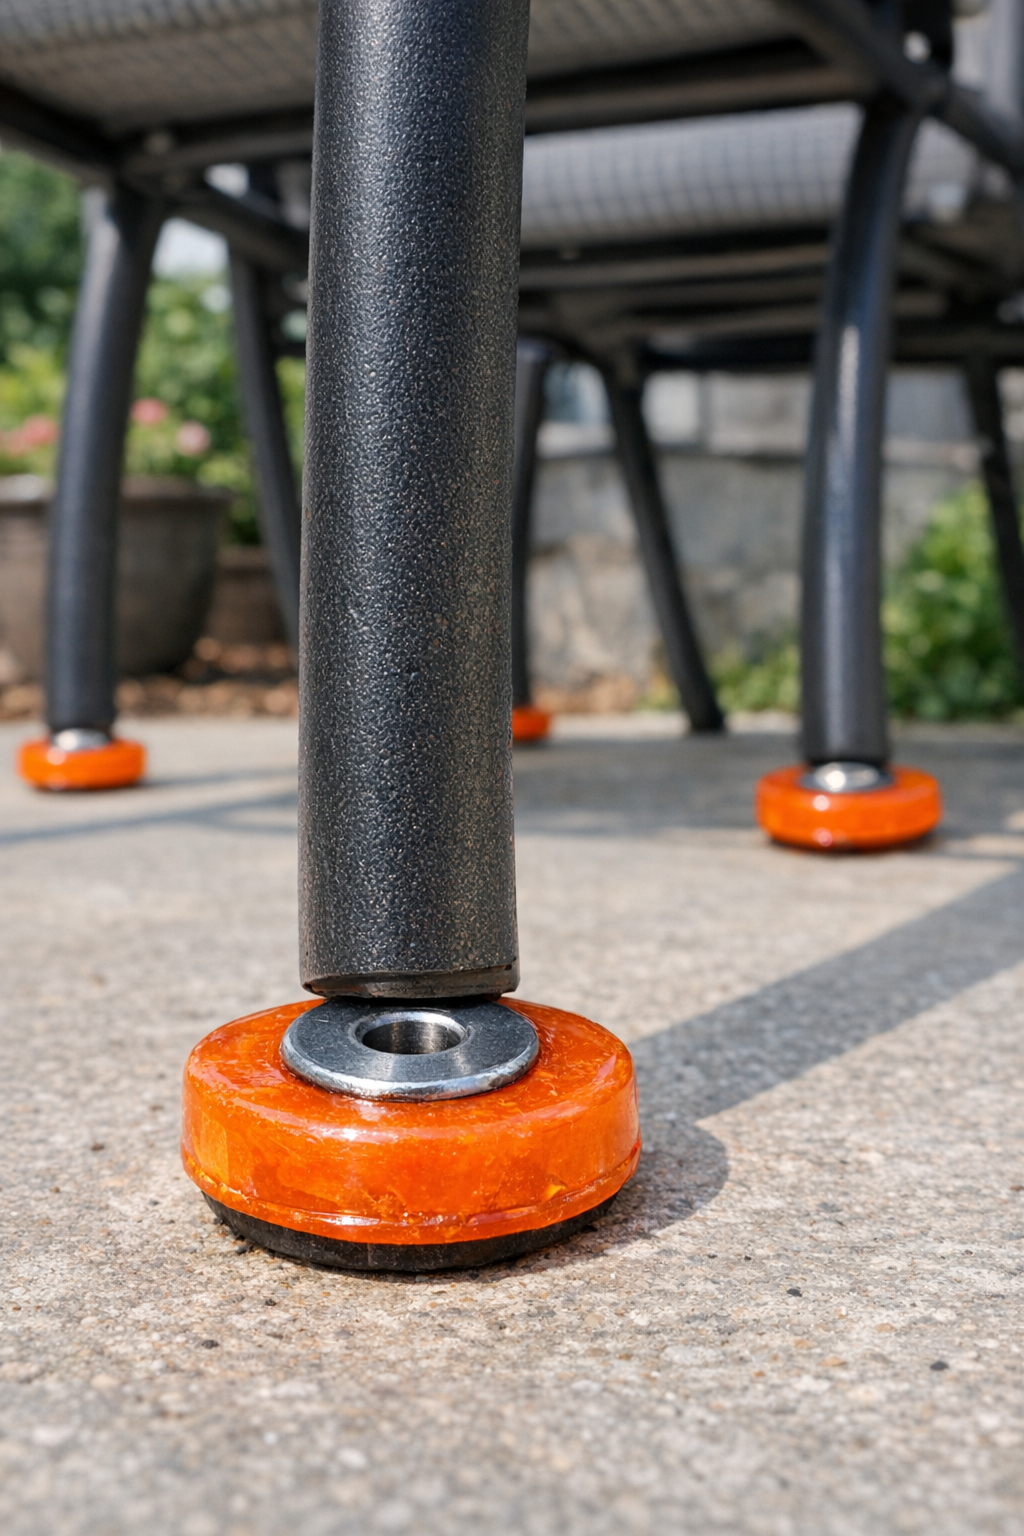
9. Fit each finished glide onto the furniture leg, using the washer opening or the molded shape to seat it securely at the bottom.
10. Test the furniture on your patio, then make minor edge adjustments if any leg rocks or catches.
Variations & Tips
Match the leg shape: If your patio furniture has square or slightly irregular feet, press the softened plastic to match that shape before it cools so the glide seats better.
Make extras: I like to make one or two more than I need because outdoor furniture always seems to lose a foot right before company comes over.
For smoother sliding: Spend a little extra time flattening and smoothing the bottom surface; that makes a big difference on concrete.
Keep sizes consistent: Try using the same amount of chopped plastic for each glide so your chairs don’t end up uneven.
Use for picky surfaces: If one chair always seems to be the problem child on your patio, test that one first and fine-tune the thickness before making the whole set.
Best for light to medium furniture: These homemade glides are great for everyday patio chairs and side tables, but I’d use heavier-duty hardware solutions for very heavy furniture.