
There’s something especially satisfying about making a garden project from the simplest odds and ends, and these heavy textured patio blocks are a fine example of that. By pressing a flexible silicone ice tray into wet cement, you can create a pattern that looks far more expensive and decorative than the materials would suggest, and once the blocks cure, they have a sturdy old-fashioned usefulness I appreciate more and more these days.
I like this project for anyone wanting to dress up a path, tuck a few stepping stones beside a flower bed, or add a bit of handmade character to a patio corner without buying pricey pavers. It reminds me of the sort of practical creativity folks around here have always had—using what’s on hand, making it pretty, and making it last.
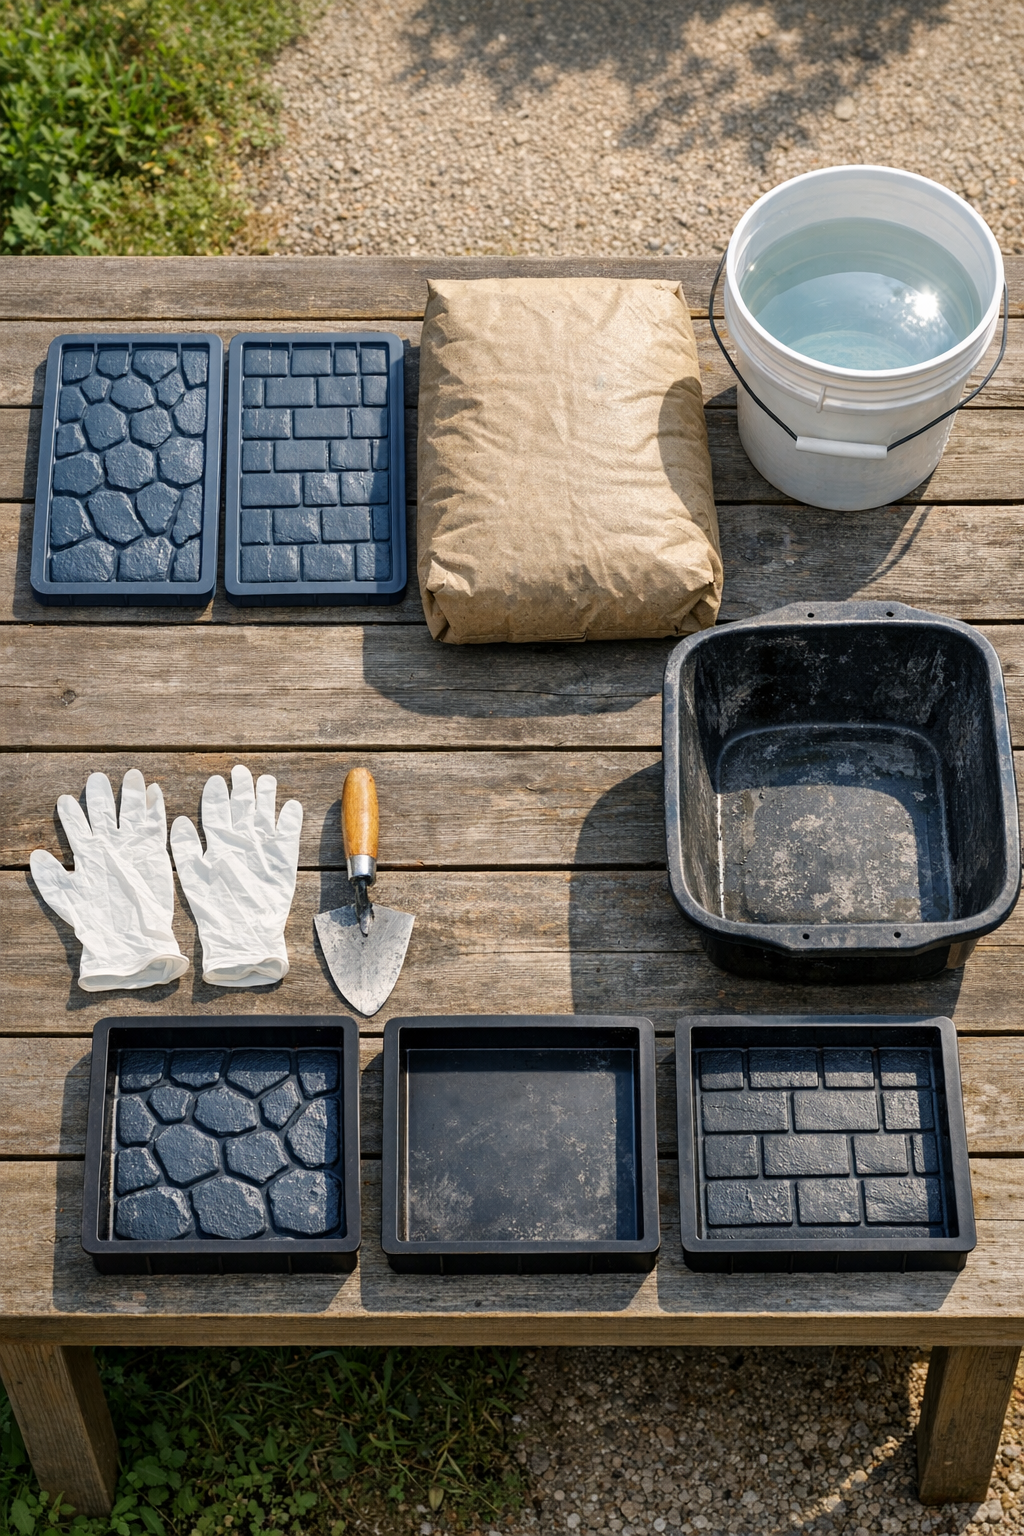
Materials
2 flexible silicone ice trays, standard 9-inch by 4-inch size
Instructions
1. Set your plastic drop cloth on a flat outdoor surface and place the two molds on top, checking that they sit level so the blocks cure evenly.
2. Lightly coat the inside of each mold and the bottom side of each silicone ice tray with a thin film of cooking oil or mold release so the cement won’t cling when it is time to unmold.
3. Pour the cement mix into your mixing tub, add water a little at a time, and stir until it reaches a thick brownie-batter consistency that holds its shape but still spreads easily.
4. Fill each mold with 1 1/2 to 2 inches of wet cement, then tap the sides of the molds several times to release trapped air bubbles.
5. Smooth the top lightly with your trowel, then wait 3 to 5 minutes so the cement begins to firm up just enough to hold an impression without slumping.
6. Press one silicone ice tray gently but firmly into the surface of each mold, keeping it level so the pattern sinks evenly across the block.
7. Lift the tray straight up carefully; if the pattern pulls or blurs, wait another 2 minutes and press again until you get a clean, deep texture.
8. Tap the molds once more on the work surface and use the trowel to neaten the edges without disturbing the textured top.
9. Let the blocks sit undisturbed until firm, usually 24 hours, then gently remove them from the molds and place them in a shaded spot to continue curing for 5 to 7 days.
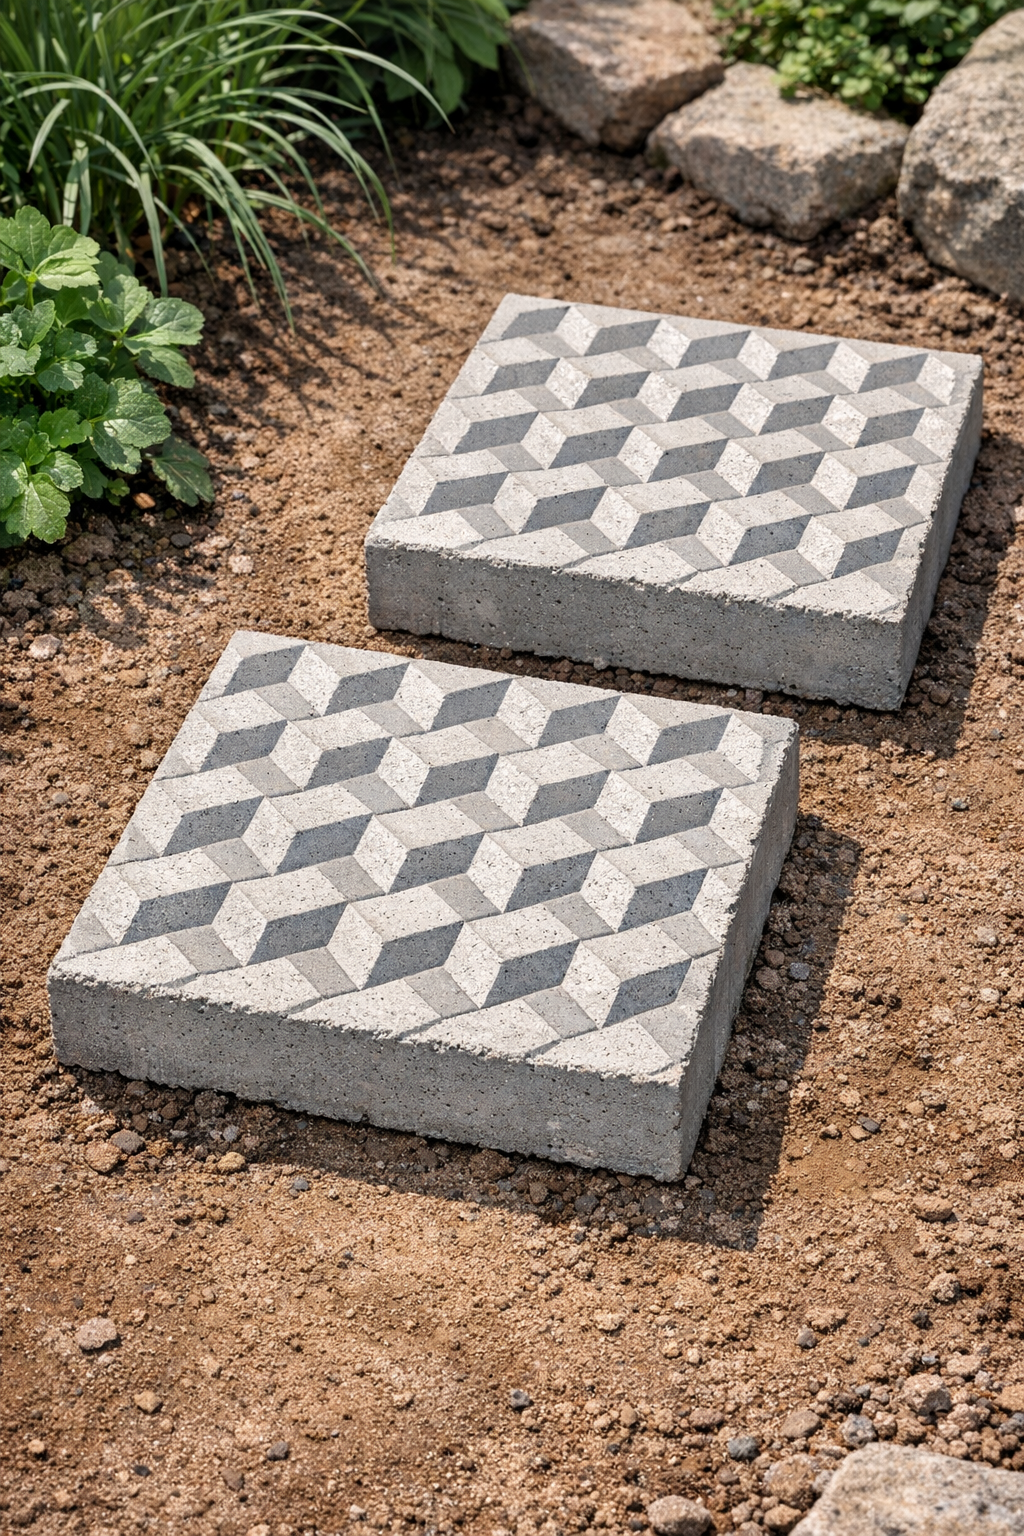
10. Once fully cured, set the blocks into your patio or garden path over compacted soil or sand, keeping the textured side facing up for grip and visual interest.
Variations & Tips
Different pattern trays: Try silicone trays with round, hexagon, or bar-shaped compartments if you want a different surface texture. I find the clearest patterns come from trays with deeper wells and firmer sides.
Add color: A little concrete pigment mixed into the cement can warm these blocks up nicely. Earthy gray-browns and soft brick tones look especially at home in a garden.
Make matching sets: If you’re lining a path, use identical molds and fill them to the same depth so each block sits evenly. That little bit of consistency makes a homemade project look intentional and well tended.
Work in cool weather if possible: Cement sets too fast in hot sun, and the tray impression can become harder to control. Morning shade has always been my friend for projects like this.
Seal for longevity: After the blocks are fully cured, you can brush on an outdoor concrete sealer for extra stain and weather resistance. It’s a sensible step if your patio sees plenty of rain or muddy boots.
Test one block first: Before making a whole batch, try a single practice block to learn the right timing for pressing the tray. Cement has its own temperament, and once you get the feel of it, the rest goes much easier.