
There are some backyard projects that look surprisingly expensive when they’re finished, and this is one of them. These heavy wedged garden blocks are made with plastic paint roller trays, cement, and one extra improvised mold, and they create sturdy, modern accents you can use as edging, step markers, low plant risers, or simple sculptural pieces in the garden.
I love projects like this because they use easy-to-find materials and give you that satisfying “wait, you made those?” reaction from friends and neighbors. If you’re comfortable mixing cement and don’t mind a little mess, this is a very doable weekend project, even for beginners.
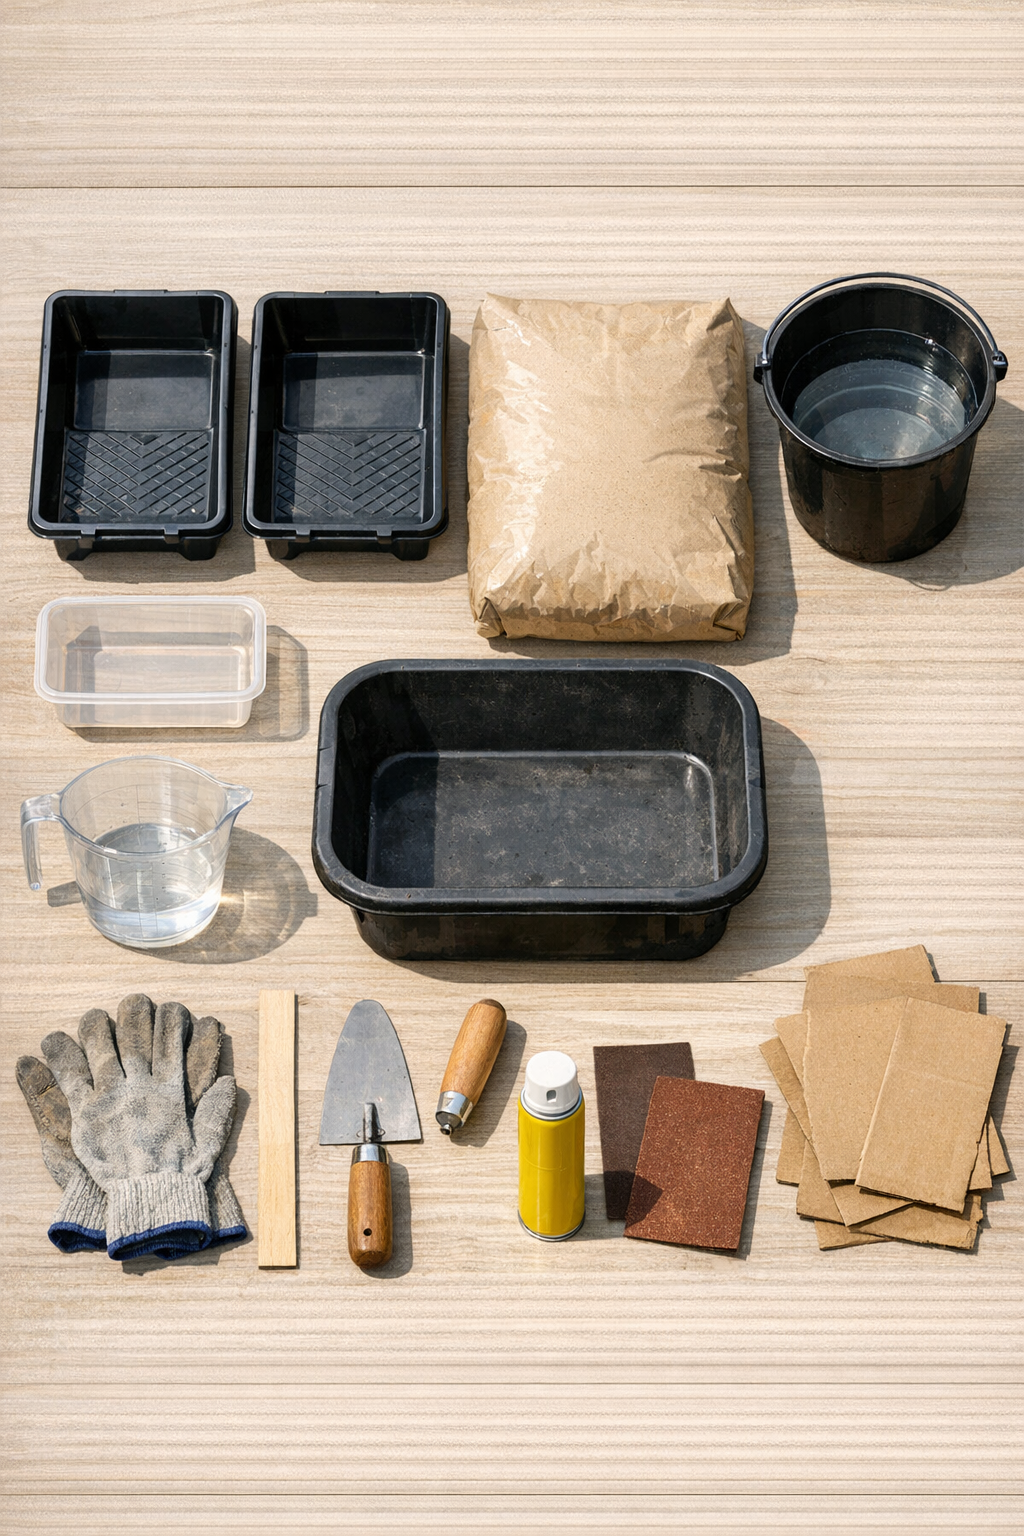
Materials
Instructions
1. Set your paint trays and extra mold on a flat protected surface, and make sure they sit level so the cement cures evenly.
2. Lightly coat the inside of both paint trays and the extra mold with cooking spray or mold release, wiping away any heavy puddles so the surface stays smooth.
3. Pour the concrete mix into a mixing tub, add water a little at a time, and stir until it reaches a thick scoopable consistency like stiff oatmeal.
4. Scoop the thick cement into the two paint trays, pressing it firmly into the corners and sloped ends to remove air pockets.
5. Fill the odd extra mold with the remaining cement, then tap all three molds firmly against the surface several times to bring bubbles to the top.
6. Smooth the exposed faces with a trowel or putty knife, leaving them mostly flat since these will become the bottoms or backs of your finished pieces.
7. Let the cement set until firm according to the bag directions, then leave the molds undisturbed for at least 24 hours so the blocks gain enough strength to remove safely.
8. Flex the plastic trays and the extra mold gently to release the cured blocks, turning them out onto cardboard or grass instead of hard concrete.
9. Sand any sharp edges lightly with 120-grit sandpaper, and let the blocks continue curing in a shaded dry spot for 5 to 7 more days before placing them under full outdoor use.
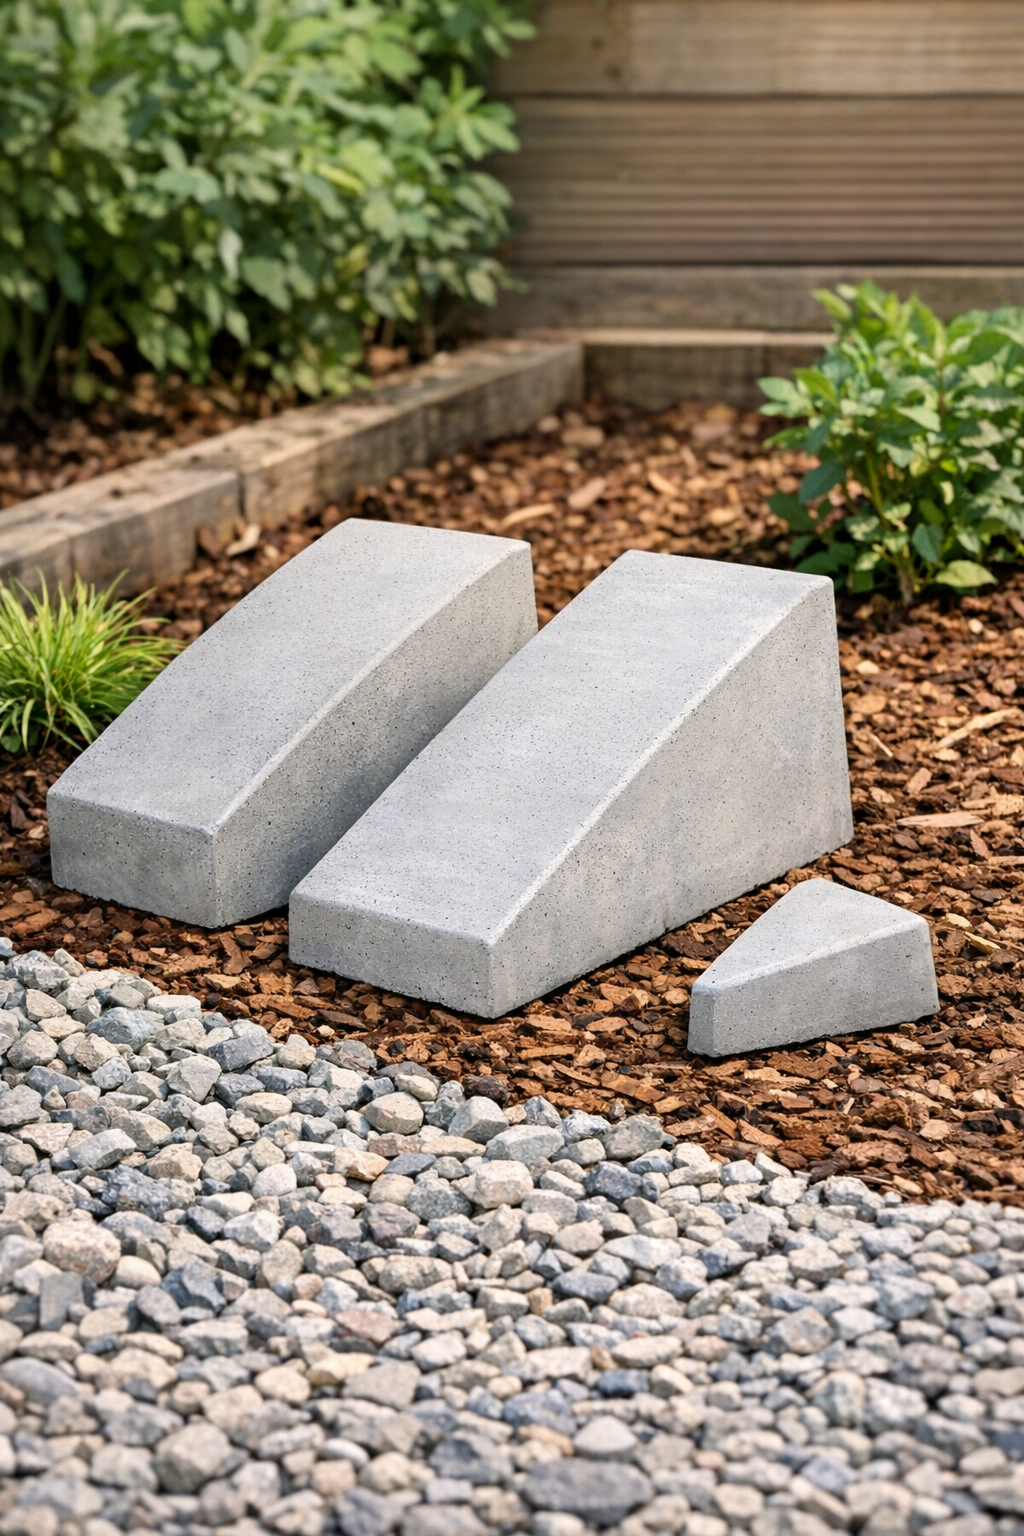
10. Arrange the two wedge blocks in the garden as edging, step markers, or a low display base, and use the smaller extra piece as a matching accent beside them.
Variations & Tips
For cleaner edges: After filling the molds, tap the sides and bottom a few extra times and run the trowel over the surface again. That little bit of patience makes a big difference in the finished look.
For picky project helpers: If you have kids like mine who always want to “help,” let them assist with spraying molds or tapping bubbles out instead of handling the cement mix itself. It keeps the project family-involved but still safe and manageable.
For a more decorative finish: Press a few smooth pebbles, bits of broken tile, or leaf patterns into one face before the cement fully sets if you want a more ornamental garden style.
For heavier-duty blocks: Use a high-strength concrete mix instead of basic craft cement if the pieces will sit in a walkway area or support large planters.
For easier mold release: Wait until the blocks are fully firm before unmolding. If you rush this part, the corners can chip, especially around the thinner sloped ends.
For placement: Set the finished blocks on compacted soil, gravel, or mulch rather than soft muddy ground so they stay level and don’t sink after rain.