
There is something especially satisfying about turning a humble hardware-store find into a piece that looks like it has stood in the garden for years. For this project, I use rolled plastic gutter guards as the form and liquid cement as the shell to make heavy, richly textured yard columns that add height and old-world charm to a porch, flower bed, or walkway.
I’m fond of projects like this because they feel a little like the practical Midwestern way I grew up with: use what you can find, make it sturdy, and let the finished piece speak for itself. If you enjoy outdoor décor that looks substantial without needing fancy tools or complicated woodworking, this is a good one to tackle over a weekend.
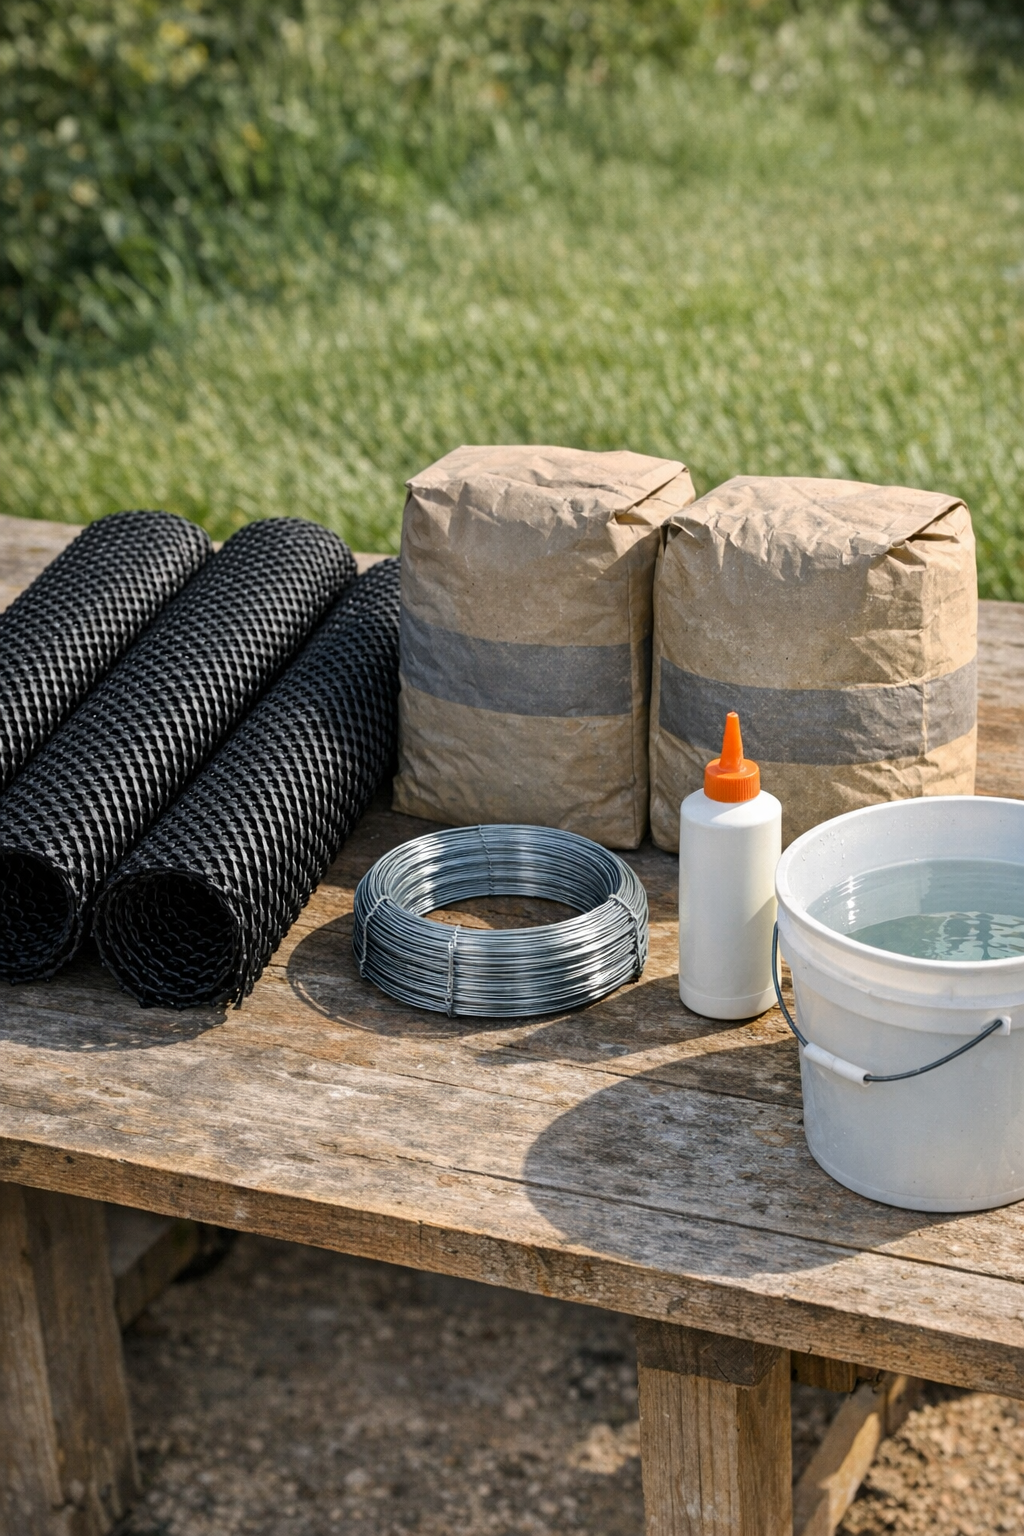
Materials
Instructions
1. Spread the plastic drop cloth on a flat outdoor work area and cut your gutter guard into four equal 5-foot lengths if it is not already pre-cut.
2. Roll each length of gutter guard into a tight cylinder about 6 to 8 inches across, overlapping the edges by 1 to 2 inches so the column has a sturdy body.
3. Wrap galvanized wire around each cylinder every 8 to 10 inches from top to bottom, twisting it snugly to hold the shape without crushing the mesh.
4. Add a thin bead of exterior construction adhesive along the overlapping seam and press it together so the cylinder keeps its form while you coat it.
5. Mix the cement in a bucket or mixing tub according to the bag directions until it reaches a thick pancake-batter consistency that will cling to the mesh instead of running off.
6. Wearing gloves, press the first coat of cement directly into the gutter guard mesh, covering the entire outside surface with a layer about 1/4 inch thick.
7. Let the first coat firm up for 20 to 30 minutes, then apply a second coat to build the surface to roughly 1/2 inch thick in most areas.
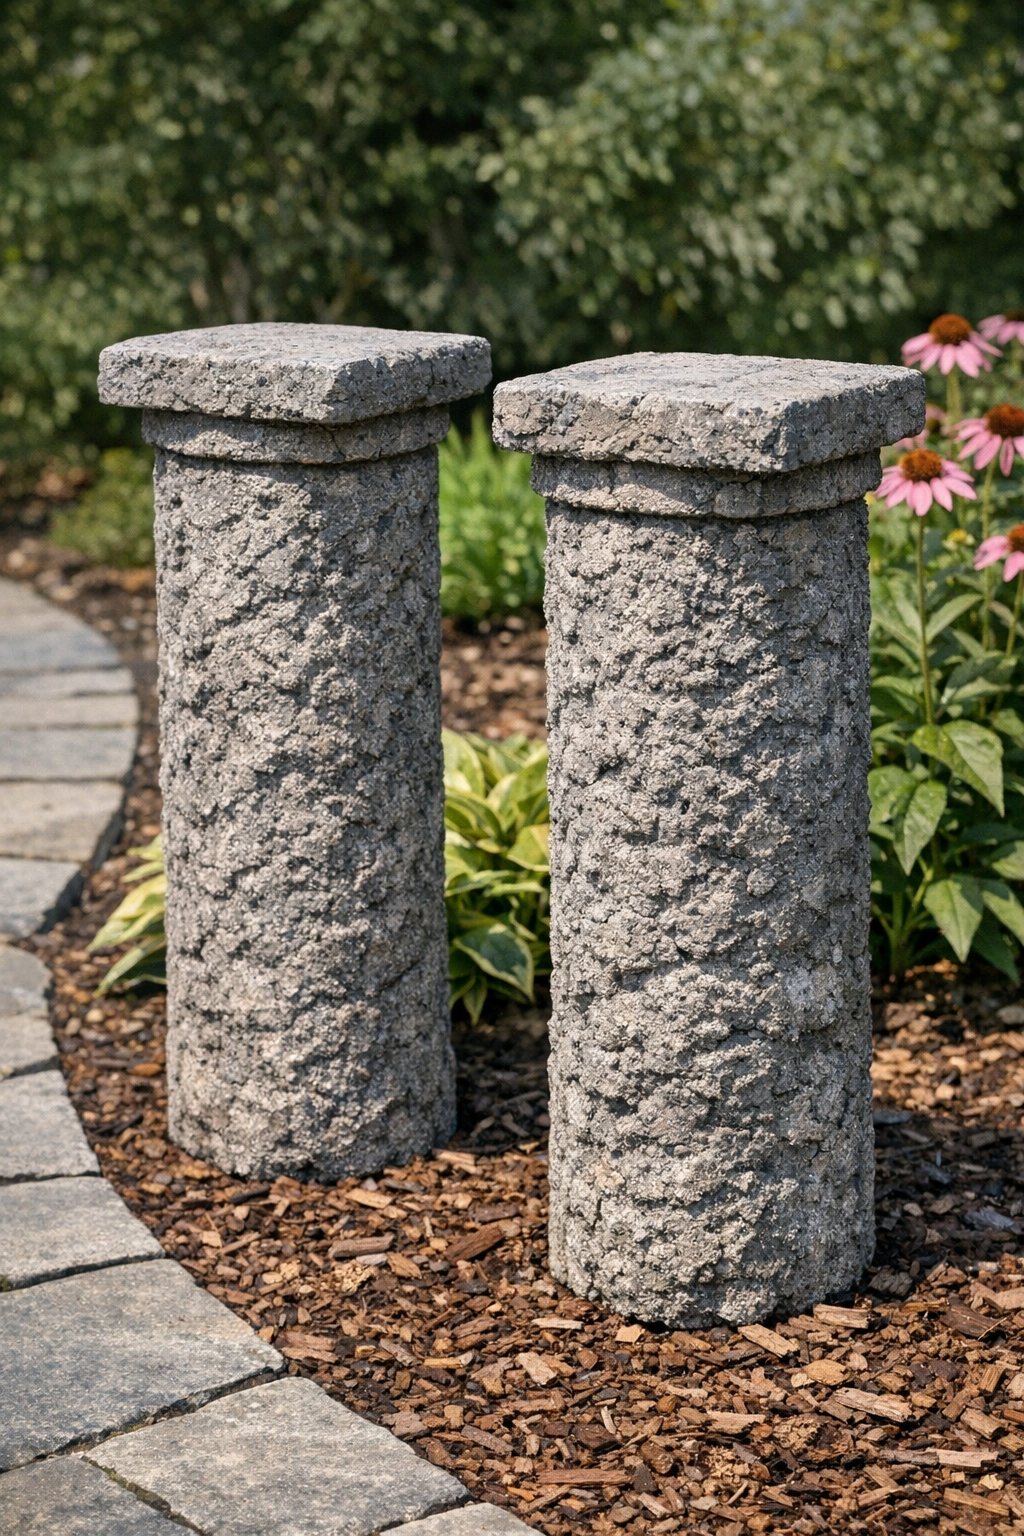
8. Pat and shape the wet cement with gloved hands to create an uneven, stone-like texture, leaving ridges, bumps, and natural-looking variation all around the column.
9. Stand the columns upright in a sheltered spot and let them cure for at least 24 hours, misting lightly once or twice if the weather is very hot or dry.
10. After curing, inspect for thin spots or gaps and patch them with a little fresh cement, then allow the repairs to dry fully before moving the columns into the yard.
11. Set the finished columns on level ground beside steps, at a garden entrance, or among plantings where their weight and texture can be appreciated from a distance.
Variations & Tips
Shorter Accent Columns: Cut the gutter guard into 30-inch to 36-inch lengths instead of 5-foot sections if you want lower columns for lining a path or framing a flower bed.
Thicker Old-Stone Look: Apply extra cement in random patches during the second coat to create the worn, chunky surface that reminds me of old farm garden ornaments weathered by many seasons.
Pair Placement: These look especially handsome used in pairs at the start of a walkway or on either side of porch steps, where the symmetry makes the texture stand out even more.
Color Finish: Once fully cured, you can dry-brush the surface with exterior gray, sand, or mossy green paint to mimic aged concrete or stone.
Weather Tip: Work on a mild day if you can; cement sets too fast in direct summer heat, and I have learned the hard way that rushing the texture stage never gives as pretty a result.
Stability Tip: If your ground is soft, press each finished column slightly into the soil or nestle it into mulch so it sits firmly and does not wobble.