
I love any project that turns a humble kitchen castoff into something genuinely useful, and this DIY roof flashing patch is exactly that kind of fix. By flattening empty aluminum soda cans and pairing them with a simple pantry item—flour paste, which works as a temporary positioning and sealing aid during assembly—you can create a tough, weather-aware patch for small non-structural flashing repairs, garden shed roofs, or utility outbuildings.
Because I spend so much time in the kitchen, I’m always intrigued by how basic materials behave outside of cooking, and aluminum is wonderfully cooperative when you cut and flatten it properly. This project is best for confident DIYers who need a budget-friendly patch for a shed, coop, or similar secondary structure—not a substitute for professional flashing on a main home roof, but a practical upcycling solution for small jobs.
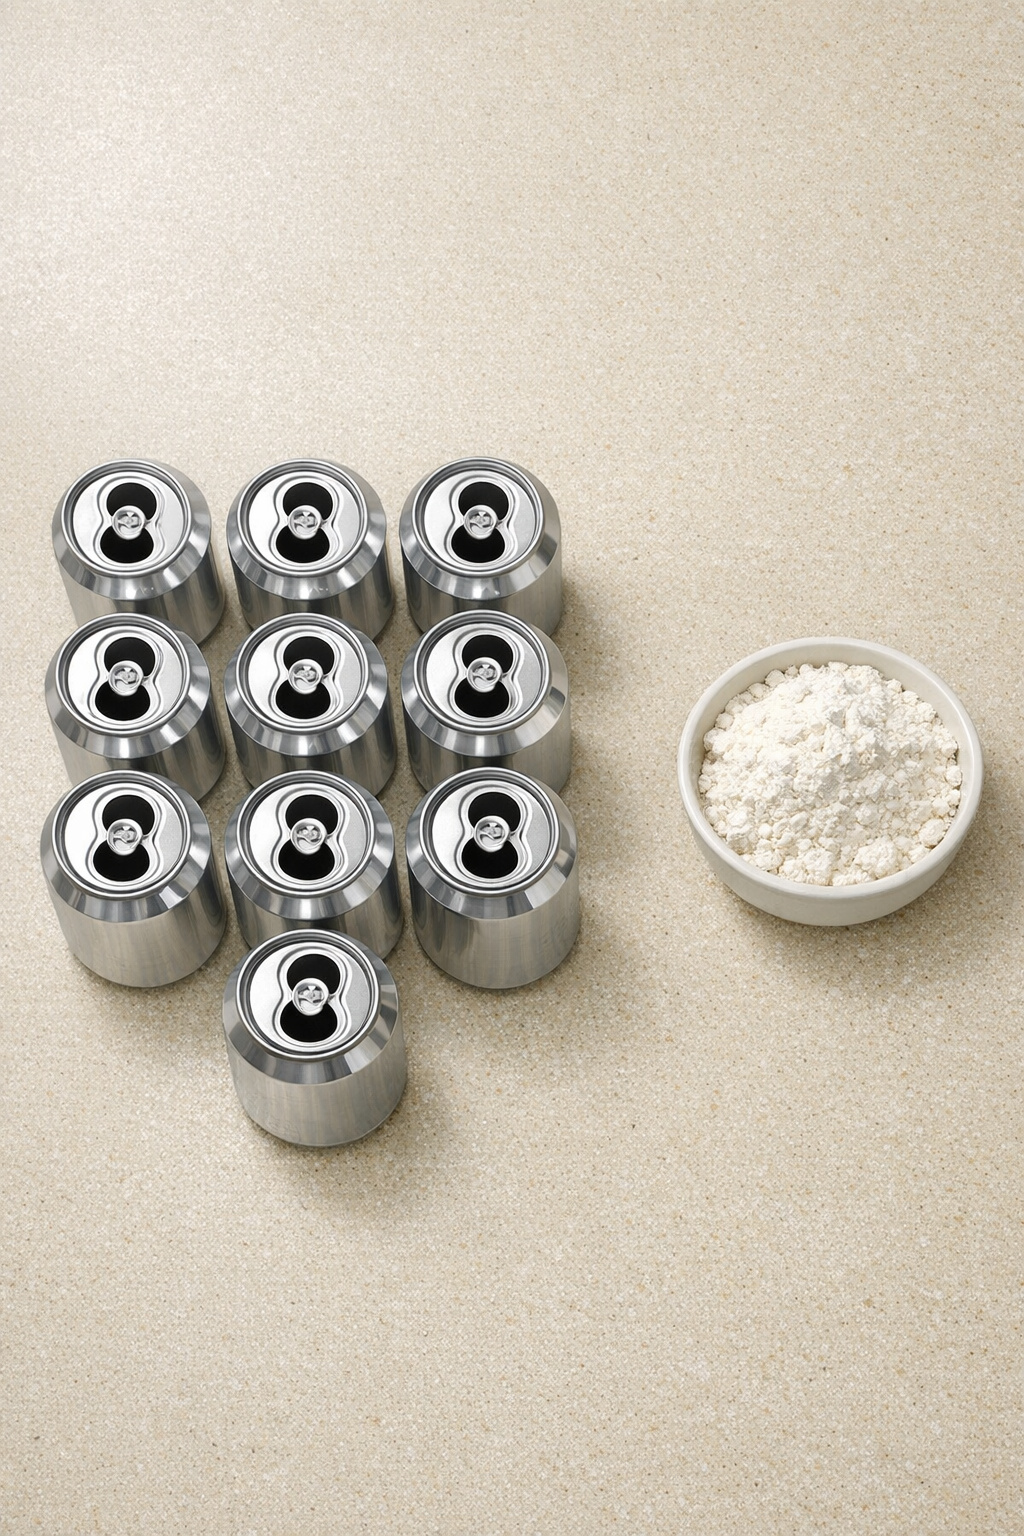
Materials
Instructions
1. Rinse each soda can thoroughly and let it dry completely so the aluminum is clean and easy to handle.
2. Cut off the top and bottom of each can, then slice straight down the side to open it into a sheet of aluminum.
3. Press each sheet flat by hand first, then place it under a heavy book or board for 30 to 60 minutes to reduce the curl.
4. Trim away any jagged edges and square the sheets into workable rectangles that overlap neatly.
5. Mix the flour with just enough water to make a thick, smooth paste about the consistency of pancake batter.
6. Brush or spread a very thin layer of flour paste between two aluminum sheets and overlap them by 1 inch to hold them in place while you build a larger panel.
7. Continue overlapping additional sheets by 1 inch until the panel is large enough to cover the area you need to patch, keeping all seams facing downward in the direction water will run.
8. Press the assembled panel under a flat board with light weight on top for 20 to 30 minutes so the overlaps stay aligned while the paste sets enough to handle.
9. Test-fit the panel over the repair area and bend it gently by hand so it matches the roof angle or the shape of the existing flashing.
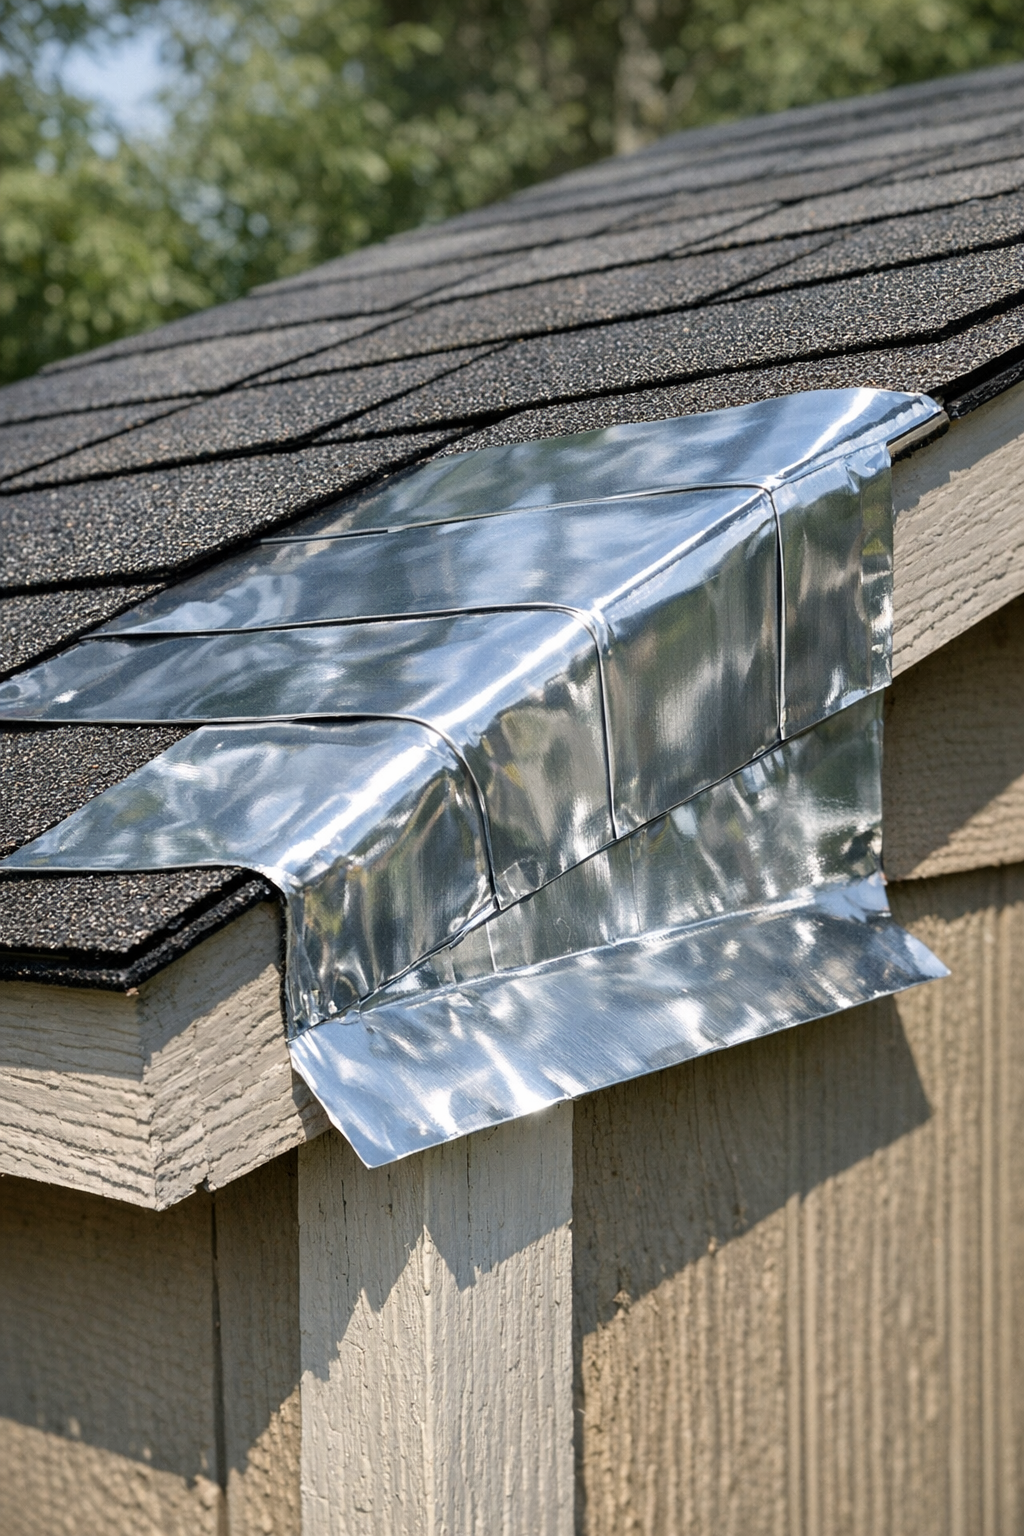
10. Install the finished patch according to your roof’s fastening method, making sure the upper edge tucks under the existing material and the lower edge sheds water over the surface below.
Variations & Tips
Best use case: I recommend this for sheds, chicken coops, garden structures, and other secondary buildings where a small patch is helpful and appearance matters less than function.
Edge safety: Cut aluminum can be surprisingly sharp, so smooth every edge carefully and handle each sheet slowly and deliberately.
Panel sizing: It’s better to make the patch at least 2 inches larger than the damaged area on all sides so water has more room to shed away from the problem spot.
Seam direction: Just as with pie dough or layered pastry, orientation matters; always overlap so water travels over the seams rather than into them.
About the flour paste: The paste is useful as a simple temporary tack to keep the layers aligned during shaping, but it should not be treated as the primary waterproofing for a permanent repair.
Finish option: If you want a less patchwork look, place the printed side down when assembling so the exposed surface reads more like plain metal.
Weather caution: Only work on a roof in dry, calm conditions, and save this project for low-risk repairs where you can stand securely and work without rushing.