
If you want the look of large landscape rocks without hauling home real stone, this is one of those simple backyard projects that feels almost too clever the first time you try it. By mixing packing peanuts into cement and shaping the mixture by hand, you can make lightweight faux boulders that add texture and structure to flower beds, around trees, or along a walkway.
I love projects like this because they stretch a small budget and still make the yard feel thoughtfully finished. These DIY boulders are especially nice for anyone who wants a natural-looking accent piece without the weight of real rock, and they’re manageable enough to make over a weekend with just a couple of basic supplies.
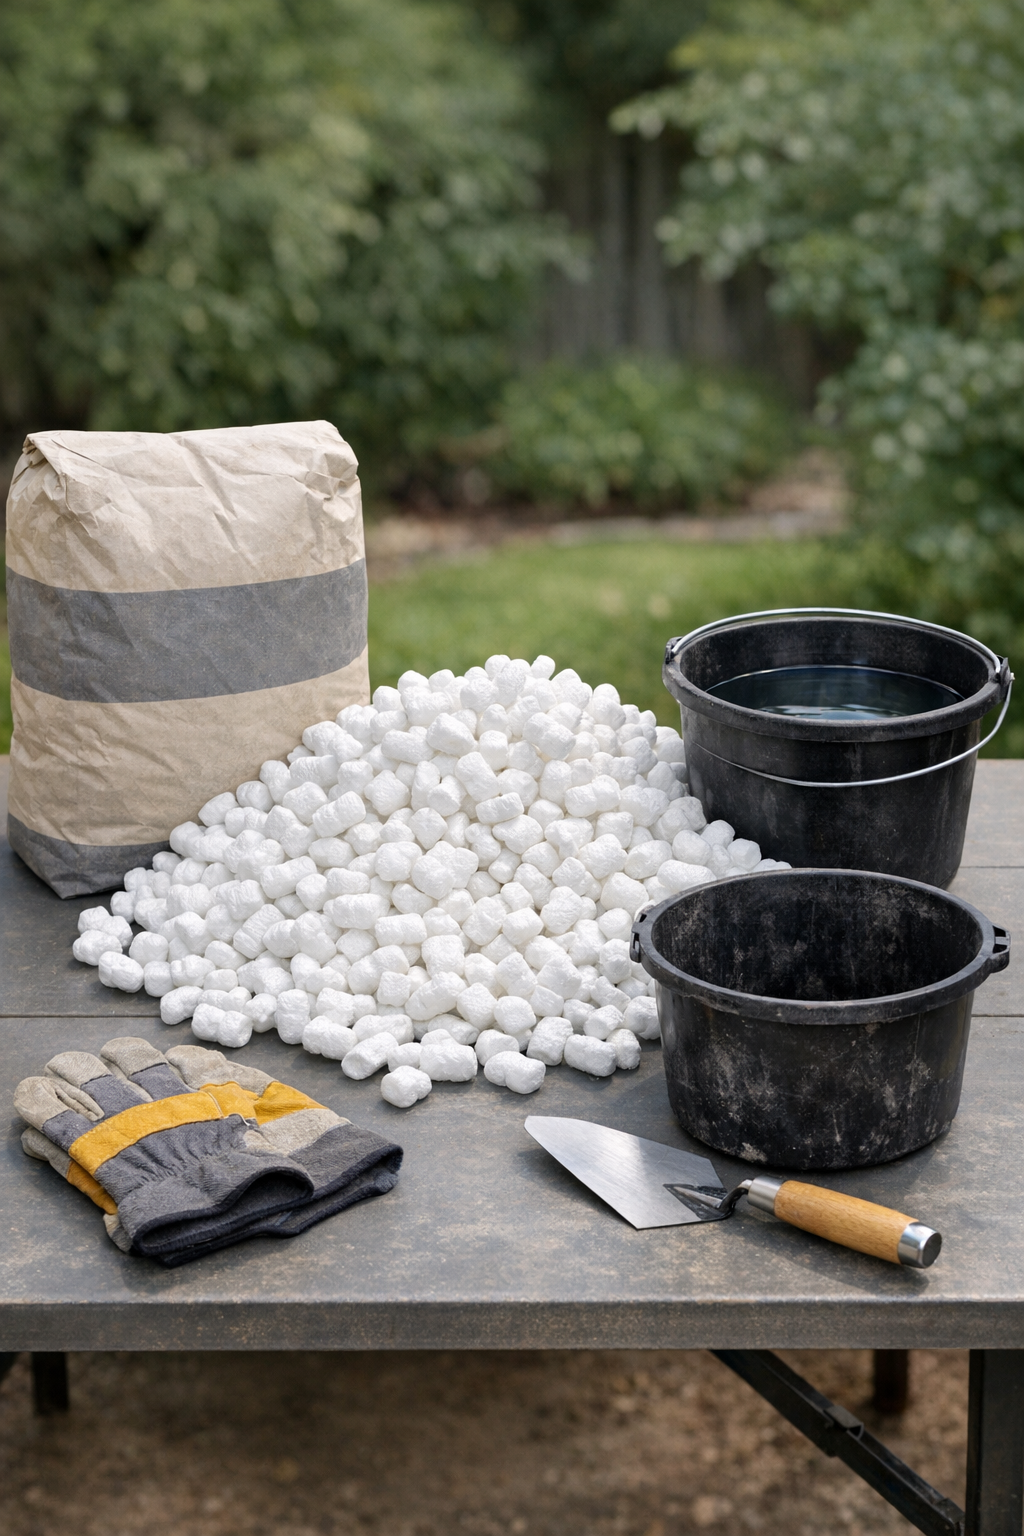
Materials
Instructions
1. Spread the tarp on a flat work area outdoors and set out your cement, packing peanuts, bucket, water, gloves, and trowel so everything is within easy reach.
2. Pour about half the bag of cement mix into the mixing bucket, then add water a little at a time until it reaches the texture of thick oatmeal.
3. Add packing peanuts by the handful, folding them gently into the wet cement until every piece is lightly coated and the mixture becomes bulky and easy to mound.
4. Dump a portion of the mixture onto the tarp and use your gloved hands to press it into a rough rounded or irregular boulder shape about 12 to 18 inches across.
5. Pat extra cement over any exposed peanuts so the outside is covered, then tap and pinch the surface to create dents, ridges, and natural rock-like texture.
6. Repeat with the remaining mixture to make additional boulders, varying the size and shape slightly so they look more realistic once placed in the yard.
7. Let the boulders sit undisturbed for 24 to 48 hours, then gently turn them if needed so the undersides can finish curing for another 24 hours.
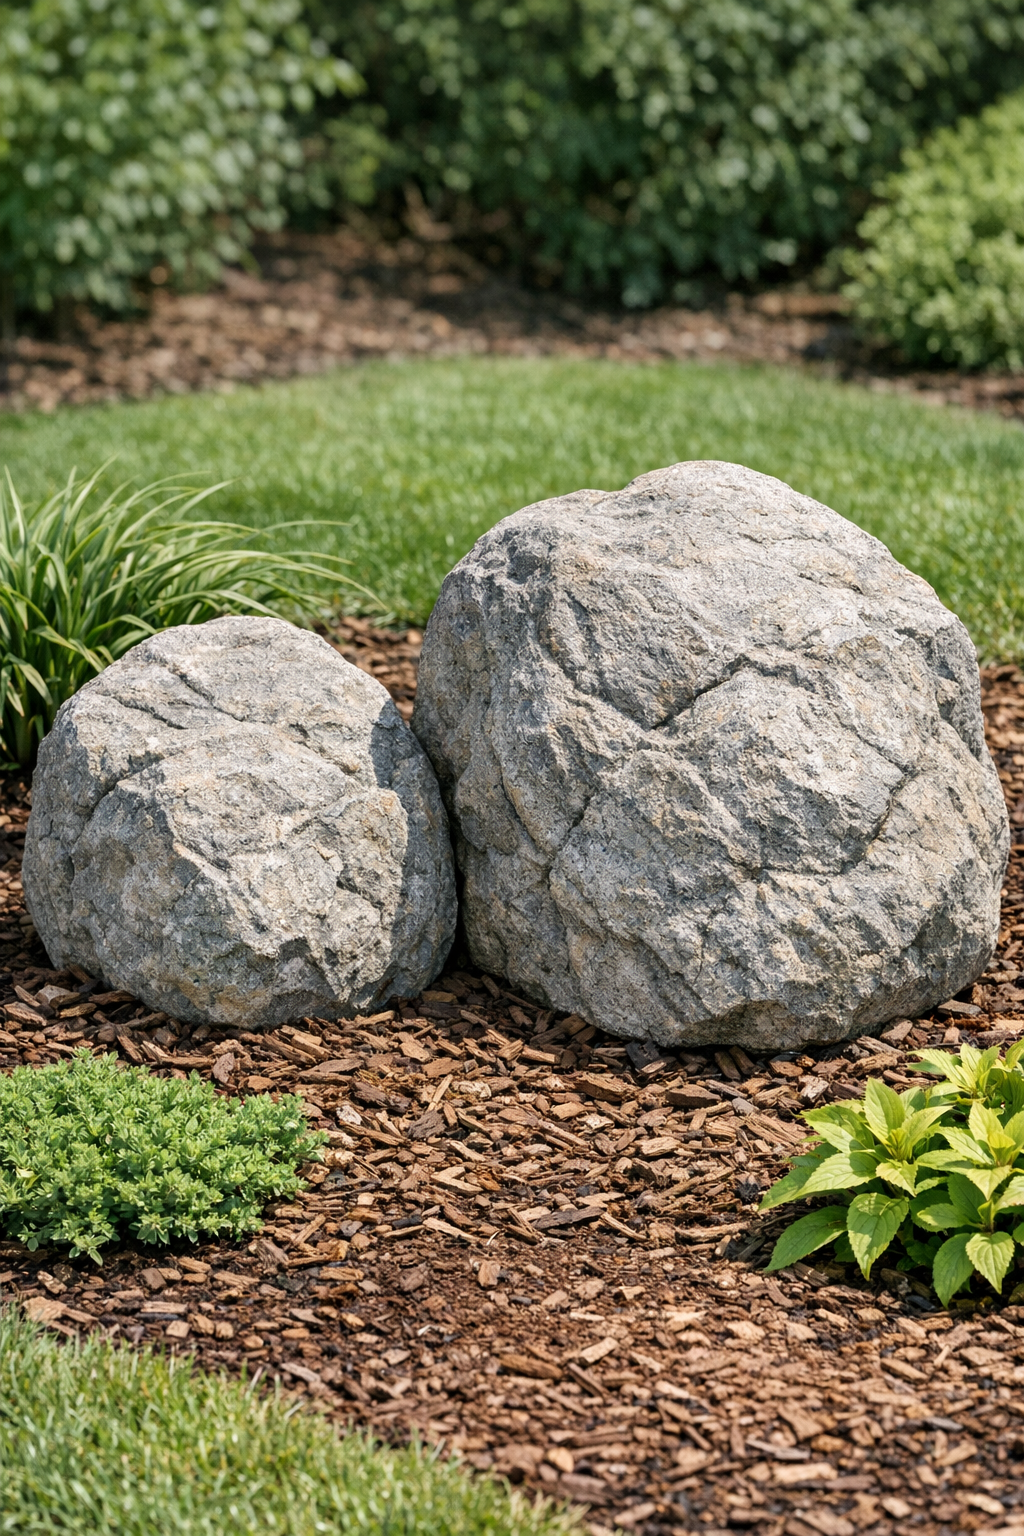
8. Move the fully cured boulders into your garden bed or along a path, nestling them partly into mulch or soil so they look like they’ve always belonged there.
Variations & Tips
For more natural shapes: Make one boulder flatter and another taller or more angular. Real stones rarely match, and that little bit of variety makes the finished arrangement much more convincing.
For picky landscape spots: These are great where real rock would be too heavy, like over tree roots, near edging, or in spots where you may want to move things around seasonally.
For a rougher stone texture: Once the cement starts to firm up, dab the surface with a crumpled plastic bag or stiff brush to break up smooth areas.
To help them blend in: Tuck the bottom inch or two into mulch, gravel, or soil when placing them. I use this same trick in my own yard because even a well-shaped faux boulder looks more believable when it’s slightly “set” into the ground.
For durability: Make sure all packing peanuts are fully coated with cement so they’re protected from sun and weather. A good outer shell is what keeps the boulders looking nice through the seasons.
For size planning: Start with one medium boulder before making several. It’s the easiest way to get a feel for how much peanut-filled cement mixture you need and what size looks best in your space.