
I’ve always had a hard time throwing out a sturdy milk jug. Out here, where we’ve learned to use things up and make them do one more job before they leave the house, that kind of plastic just seems too useful for the trash. This project turns flattened plastic milk jugs into a surprisingly tough little patio flooring panel using just two other household basics, and the finished result has that satisfying “you made that from what?” effect that always makes a holiday gathering more fun.
This is a good project for anyone who wants a temporary flooring surface for a small patio corner, grilling station, potting area, or picnic setup for Labor Day weekend. I like it best for covering a compact space rather than a whole deck, and it’s especially handy if you enjoy practical upcycling and don’t mind a little patient prep work for a hardworking finish.
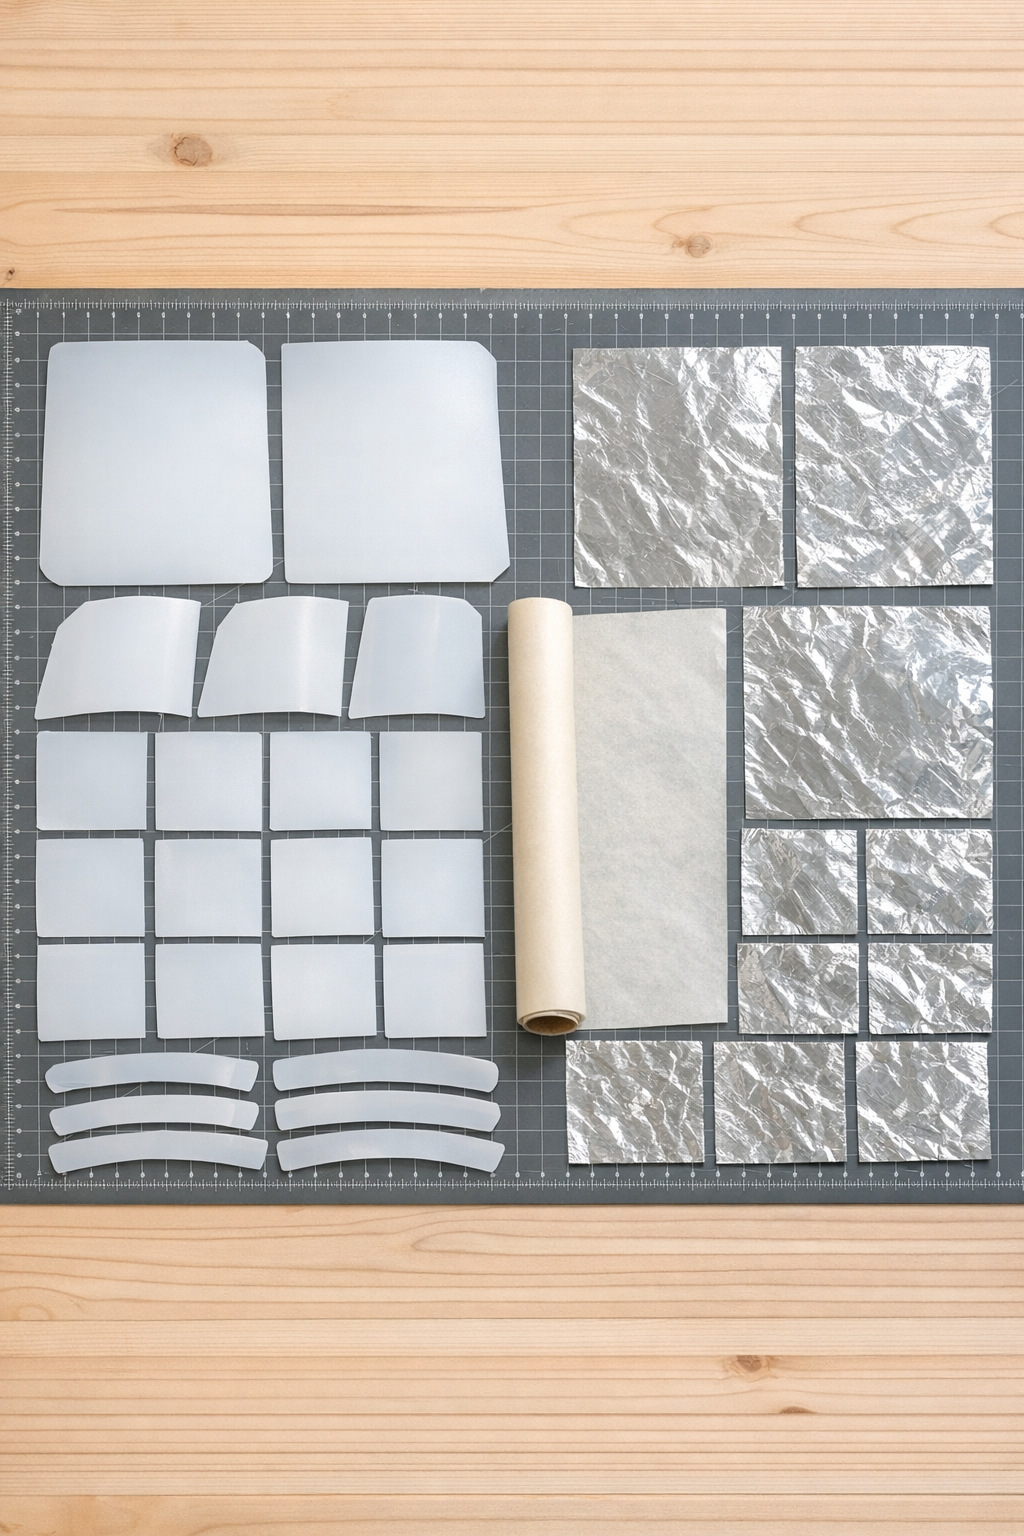
Materials
Instructions
1. Wash the milk jugs thoroughly with warm soapy water, then let them dry completely inside and out. Any moisture left in the plastic can create steam and weak spots when heated.
2. Cut off the tops and bottoms of all 16 jugs, then cut straight down one side of each jug to open it into a flat sheet. Trim away curved edges and handle bumps so you’re left with the largest workable panels possible.
3. Sandwich each plastic panel between two sheets of parchment paper and press it with a warm iron until it relaxes flatter. Work in short passes and keep the iron moving so the plastic softens without scorching.
4. Tear off a base sheet of aluminum foil about 24 inches by 24 inches and set it on your work surface, then place a sheet of parchment paper over it. This gives you a contained area to build one flooring tile panel.
5. Arrange a first layer of flattened plastic pieces on the parchment, slightly overlapping the edges like patchwork. Aim for a square about 18 inches by 18 inches and keep the thickness as even as you can.
6. Add a second and third layer of plastic, changing the direction of the seams so weak lines do not stack in the same place. This crisscross layering is what gives the panel its heavy-duty feel.
7. Cover the layered plastic with another sheet of parchment paper, then wrap the foil loosely over the top to hold everything together. The parchment keeps the plastic from sticking while the foil helps distribute the heat.
8. Press the wrapped panel slowly with the iron, working from the center outward in overlapping passes. Continue until the layers begin bonding into one solid sheet and the surface looks smoother and more unified.
9. Let the panel cool for 5 to 10 minutes, then unwrap one corner and check the bond. If the layers still separate easily, re-cover and iron again until the plastic holds together firmly.
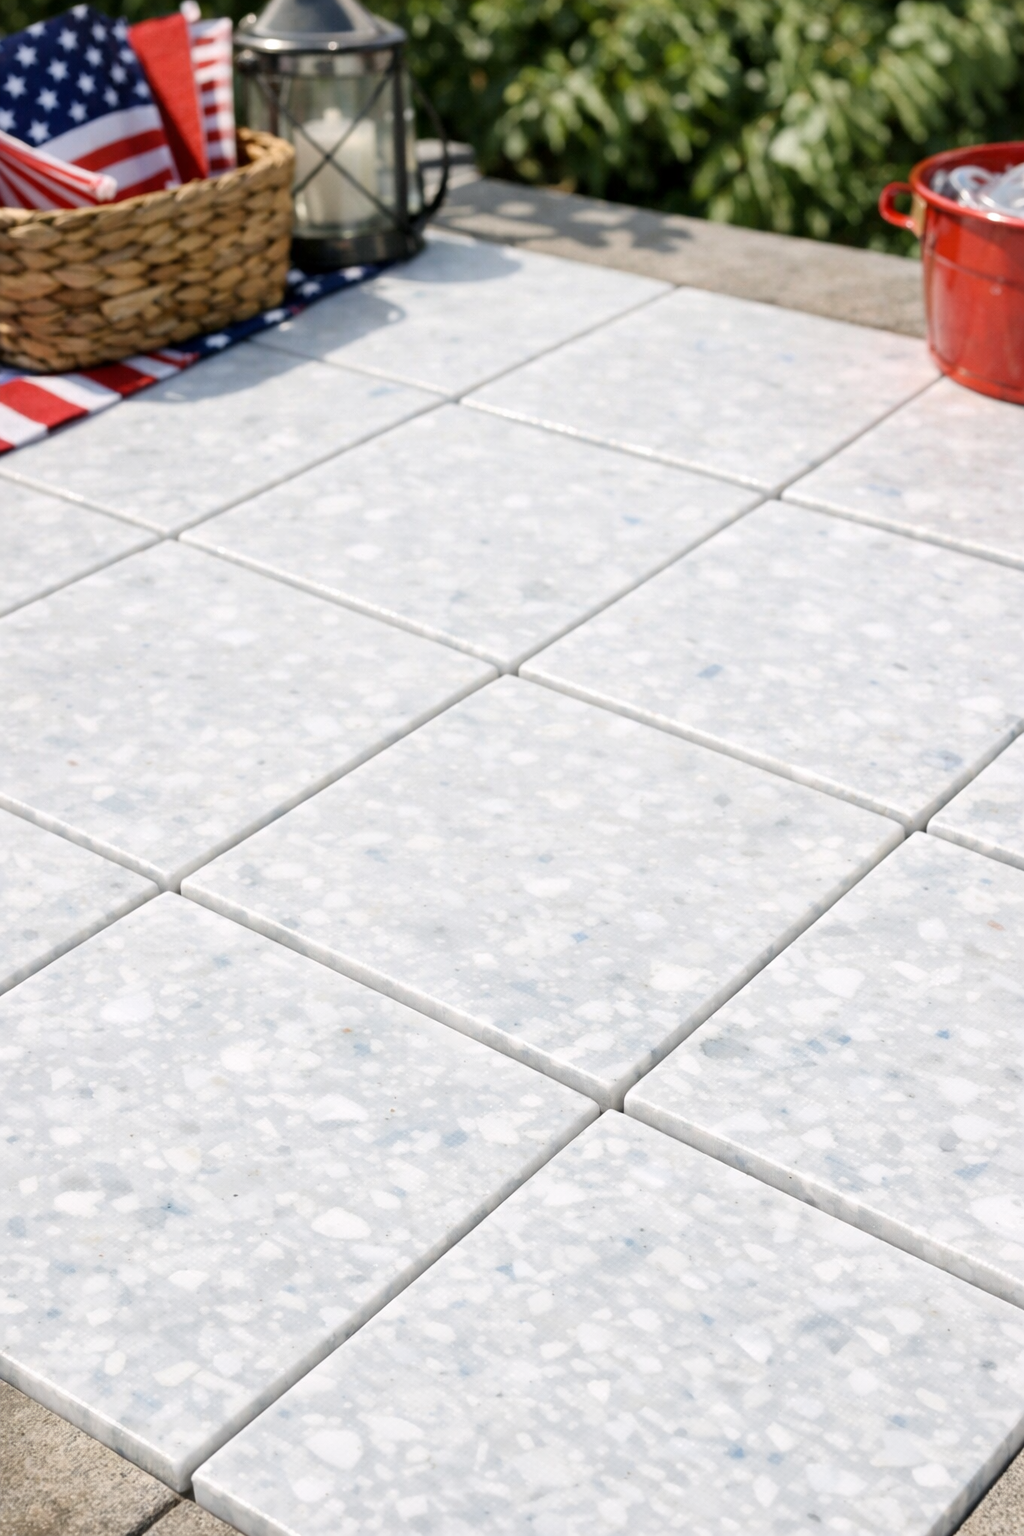
10. Trim the edges square, then repeat the layering and pressing process to make enough panels to cover your small patio area. For a simple Labor Day setup, I like making four to six matching tiles and laying them tightly side by side over a flat, hard surface.
Variations & Tips
For a thicker tile: Use four layers instead of three if you want a firmer panel for a grill-side mat or plant stand base. It takes longer to bond, but it gives the finished piece a sturdier feel.
For a cleaner edge: Save your straightest sidewall pieces for the outer layer. I’ve found that neat outer pieces make the finished tile look more intentional, even if the middle layers are more patched together.
For even heating: Keep the iron at a medium setting and avoid steam. Slow, steady passes work better than high heat, which can warp the plastic before it bonds properly.
For outdoor use: Lay these panels on a flat patio, concrete pad, or other hard surface rather than bare soil. They work best as a temporary or seasonal flooring layer, especially for holiday entertaining.
For easy storage: Stack the cooled tiles with parchment between them. That little trick reminds me of how we used to store delicate baked goods between wax paper sheets, and it helps keep the surfaces from sticking if the weather turns warm.
For safety: Work in a well-ventilated area and test one small piece first to learn how your iron behaves with the plastic. A little patience at the beginning saves a lot of fuss later on.