
A poolside towel tree is one of those backyard projects that looks playful and sculptural, but it also solves a real problem. If your family is anything like mine, wet towels end up draped over patio chairs, railings, and anything else within reach. This version uses a chunky birch log base with painted wooden dowels stacked through drilled holes, so it feels sturdy, weather-friendly, and charming enough to leave out all summer.
I love projects like this because they come together with simple materials, and you can customize the colors to match your outdoor space. This is a great weekend build for anyone who wants a practical backyard upgrade without tackling a huge construction project, and it is especially handy for busy families who need an easy place for towels to dry after swimming.
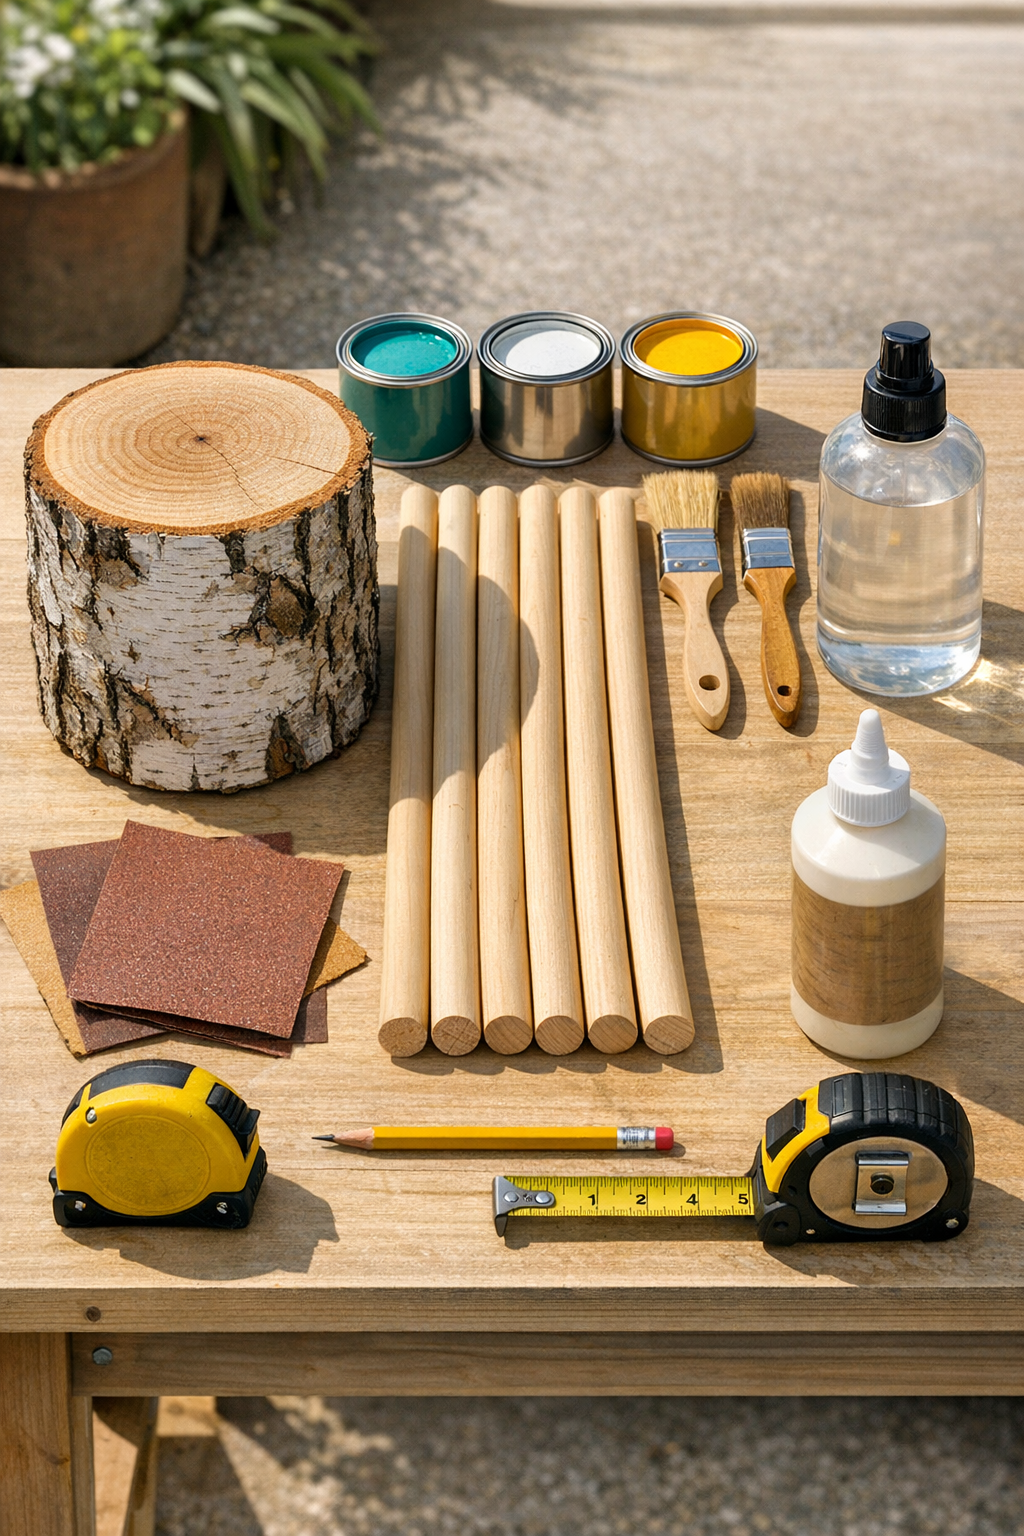
Materials
1 birch log section, 12 inches tall and 10 to 12 inches in diameter
Instructions
1. Let the birch log dry fully if it is freshly cut, then brush off any loose bark and dirt. Sand the top, bottom, and sides lightly with 120-grit sandpaper so the surface is clean and smooth enough to handle.
2. Decide which face of the log will be the top, then mark six hole locations around the upper half of the log. Space the marks evenly, leaving at least 2 inches between holes and 1 1/2 inches from the outer edge to keep the base strong.
3. Drill six 1-inch-wide holes straight down into the log, making each hole 3 to 4 inches deep. Test-fit each dowel as you go so it slides in snugly without splitting the wood.
4. Sand the dowels with 220-grit sandpaper to remove any rough spots, especially on the ends. Wipe off all dust with a tack cloth so the paint goes on smoothly.
5. Prime the dowels and the top portion of the log if you want a longer-lasting finish. Let the primer dry completely according to the label before moving on.
6. Paint the dowels in your chosen colors, using two thin coats for even coverage. I like to mix bright poolside shades with one neutral color so the finished piece feels fun but still polished.
7. If you want, paint or seal the birch log base as well, keeping the natural bark visible for contrast. Fill any deep cracks on the top surface with wood filler first, then sand smooth once dry.
8. Brush on a coat of clear outdoor sealer over the painted dowels and any painted areas of the base. Let everything dry fully so the finish can handle sun, splashes, and damp towels.
9. Add a small amount of exterior wood glue into each drilled hole, then insert the dowels one at a time. Twist each dowel gently as you push it in so the glue coats the inside evenly.
10. Stand the towel tree upright on a flat surface and check that it does not wobble. If needed, sand the bottom of the log a little to level it, then allow the glue to cure completely before using.
11. Place the finished towel tree near the pool or patio and drape one towel over each rod. Leave a little space between towels so air can circulate and help them dry faster.
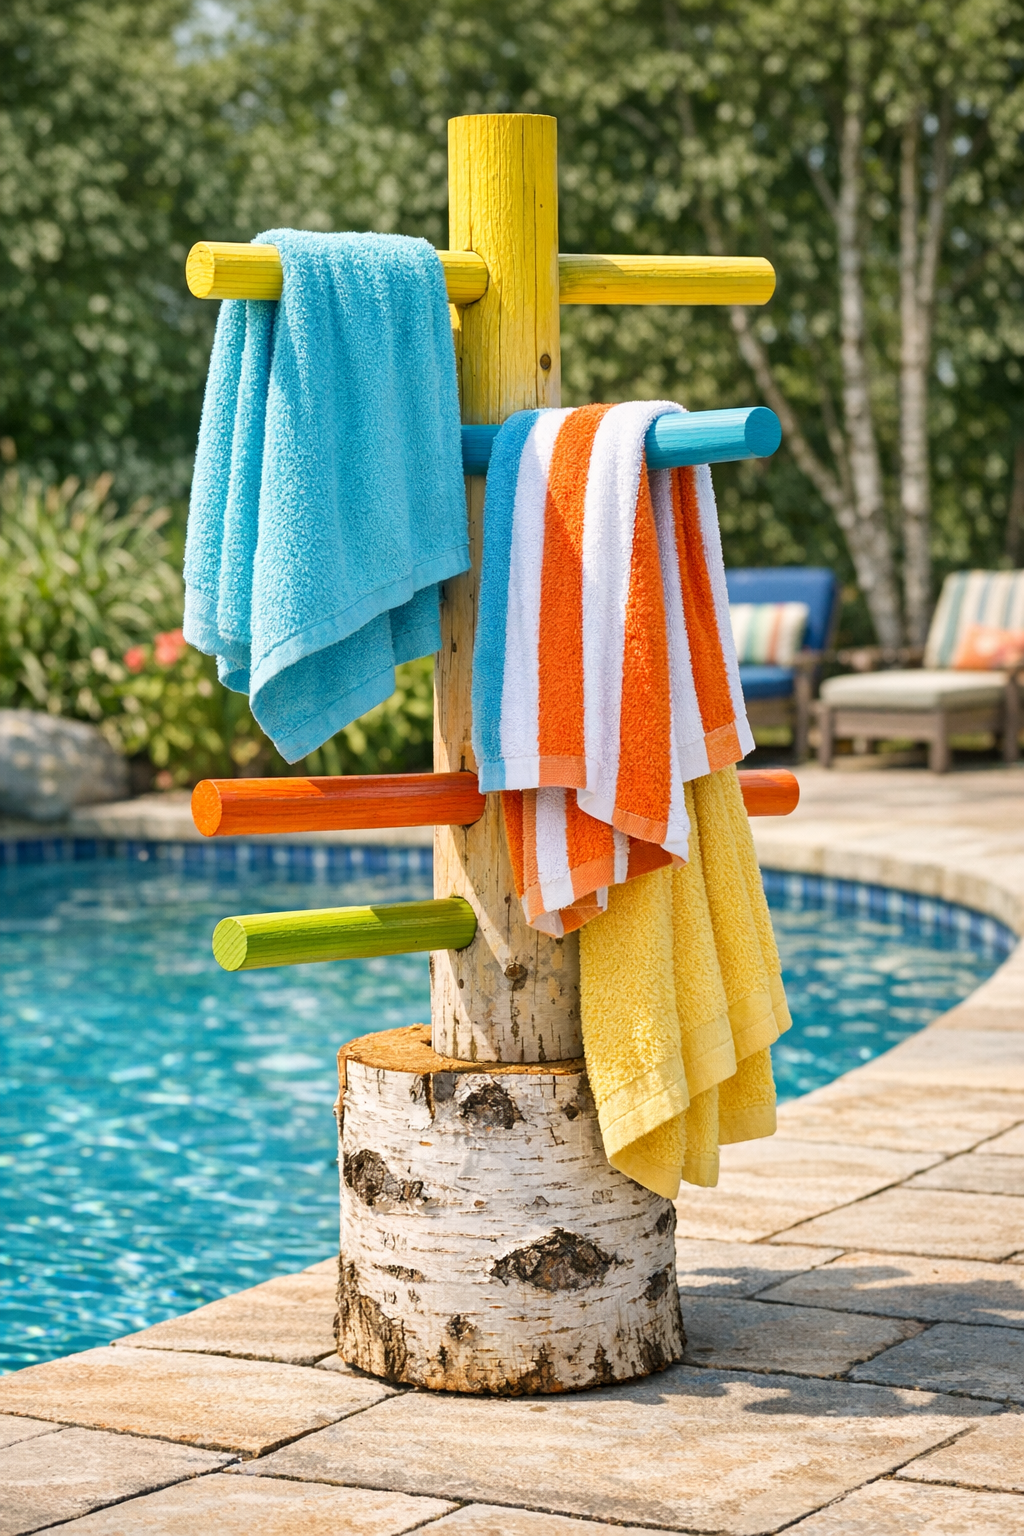
Variations & Tips
Kid-friendly colors: If you have children like I do, let each family member pick a dowel color. It makes the towel tree feel personal, and younger kids can remember exactly where their towel belongs.
Smaller patio version: Use a 10-inch-tall log and four dowels instead of six if you are working with a compact space. It still functions well and is easier to move around.
Extra stability: For windy pool decks, choose a wider log base closer to 12 inches across. A heavier base helps keep the stand solid when several wet towels are hanging at once.
Natural look: Skip the bright paint and use a clear exterior sealer only. The pale birch and raw wood dowels give the project a simple, rustic look that blends beautifully into a backyard garden or deck.
Picky family tip: In my house, anything that keeps outdoor mess organized is a win. If towels tend to get mixed up, paint the top 6 inches of each dowel a different color so everyone can claim a spot without any fuss.
Care and storage: Reapply outdoor sealer once a year for the best finish. If you get harsh winters, store the towel tree in a shed or garage during the off-season to help it last longer.