
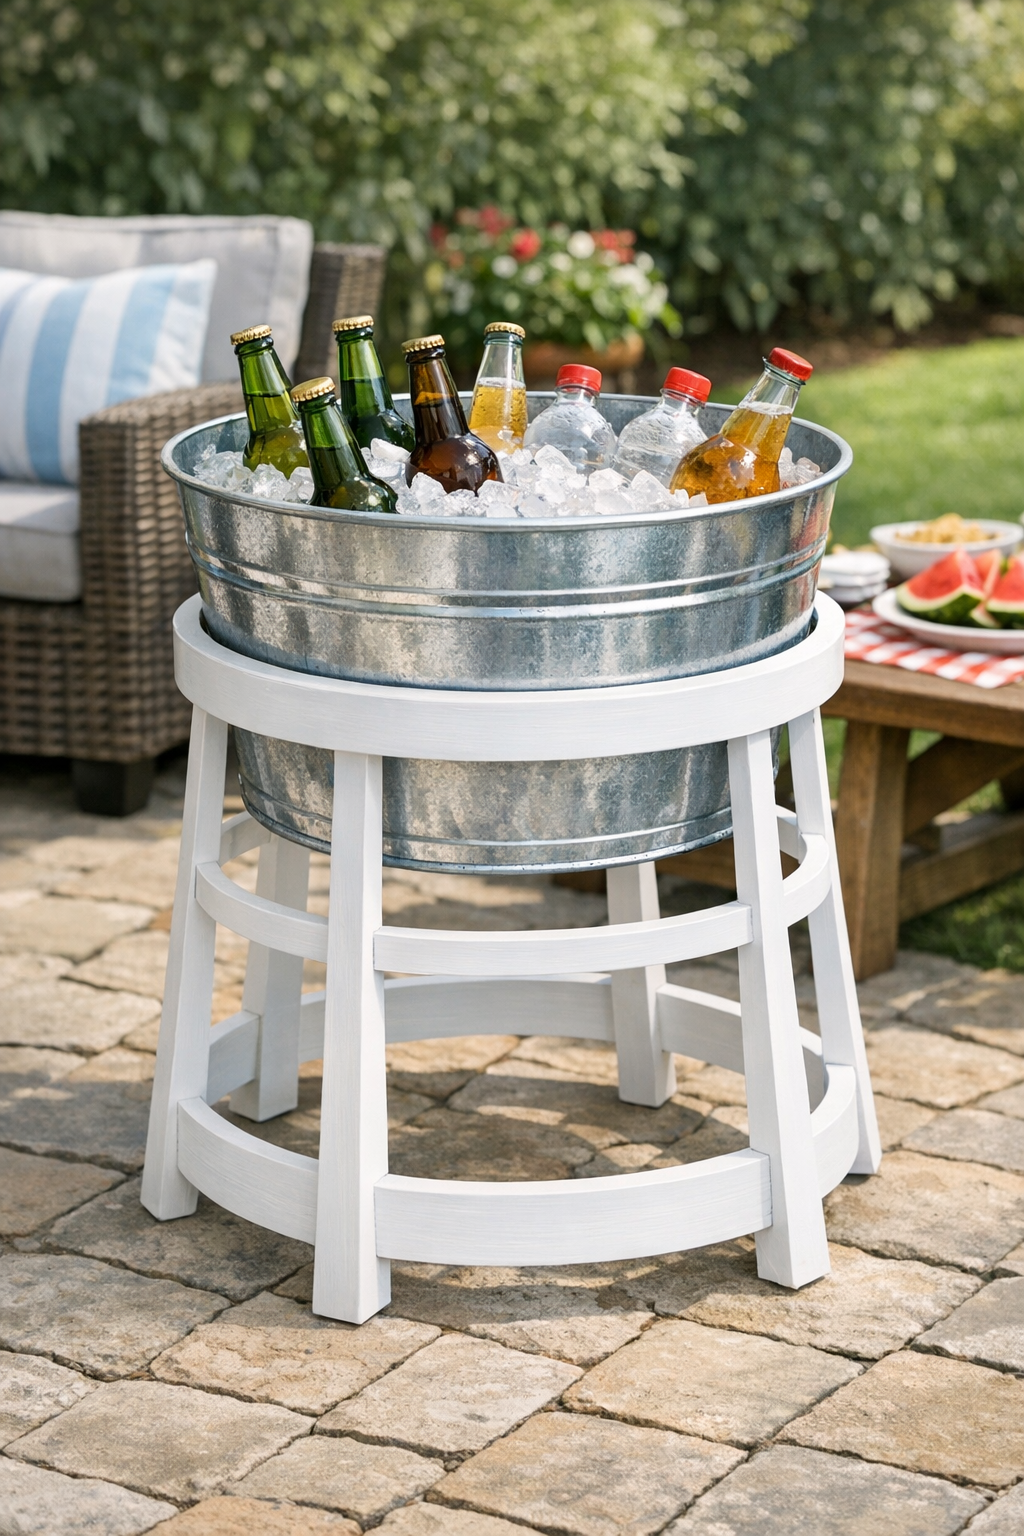
There’s something mighty satisfying about turning a few simple backyard pieces into something that looks charming and works hard at the same time. This outdoor ice bucket stand is made by nestling a large galvanized tub inside an inverted wooden tomato cage, then painting the stand a clean white so it feels bright, tidy, and ready for a summer gathering. It’s the sort of project I can see on a porch beside a table of lemonade, sweet tea, and cold bottles on a hot afternoon.
I’m especially fond of projects like this because they’re useful without being fussy. If you like easy weekend builds, cottage-style outdoor décor, or practical party setups that don’t cost a fortune, this one is well worth making. It comes together with basic tools and a little patience, and the finished stand gives your drinks a proper home instead of taking up half the picnic table.
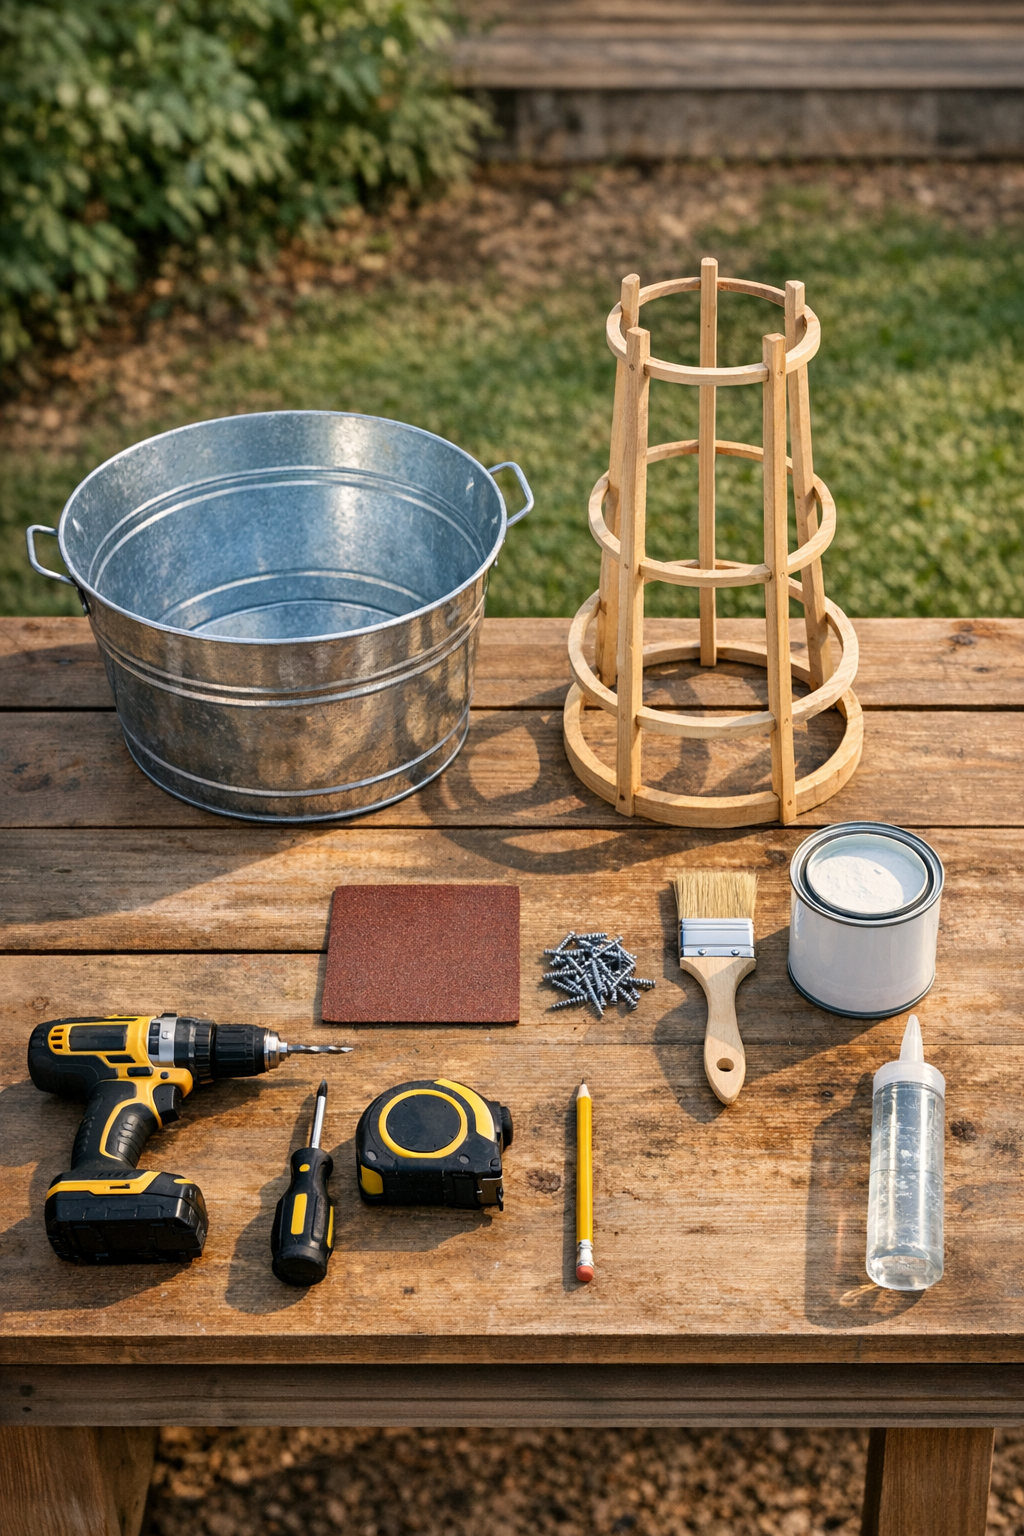
Materials
Instructions
1. Set the wooden tomato cage upside down on a flat work surface so the widest end becomes the base and the narrower end faces up to hold the tub.
2. Place the galvanized tub into the top opening and check how it rests; the rim should sit securely on the wooden frame without wobbling too much.
3. Mark the contact points where the tub rim meets the wooden cage so you know where to secure it later, then remove the tub and set it aside.
4. Lightly sand the entire wooden tomato cage to smooth rough spots and help the paint adhere better, paying extra attention to corners and cut ends.
5. Brush on an even coat of white exterior paint over the whole wooden cage, covering all sides of the slats and crosspieces, and let it dry fully.
6. Apply a second coat of paint if needed for solid coverage, then let the stand dry completely before handling.
7. Brush on a coat of clear exterior sealant over the painted wood and allow it to cure according to the product directions for better weather resistance.
8. Set the galvanized tub back into the top opening and align it with the marks you made earlier so it sits evenly and looks centered.
9. Drill four small pilot holes through the wooden supports at evenly spaced points around the tub rim area, being careful not to damage the tub.
10. Secure the tub by driving one screw with a washer at each of the four pilot-hole locations so the washers gently hold the tub rim in place without bending the metal.
11. Check the stand for stability on level ground, then make any small adjustments so it sits flat and the tub feels snug and secure.
12. Fill the tub with ice and drinks when you’re ready to use it, and place it on the patio, porch, or in the garden where guests can reach it easily.
Variations & Tips
Color choice: White gives this stand a fresh farmhouse look, but soft sage green, black, or barn red would also be handsome if you want it to match your porch furniture or garden planters.
Extra protection: If your stand will live outdoors most of the season, use two coats of sealant and store it under cover when not in use. That little bit of care goes a long way, and I’ve learned over the years that painted wood lasts best when it gets a touch of kindness.
Drainage idea: If you expect melting ice to sit for hours, choose a tub with side handles so it’s easier to lift and empty. You can also leave the tub unsecured if the fit is naturally snug and you’d rather remove it quickly for draining and cleaning.
Stability tip: A wider tomato cage base makes the stand safer on grass or uneven patio stones. Before guests arrive, I always give a piece like this a gentle shake test, just the same way my family used to check porch benches before a reunion crowd settled in.
Serving use: This stand is lovely for bottled drinks, but it also works for bagged ice, canned soda, or even potted flowers during a cookout. That’s my favorite kind of project—something practical enough for everyday use and pretty enough for company.