
If you save used coffee grounds the way I do, this is one of those surprisingly practical little projects that feels almost too clever the first time you try it. This DIY deck patching compound turns dried coffee grounds and two basic household items into a thick filler that works well for small surface voids, shallow chips, and worn spots in an older wooden deck.
I like projects like this because they use up something that would normally get tossed, and they fit real life when you do not want to run to the hardware store for one tiny repair. If you have a weathered deck, a few rough spots, and a free half hour on a Saturday, this is a simple patch I have found especially useful for cosmetic touch-ups before staining or sealing.
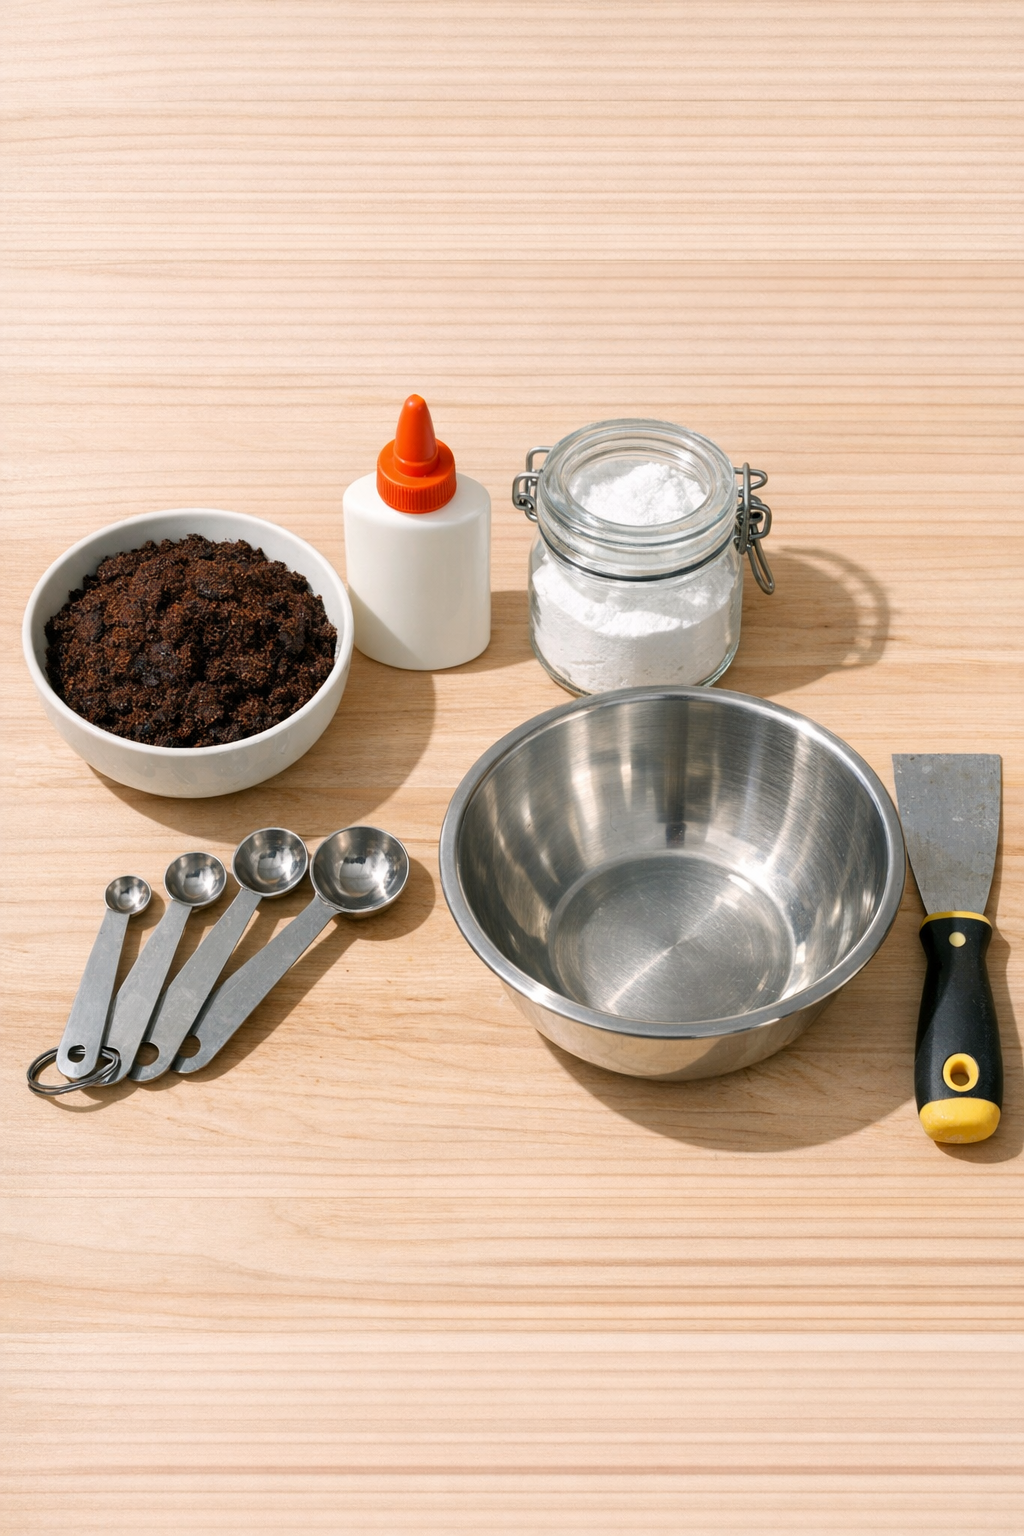
Materials
1 cup fully dried used coffee grounds
Instructions
1. Spread the used coffee grounds on a plate or tray and let them dry completely for 12 to 24 hours if they are still damp. The grounds need to feel loose and dry so the patch sets up thick instead of gummy.
2. Wipe the damaged deck area with a damp rag and remove any loose splinters, peeling finish, or crumbling wood fibers. Let the spot dry fully before applying the patch.
3. In a small bowl, mix 1 cup dried coffee grounds with 1/4 cup baking soda until the color and texture look even. This dry blend helps bulk up the patch and gives it a more sandable body.
4. Add 1/2 cup white glue and stir until a thick paste forms. If the mix seems too loose, add 1 more tablespoon of coffee grounds; if it seems too crumbly, add 1 teaspoon of glue at a time.
5. Press the compound firmly into the crack, chip, or shallow hole with a putty knife, making sure it fills the space completely. Slightly overfill the repair so you can sand it flush later.
6. Smooth the surface with the putty knife and scrape away the excess around the repair. Try to leave the patch as level as possible to make finishing easier.
7. Let the patch dry for 8 to 12 hours, or overnight for the best result. Keep the area dry and avoid stepping on it while it hardens.
8. Sand the patched area lightly with 120-grit sandpaper until it sits flush with the surrounding wood. Wipe away the dust with a clean rag.
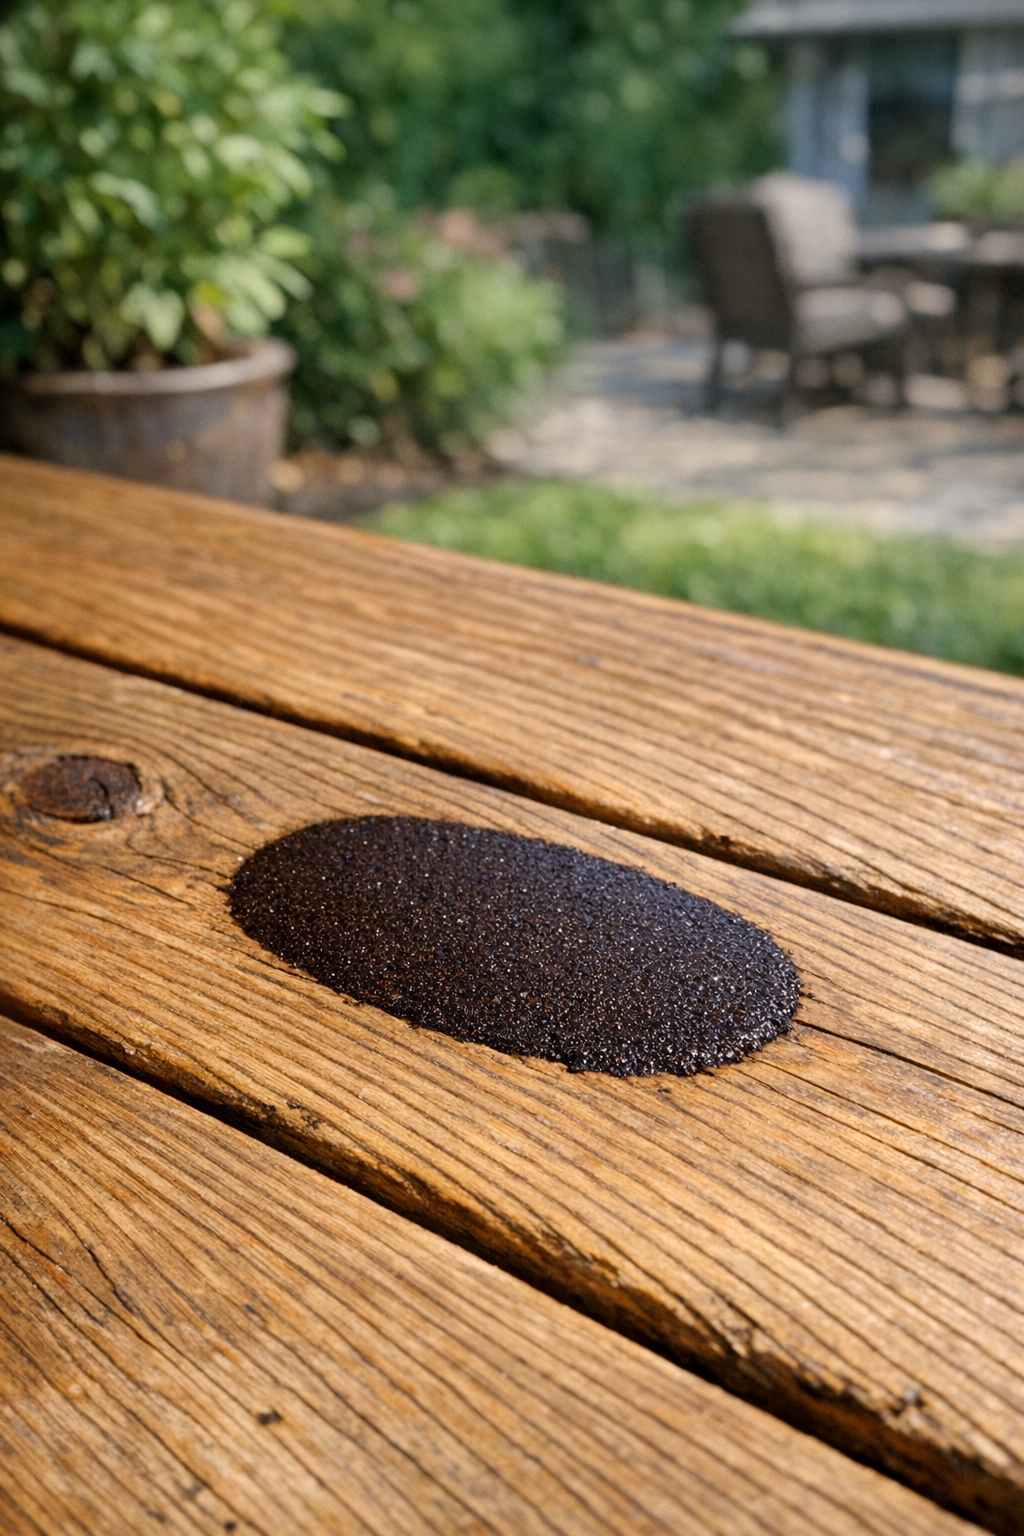
9. Leave the patch as-is for a rustic look, or apply deck stain or sealer once it is fully dry if you want it to blend in better. For small cosmetic repairs, the finished patch should feel firm and solid.
Variations & Tips
Best use: I use this for small non-structural repairs like shallow gouges, checks, and chipped edges. It is not a substitute for replacing rotten boards or fixing deep structural damage.
Drying tip: If I am in a hurry, I spread the coffee grounds in a thin layer and let them air-dry near a sunny window. You can also dry them longer than you think you need; extra-dry grounds make a much better patch.
Color blending: Coffee grounds naturally create a dark brown filler, which works especially nicely on stained or weathered wood. If your deck is very light, test the patch in a less noticeable area first.
Texture control: For a smoother finish, crush the dried coffee grounds slightly before mixing. For a more rustic, wood-like texture, leave them a bit coarser.
Small-batch option: If you only have one tiny spot to fix, use 4 tablespoons dried coffee grounds, 2 tablespoons glue, and 1 tablespoon baking soda. I do this all the time because I rarely need a full batch.
Finish prep: If you plan to stain or seal the deck afterward, let the patch dry completely overnight first. In my experience, patience here makes the repair hold its shape much better.