
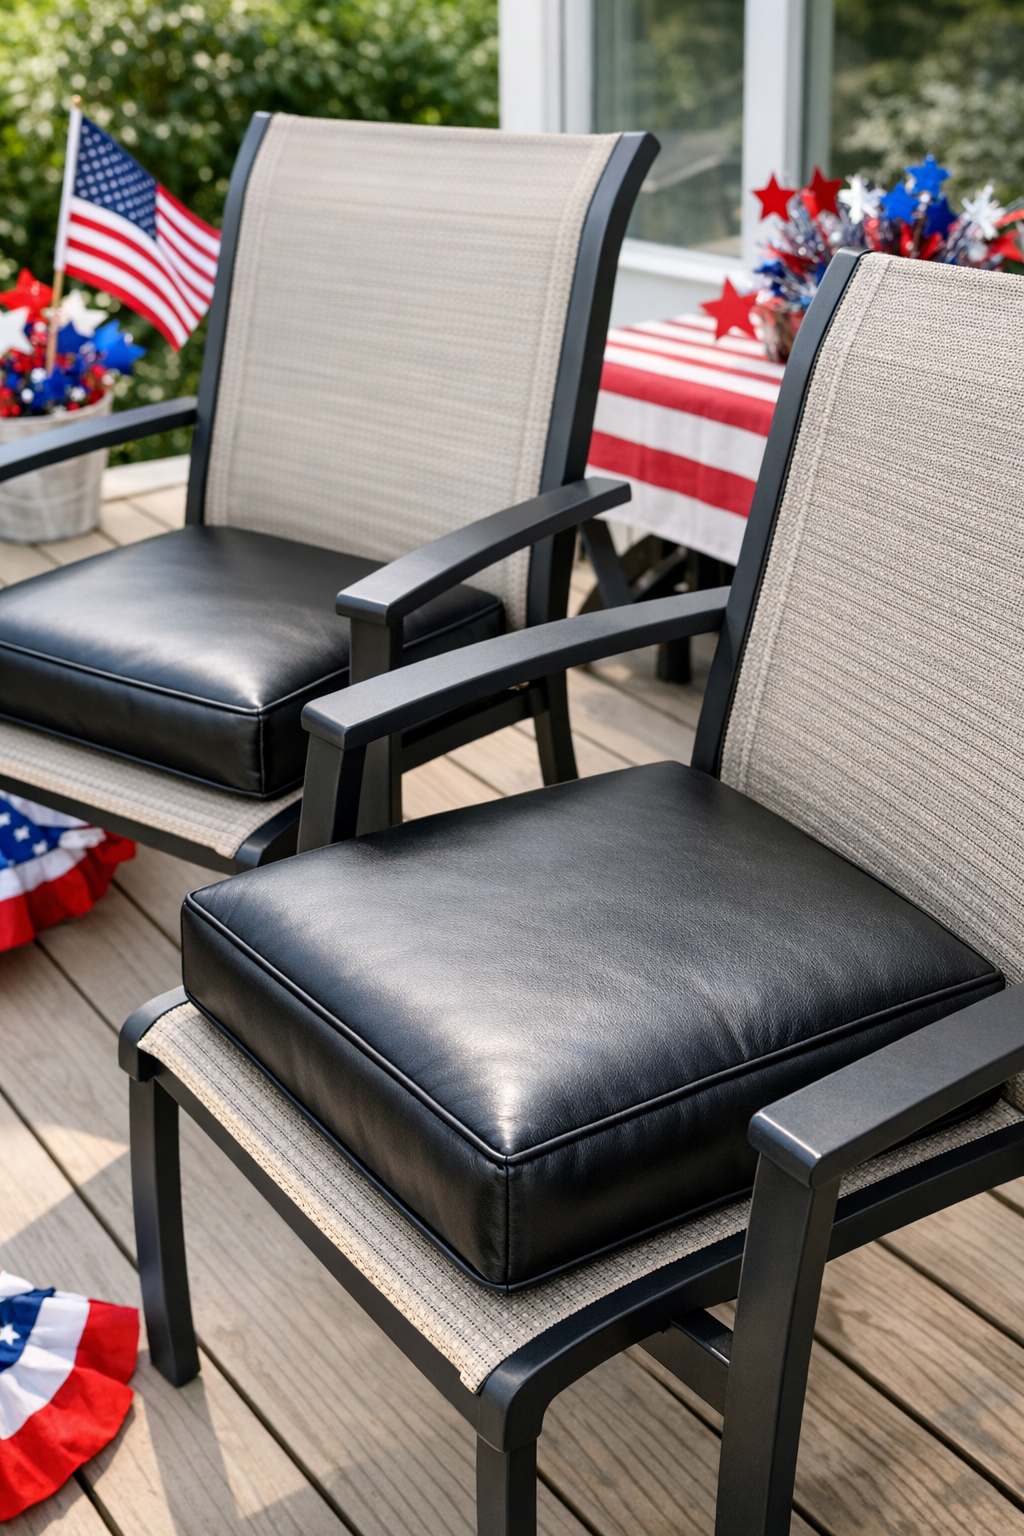
There’s something deeply satisfying about turning humble, everyday materials into something that looks tailored and expensive. For this project, I’m making simple Labor Day patio cushions with a faux leather finish created from thick black contractor bags, and the result has that sleek, modern look that plays beautifully against wood, metal, or painted outdoor furniture.
I like this project for anyone who wants a quick seasonal refresh without buying new cushions or sewing complicated covers. The method is straightforward: fuse the plastic for a sturdier leather-like surface, wrap it around cushion foam, and secure everything neatly. It’s a clever budget project, and the finished cushions have a crisp, polished look that feels far more elevated than the materials would suggest.
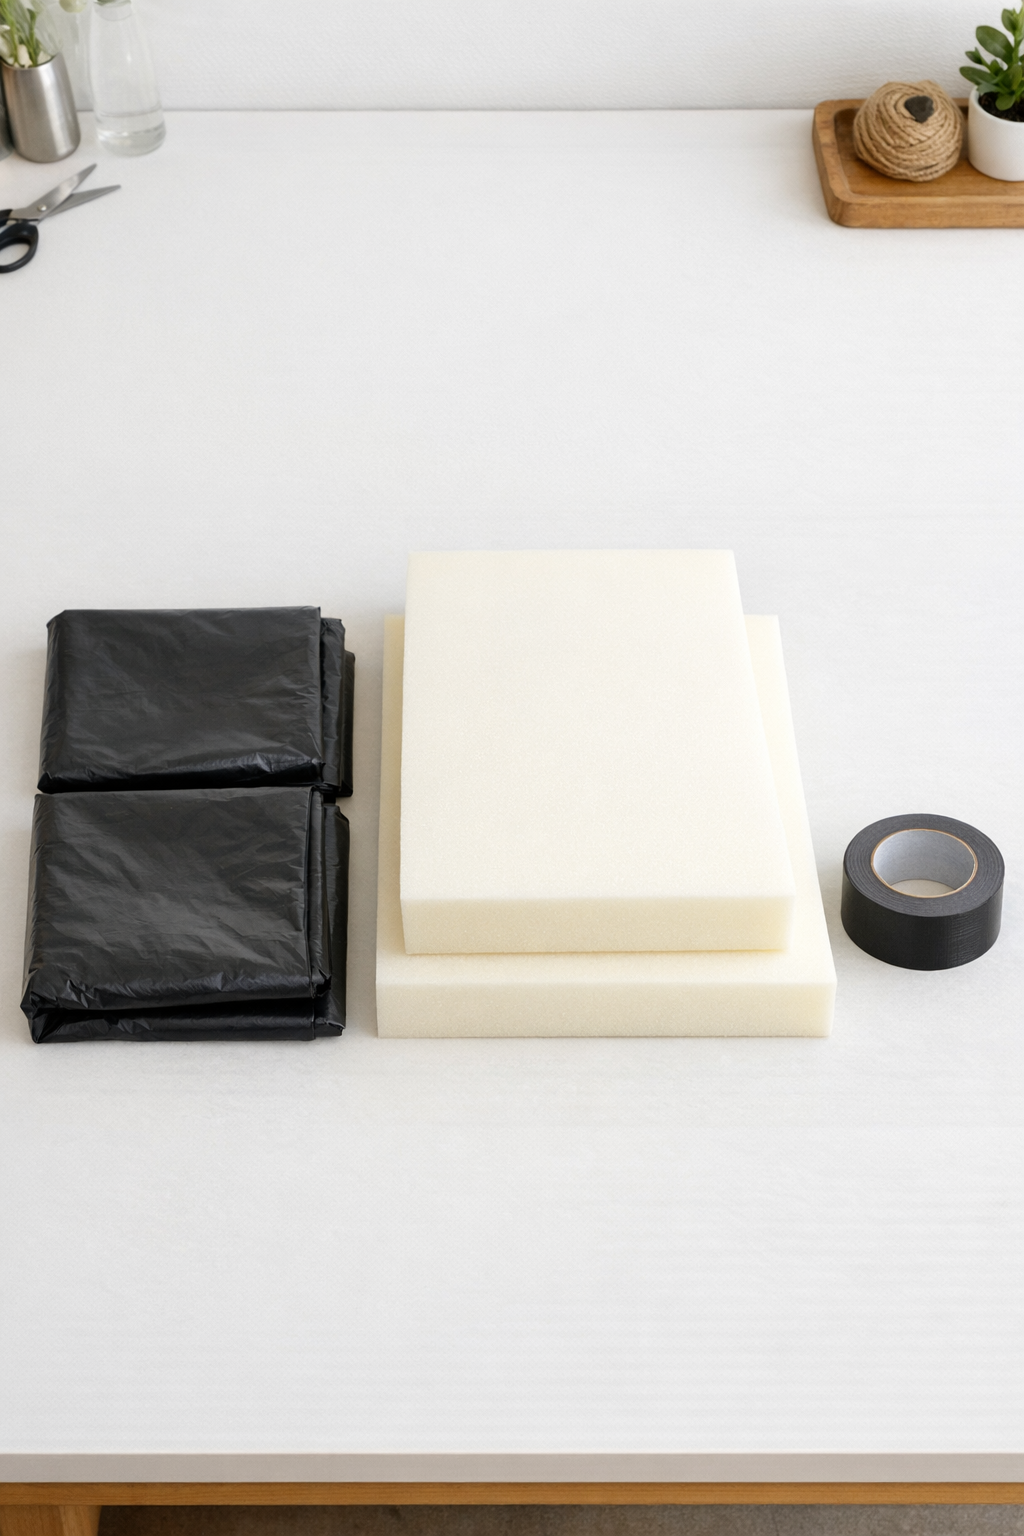
Materials
Instructions
1. Plug in your iron and set up a heat-safe workspace with a smooth surface. Place one contractor bag flat and cut away the side seams and bottom seam so you can open it into one large plastic sheet.
2. Fold the plastic sheet into layered panels to create a thicker faux leather surface, keeping the layers as smooth and wrinkle-free as possible. Press the folded plastic with the iron in short passes until the layers fuse into a firmer, slightly textured sheet.
3. Repeat the same process with the second contractor bag so you have enough fused material for both cushion covers. Let both panels cool completely so the plastic firms up before handling.
4. Place one foam insert in the center of a fused plastic panel and check that there is enough material to wrap over the top, sides, and underside like gift wrap. If needed, trim the panel so you have about 4 to 5 inches of overlap on the back.
5. Pull the long sides of the plastic snugly around the foam and secure them on the underside with strips of black duct tape. Keep the top surface taut and smooth as you work so the cushion keeps a clean, upholstered look.
6. Fold the short ends inward like neat envelope corners, then tape them flat on the underside. Press the corners firmly so they stay compact and don’t create bulky lumps at the edges.
7. Add extra duct tape across all underside seams to reinforce the wrap, especially at the corners and center overlap. Turn the cushion over and smooth the top and side surfaces with your hands to shape the faux leather finish.
8. Repeat the wrapping and taping steps for the second foam insert. Compare both cushions side by side and make any small tape adjustments underneath so they match in height, tension, and corner shape.
Variations & Tips
For a softer look: Wrap the plastic a little less tightly around the foam so the cushion reads more casual and plush instead of crisp and boxy.
For bench seating: Use the same method with one long foam slab; just make sure your fused plastic panel extends several inches past every edge before taping underneath.
For cleaner corners: Trim excess bulk from the folded end flaps before taping. I’ve found that less material in the corner gives a much more convincing faux upholstery finish.
For outdoor use: These are best for temporary holiday seating or covered patios. If rain is in the forecast, I’d bring them indoors to preserve the taped seams and keep the finish looking sharp.
For easier ironing: Work slowly and use short passes rather than holding the iron in one place. That gives the plastic time to fuse evenly and helps prevent over-melting.
For a more tailored underside: Apply the duct tape in long, straight strips and press each one flat as you go. Even though the underside won’t show much, a neat back helps the cushion sit better on the chair.