
I love a project that looks high-end but takes less than an afternoon, and this outdoor side table is exactly that. By flipping a woven wicker basket upside down and topping it with a painted wooden cutting board, you get a lightweight, stylish little table that feels right at home on a patio, porch, or tucked beside a pair of garden chairs.
This is the kind of DIY I reach for when I want to refresh an outdoor space without committing to a full weekend makeover. If you're busy like I am and still want your patio to look pulled together for morning coffee or last-minute guests, this is a very doable project with a big visual payoff.
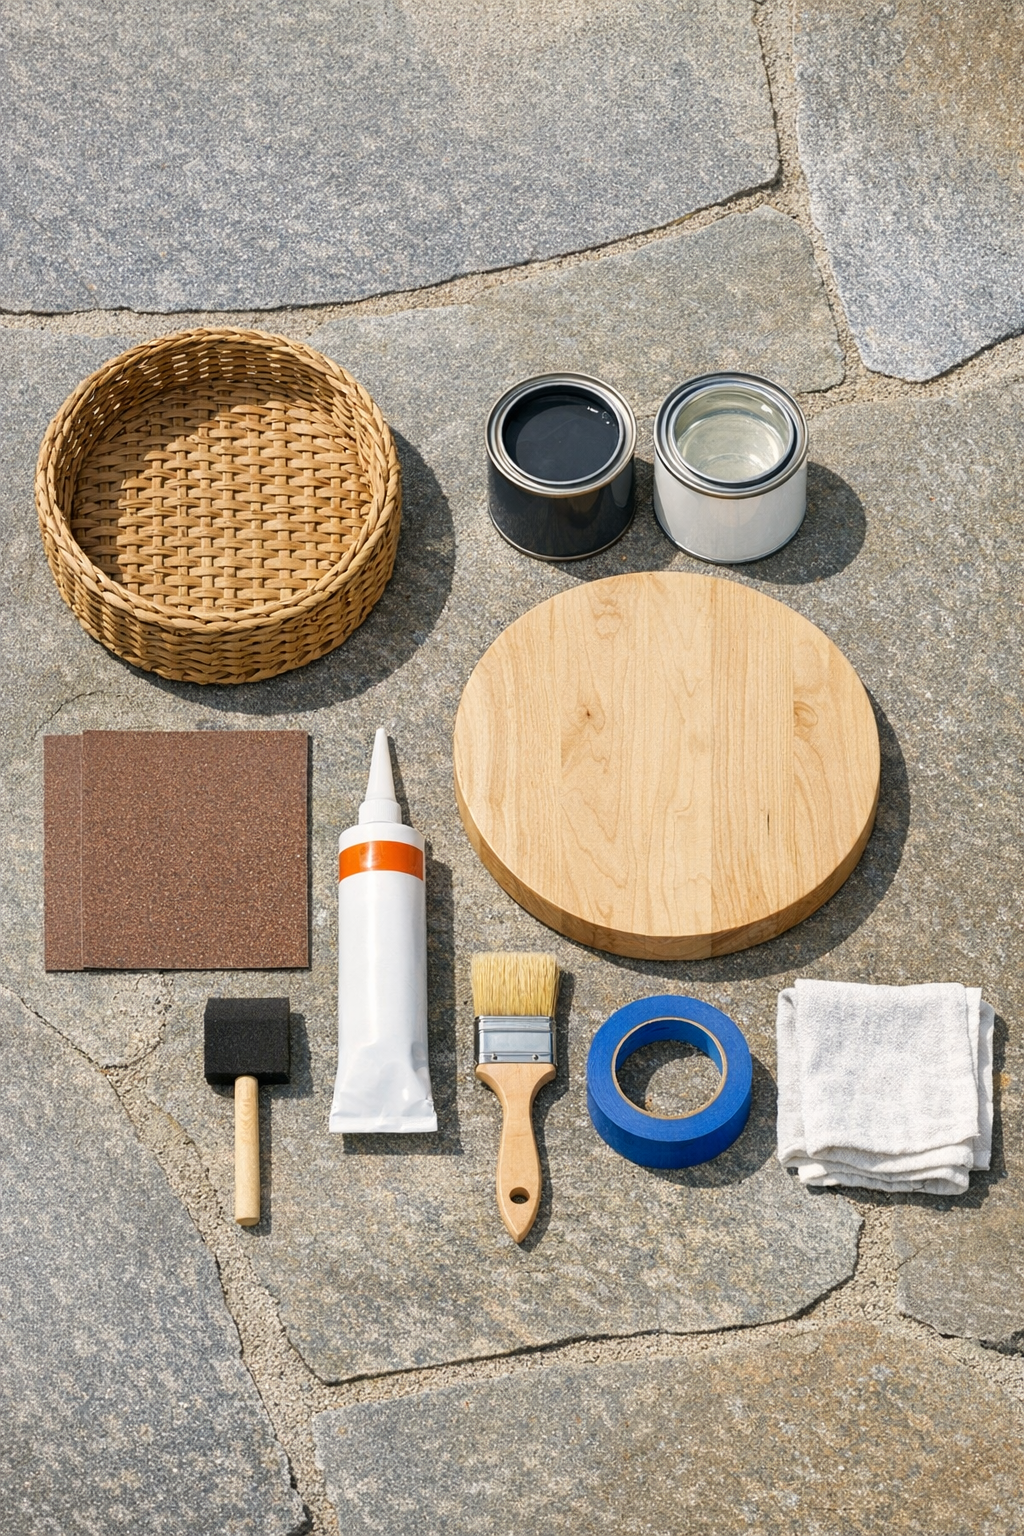
Materials
1 woven wicker basket, approximately 16 to 18 inches wide and 14 to 16 inches tall
Instructions
1. Wipe down the wicker basket and the wooden cutting board with a clean cloth to remove dust, then let both pieces dry completely.
2. Lightly sand the top and edges of the cutting board until the surface feels smooth and ready to accept paint, then wipe away the sanding dust.
3. Apply painter's tape to any part of the cutting board you want to keep unpainted, such as a handle edge or decorative stripe.
4. Paint the top, edges, and underside rim of the cutting board in thin, even coats, allowing each coat to dry before adding the next until the finish looks solid and smooth.
5. Brush on a coat of clear exterior sealer over the painted board, covering the top and edges to help it hold up better outdoors, then let it cure fully.
6. Turn the wicker basket upside down and check that it sits level; if it wobbles, gently press and adjust the rim shape until it rests evenly on the ground.
7. Set the painted cutting board on top of the upside-down basket and center it carefully, checking the overhang from all sides before gluing.
8. Lift the board off, apply a generous ring of construction adhesive to the basket's bottom surface that will contact the board, then place the board back on top and press firmly.
9. Let the adhesive cure for the full time recommended on the tube without moving the table so the top bonds securely to the basket.
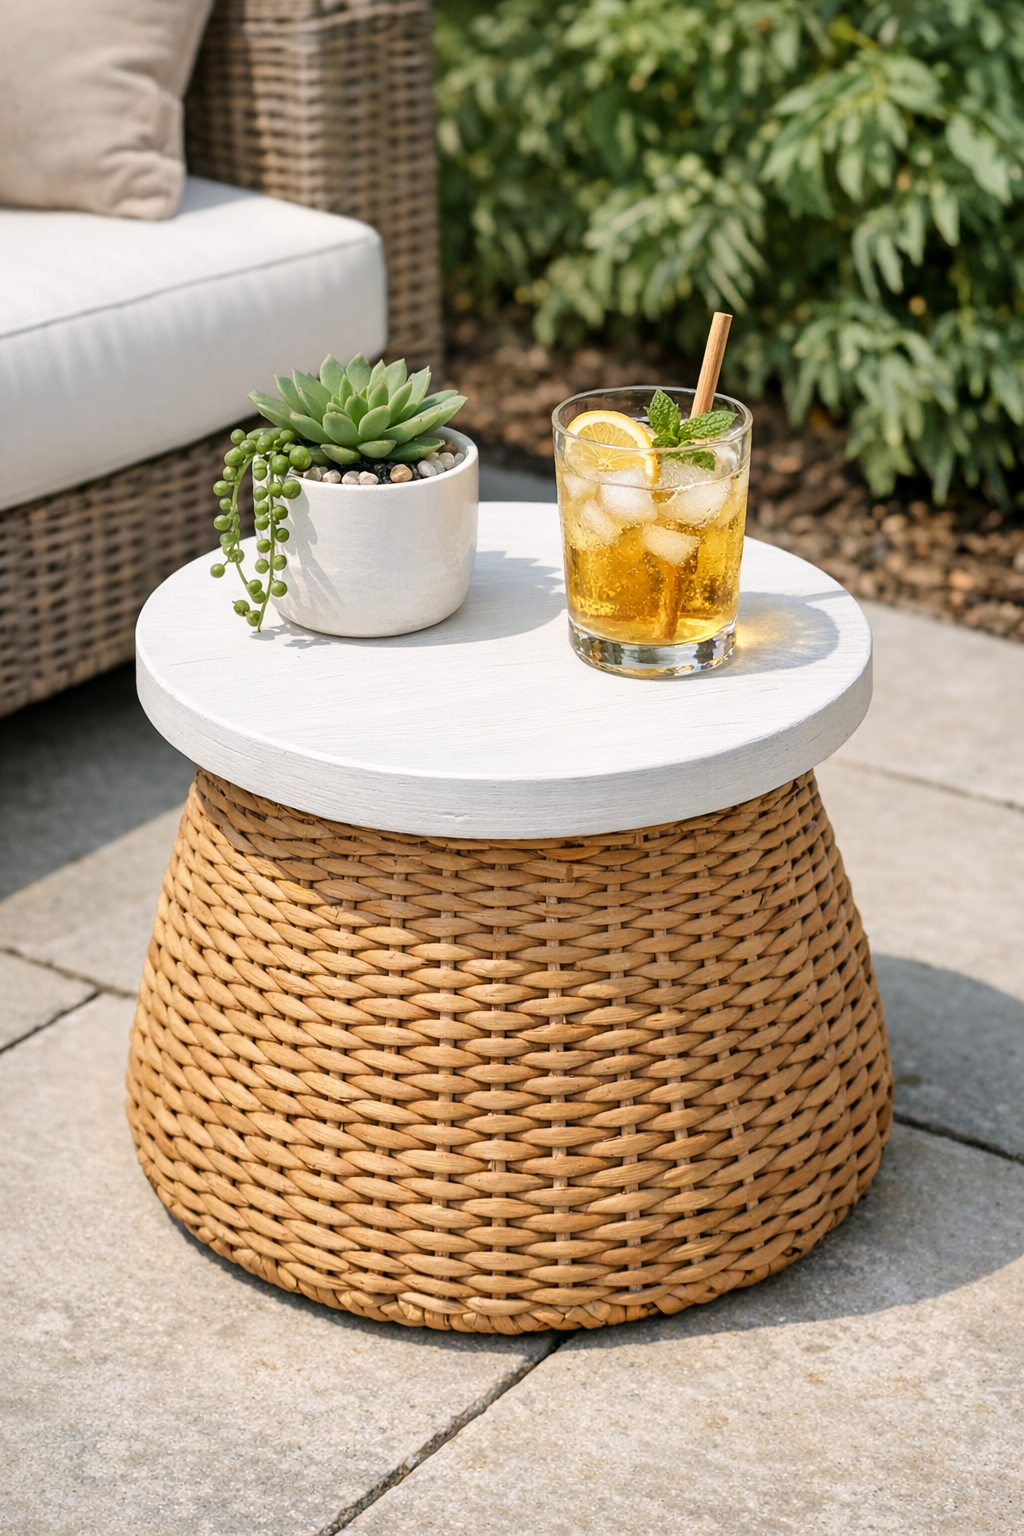
10. Stick felt or rubber pads on the basket rim that touches the ground if needed, then place your finished table on the patio and test it with a drink or small planter.
Variations & Tips
Color choice: I love a soft white, sage green, or charcoal top for this project because those shades make the wicker feel a little more polished without trying too hard.
Basket shape: A round basket gives the most classic look, but a square or slightly tapered basket can work too as long as it sits flat and has enough top surface to support the board.
Weather protection: If your patio gets full sun or frequent rain, use an exterior-rated paint and sealer and try to keep the table in a covered area when it's not in use.
No cutting board on hand: A pre-cut wood round from the craft or hardware store works just as well; I would just keep it within 1 to 2 inches wider than the basket for balanced proportions.
Styling tip: I use little tables like this beside outdoor chairs for coffee on weekday mornings, and a tray on top makes it even easier to carry snacks and drinks outside after work.
Stability check: Keep this piece for lightweight use like drinks, candles, or a small plant, and always test it on a level surface before using it regularly.