
When winter settles in here in the Midwest, I start looking for the little fixes that keep a house more comfortable without costing a fortune. These DIY insulating pipe wraps are one of those practical projects that feel almost too simple, but they really do make a difference. By flattening plastic bubble wrap with an iron and pairing it with one inexpensive hardware-store supply, you can make sturdy wraps that help insulate exposed pipes in basements, crawl spaces, garages, or utility rooms.
I like this project because it uses just two main materials, comes together quickly, and is beginner-friendly. If you can measure, cut, and wrap, you can do this. It is especially handy for anyone wanting a budget-conscious way to add a layer of protection around cold-water or vulnerable utility pipes before the temperature drops.
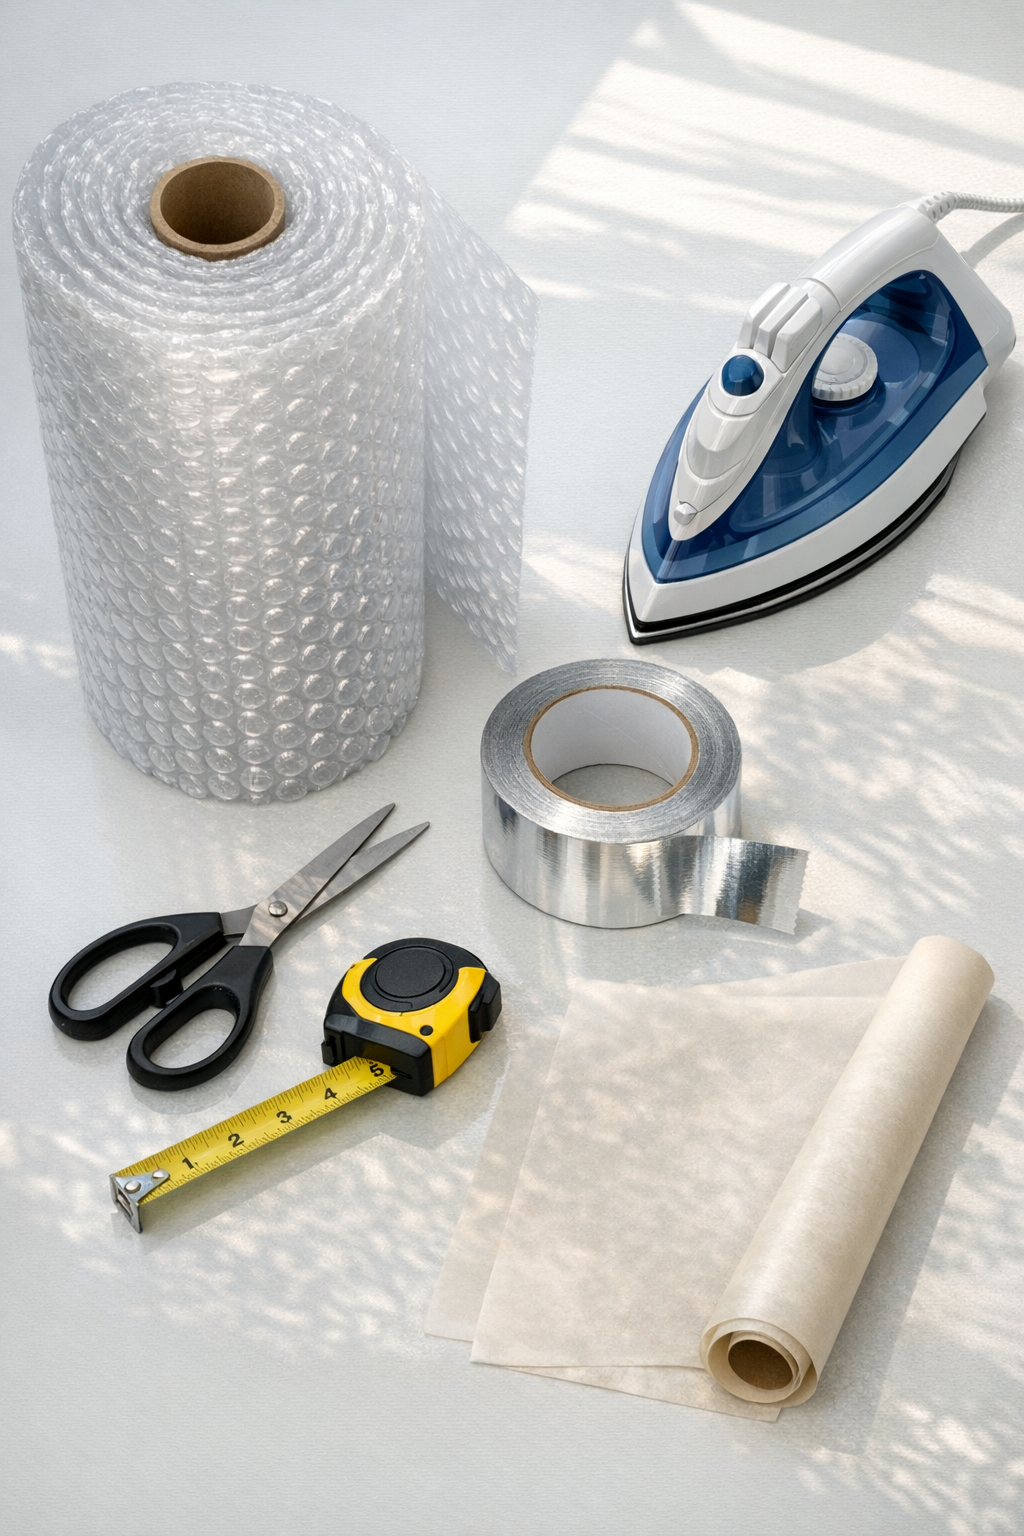
Materials
1 roll plastic bubble wrap, 12 inches wide x 20 feet long
Instructions
1. Measure the circumference of the pipe with a tape measure, then add 1 inch for overlap. Measure the length of each section you want to cover and write those dimensions down before cutting anything.
2. Cut a piece of bubble wrap to the pipe length and to a width that matches the pipe circumference plus the 1-inch overlap. For larger pipes, cut two identical pieces so you can make a thicker double-layer wrap.
3. Place the bubble wrap between two sheets of parchment paper on a flat, heat-safe surface. Keep the bubble side evenly spread so the plastic will flatten consistently.
4. Press the parchment-covered bubble wrap with the iron on low heat, moving slowly and evenly for 5 to 10 seconds at a time. Lift and check often; the goal is to soften and flatten the bubbles into a thicker fused sheet, not to scorch or melt holes in the plastic.
5. Continue ironing section by section until the entire piece feels flatter, denser, and more rigid than the original bubble wrap. Let it cool completely for a minute before handling so it sets into shape.
6. If you want extra insulation, stack a second ironed sheet on top of the first and align the edges. Use short strips of foil HVAC tape along the edges to hold the layers together into one wrap panel.
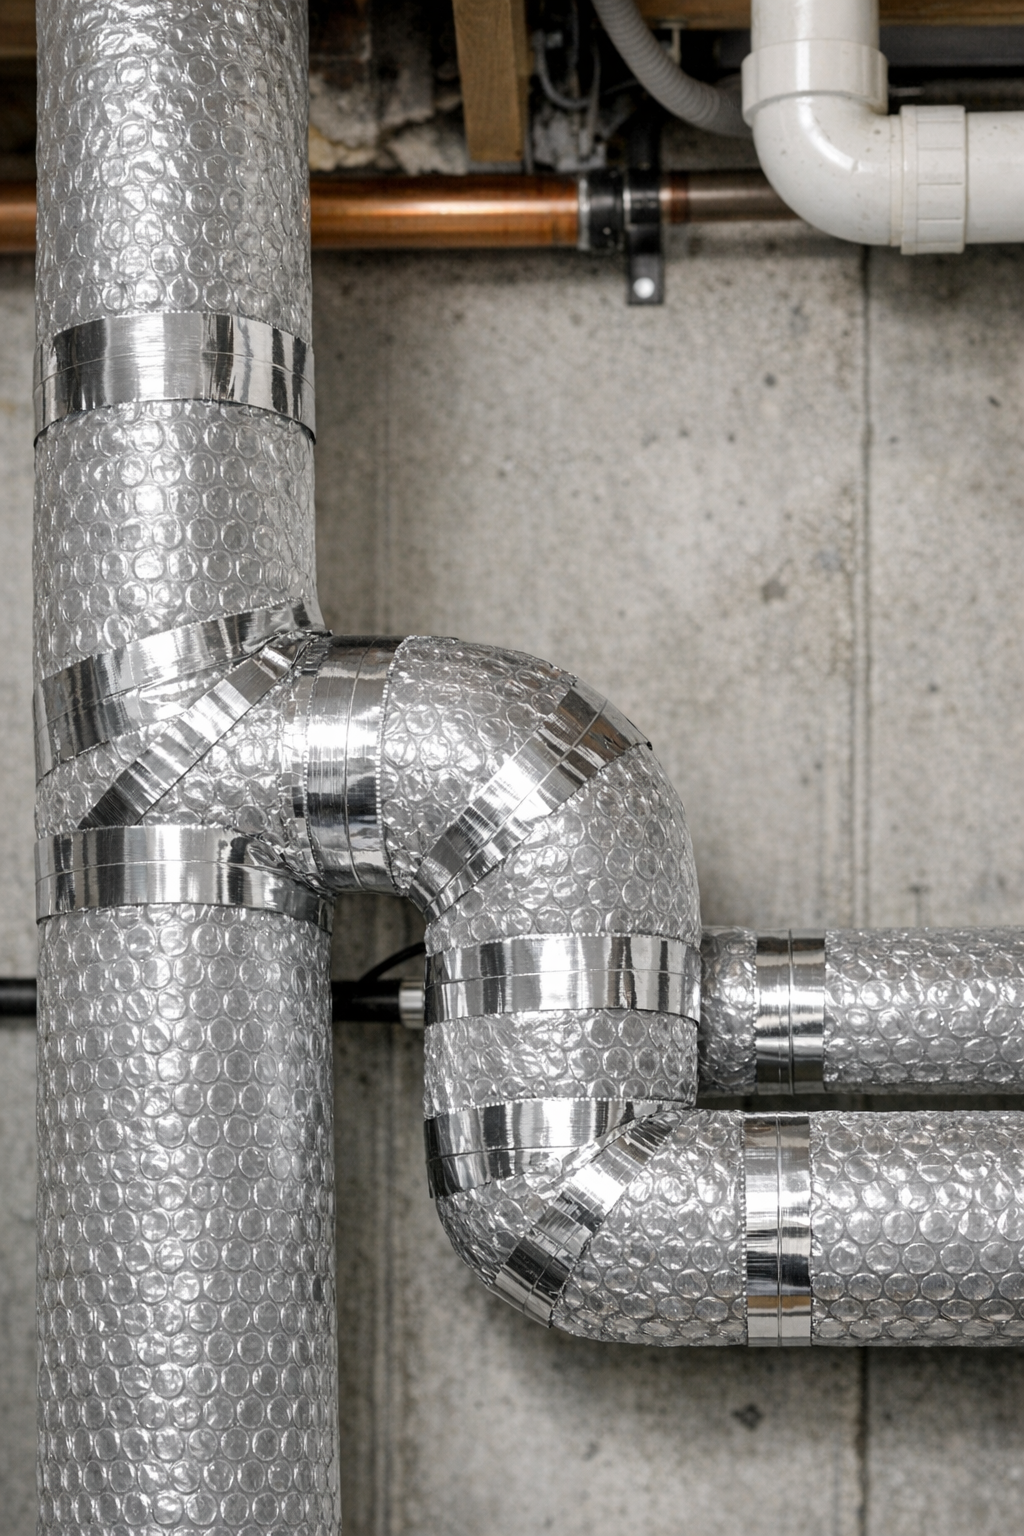
7. Wrap the finished panel around the pipe with the smoothest side facing out and the 1-inch overlap landing along one side of the pipe. Press it snugly so it fits closely without crushing the material too hard.
8. Seal the long seam with foil HVAC tape from one end to the other. Add one taped band around each end of the wrap so it stays secure and neat.
9. For elbows or tight bends, cut a shorter piece of ironed bubble wrap and wrap each section separately rather than forcing one long piece around the curve. Seal each small section with foil tape so the coverage stays close to the pipe.
10. Check the finished wrap for gaps, loose tape, or exposed pipe, and add small patches of foil tape where needed. Repeat for the remaining pipe sections until all exposed areas are covered.
Variations & Tips
For extra-cold spaces: Use two or three ironed layers instead of one, especially on pipes in garages, crawl spaces, or exterior walls. More layers give the wrap a sturdier feel and better insulating value.
For picky measurers: If measuring every single pipe section feels fussy, cut a paper strip to fit around the pipe first and use it as a quick template. I do this when I want the job to move along faster.
For valve areas: Leave shutoff valves and important connections accessible. Wrap up to the valve body, then make a separate removable cuff if you want a little insulation there too.
Heat safety: Always use low heat and parchment paper when ironing plastic. Work in a well-ventilated area, and stop immediately if the plastic starts smoking, shrinking too fast, or sticking to the paper.
Best use: These wraps are most useful on exposed cold-water or vulnerable utility pipes where you want an added insulating layer. I would not use them directly on very hot pipes or anywhere that exceeds the safe temperature range for household plastics and tape.
Neater finish: If you want the wraps to look more polished, keep the seam aligned along the back or underside of the pipe. A straight seam with smoothed foil tape gives the whole project a tidy, almost store-bought look.