
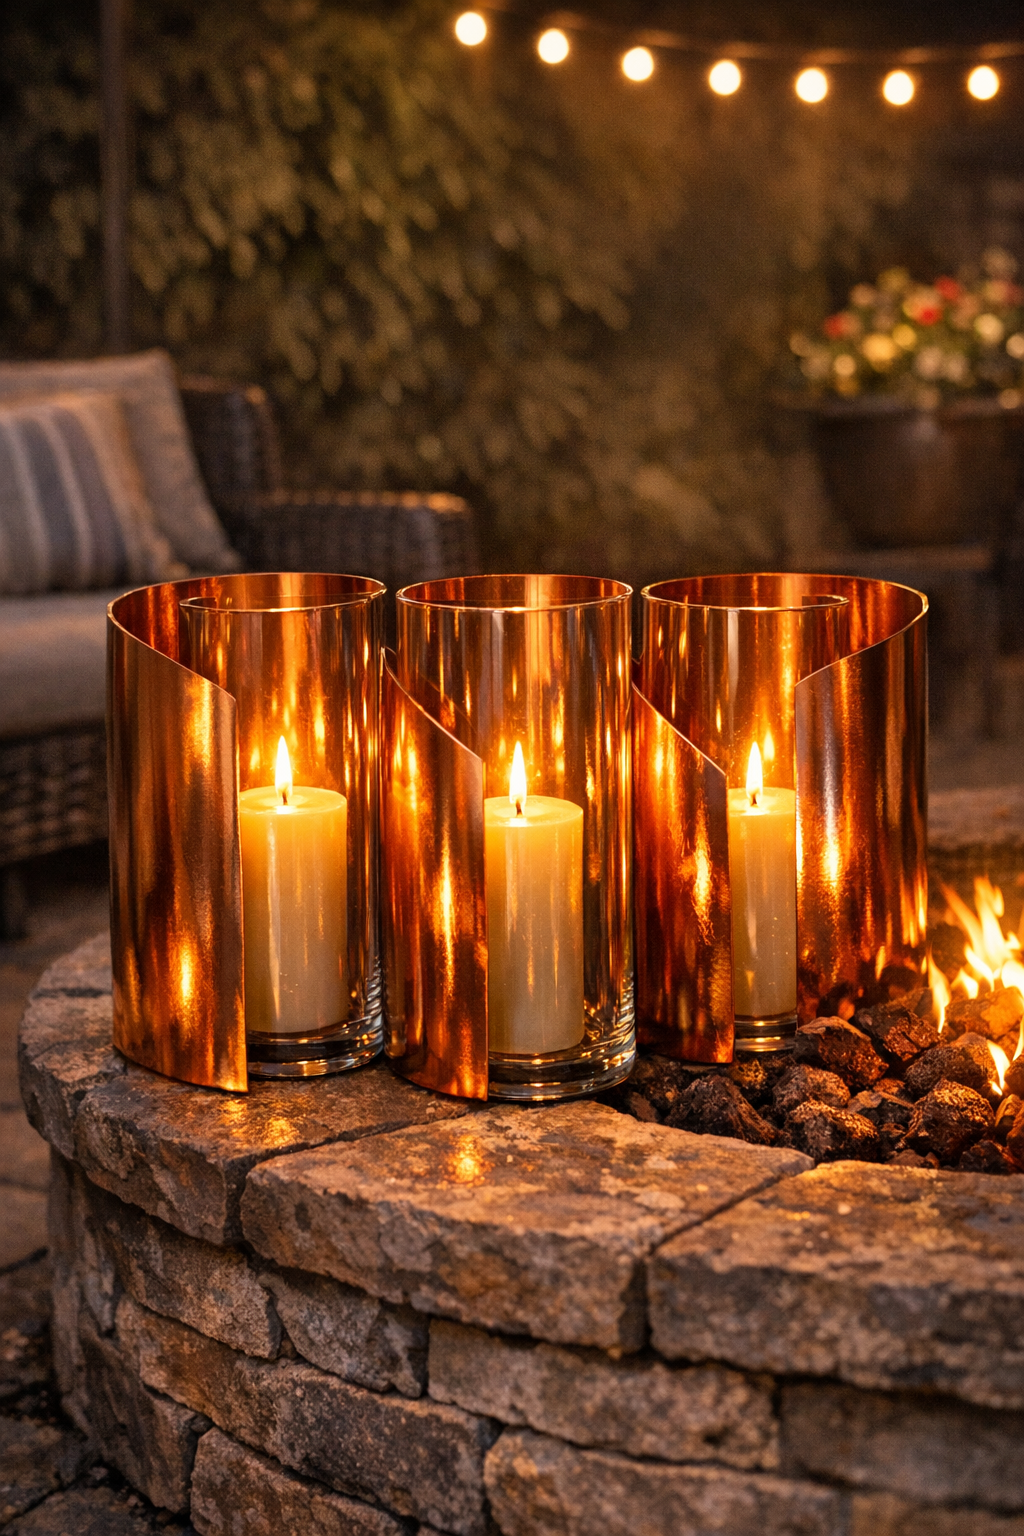
A simple fire pit can feel a little unfinished once the sun goes down, especially if the breeze keeps snuffing out candles or makes the seating area feel less cozy than it could. This project solves both problems with one elegant build: a curved copper holder that wraps around tall glass hurricane vases to create a handsome windscreen with a warm glow. I love projects like this because they sit right at the intersection of practical and beautiful, which is exactly where outdoor entertaining tends to shine.
If you’re comfortable measuring carefully, bending sheet metal slowly, and working with a drill, this is a very doable weekend project. The finished piece has that polished, custom look I usually associate with boutique patio décor, but it’s made from straightforward materials and a few patient steps.
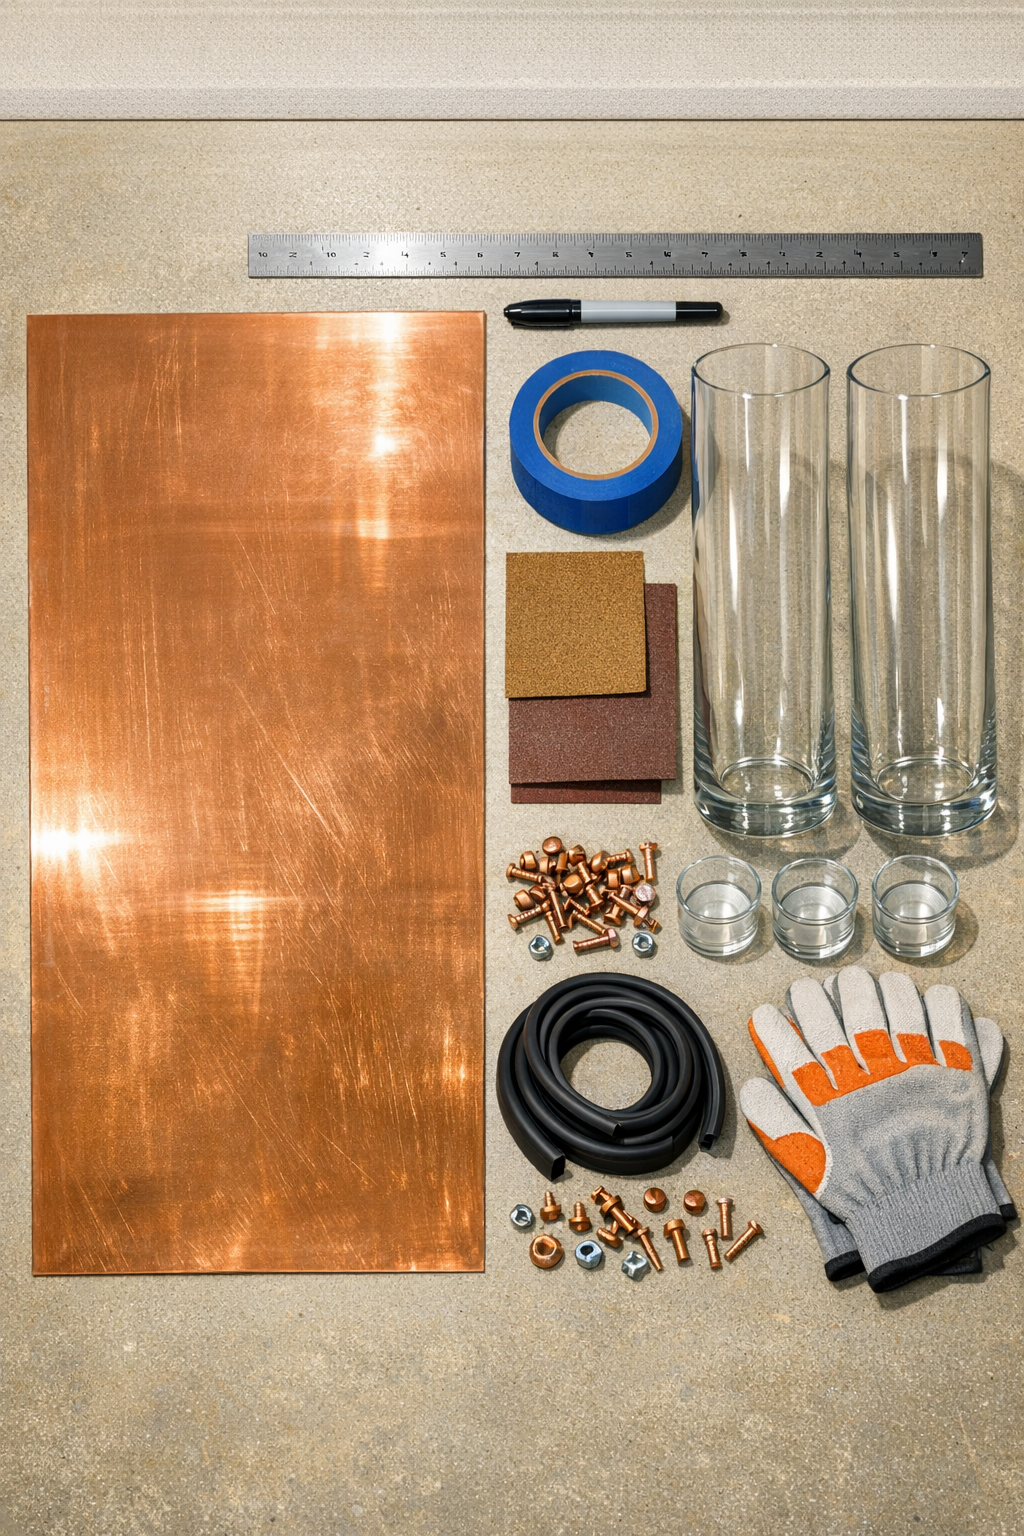
Materials
1 copper sheet, 24-gauge, 12 inches x 36 inches
Instructions
1. Measure the circumference of each hurricane vase with a tape measure, then add 1 inch so the copper wraps around with a small gap instead of squeezing the glass.
2. Mark the copper sheet into two equal panels, each 12 inches tall x 18 inches wide, and cut them to size with metal shears if they are not already cut.
3. Smooth every cut edge with 220-grit sandpaper until there are no sharp spots; I never skip this with sheet metal because even a tiny burr can surprise you later.
4. Apply painter’s tape along the top and bottom edges as a bending guide, leaving a 1/4-inch border visible where the edge trim will sit later.
5. Gently pre-bend each copper panel by hand around a large bucket, stockpot, or other round form that is slightly wider than the vase, working slowly from one end to the other.
6. Test the curve around a hurricane vase and adjust until the copper sits in a graceful arc around the glass with about a 1/2-inch to 1-inch open seam at the back.
7. Mark two attachment points on each side of the back seam, one 2 inches from the top and one 2 inches from the bottom, then drill the holes to match your rivets or screws.
8. Fasten a mending plate across the seam on the inside near the top and another near the bottom, creating a rigid curved sleeve that holds its shape without touching the vase too tightly.
9. Press rubber U-channel trim along the top and side edges of each copper sleeve so the finish looks clean and the metal edges are safer around hands and glass.
10. Set the two curved copper holders on the metal or stone base tray and space them 2 to 3 inches apart, then mark the anchor locations through the lower back edges.
11. Drill or punch small anchor holes at the marked spots and bolt each holder to the tray with washers so they stay stable outdoors near the fire pit.
12. Slide a glass hurricane vase into each copper holder and check that the vase is centered, upright, and easy to remove for cleaning.
13. Place a candle cup or LED insert inside each vase, then add the pillar candles or flameless candles so the flame source sits low and protected from crosswinds.
14. Move the finished windscreen to your backyard fire pit area on a flat, nonflammable surface, and test it at dusk to confirm the glow shows through the glass while the copper blocks the wind from the sides.
Variations & Tips
Single centerpiece version: If you want a smaller project, make just one copper-and-glass unit and use it as a fire pit table centerpiece instead of a paired set.
Patina option: Leave the copper unfinished if you enjoy the natural weathered look; over time it will darken and develop character that feels right at home outdoors.
Brighter glow: For more reflected light, use polished copper on the inside curve and slightly frosted glass cylinders inside the vase to diffuse the candlelight.
Flameless alternative: In windy areas or homes with children and pets, outdoor-rated flameless candles are the easiest low-maintenance choice and still give a lovely evening effect.
Heat and safety tip: Keep the finished piece outside the direct heat zone of the fire pit, and always place it on stone, metal, or another nonflammable surface.
Fit check: Before drilling any holes, wrap the copper around the actual vase and confirm there is clearance for expansion, cleaning, and easy removal; glass should sit protected, not pinched.