
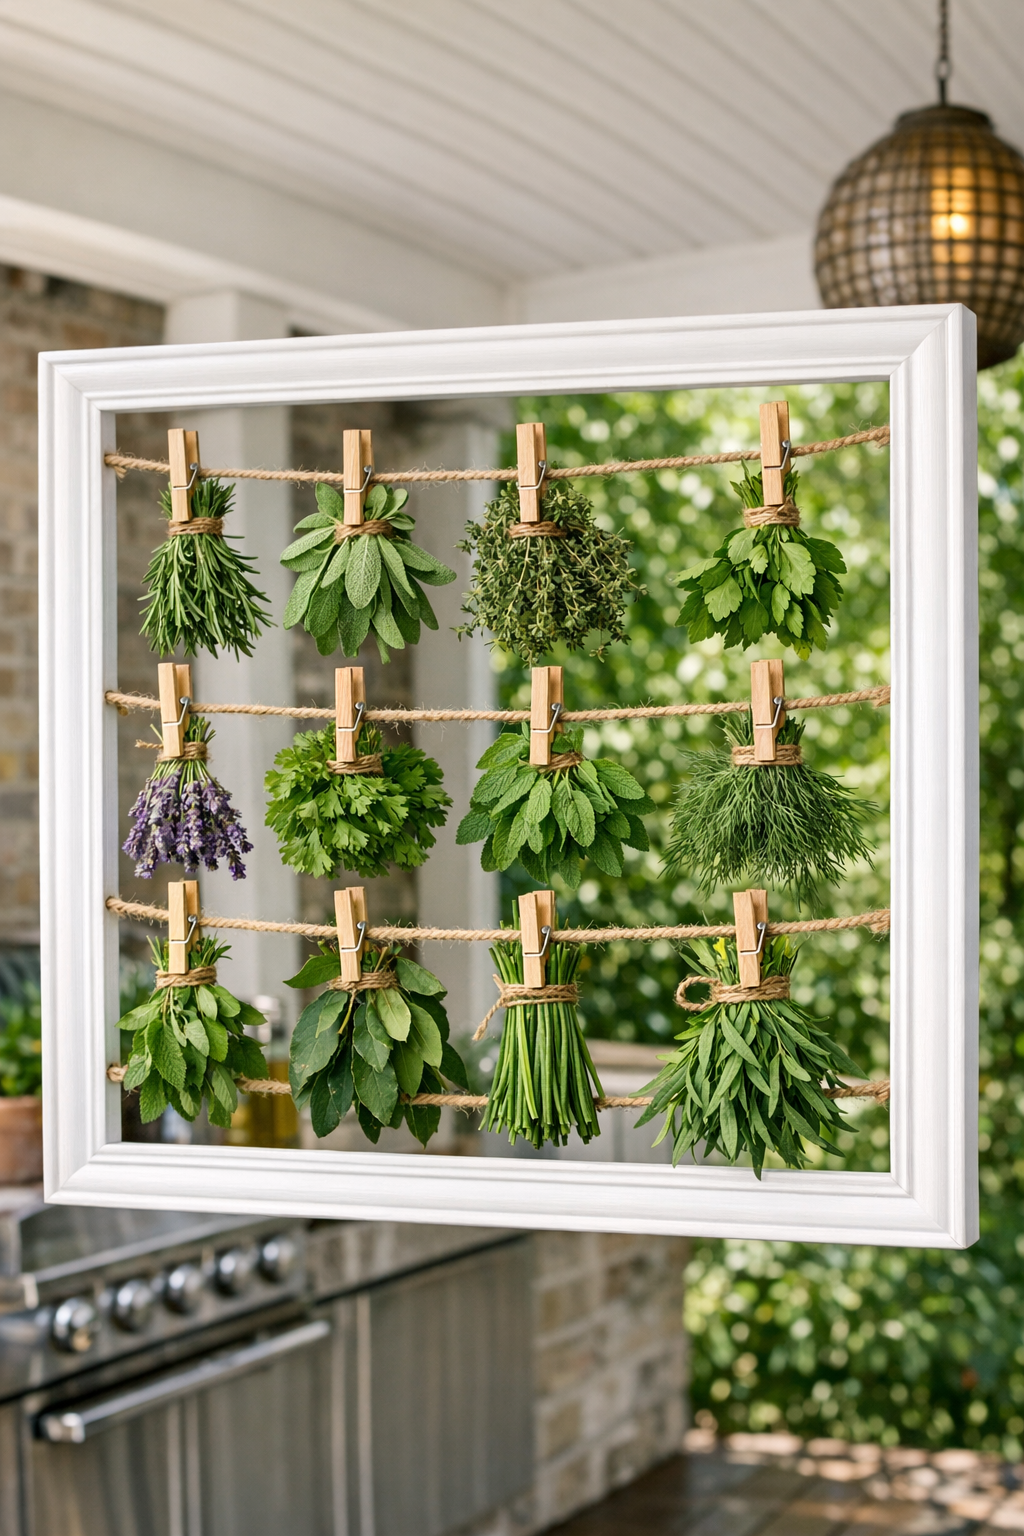
If you grow even a modest pot of basil, mint, oregano, or thyme, you know how quickly herbs can pile up in summer. One of my favorite ways to preserve that abundance is to dry them naturally, and this outdoor herb drying rack is a simple project that looks charming on a kitchen patio while doing real work. It’s made from a painted wooden picture frame, a few rows of twine, and clothespins clipped across the lines so you can hang small bundles with good airflow.
I like projects like this because they’re practical, inexpensive, and easy to customize to your space. If you’re comfortable painting a frame and tying sturdy knots, you can make this in an afternoon, and it’s especially nice for gardeners, cooks, or anyone who wants a neater alternative to draping herbs over every chair back in sight.
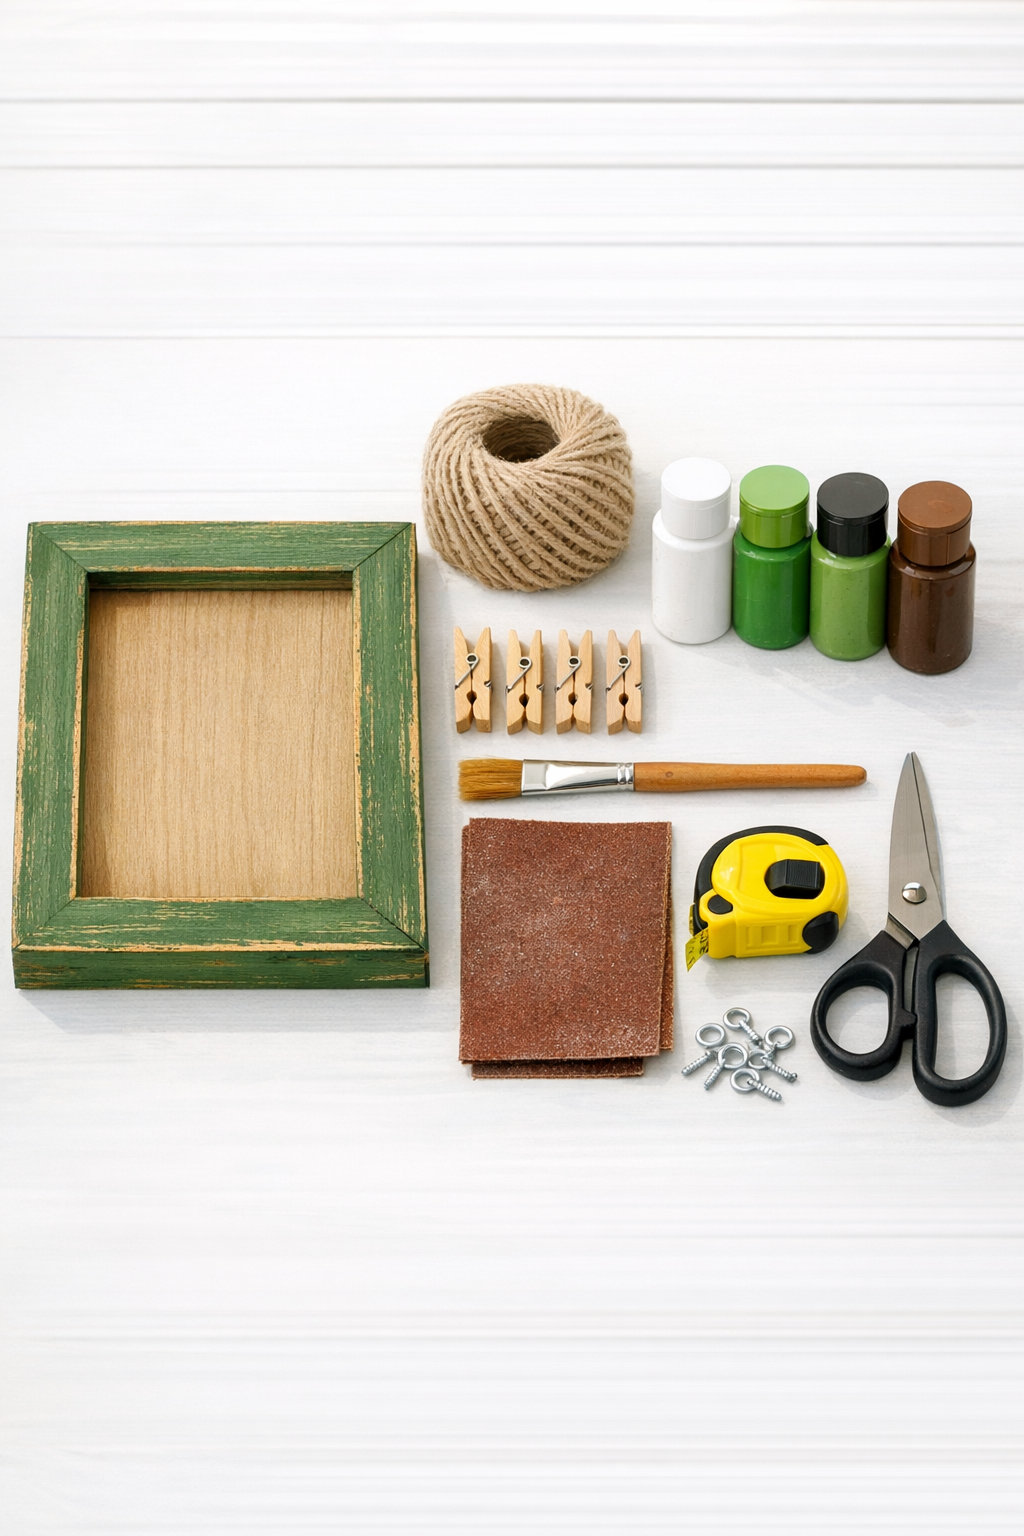
Materials
1 wooden picture frame, 16 x 20 inches, with backing and glass removed
Instructions
1. Remove any glass, backing, and hardware you don’t need from the picture frame, then wipe the wood clean so the paint will stick well.
2. Lightly sand the frame on all sides with 120-grit sandpaper to smooth rough spots and help the finish bond evenly.
3. Paint the frame with a thin, even coat of outdoor or multi-surface paint, covering the front, inner edges, and outer sides.
4. Let the first coat dry fully, then add a second coat if needed for solid coverage; seal it with a light coat of clear outdoor sealer if the rack will stay on a covered patio.
5. Measure and mark three evenly spaced rows across the inside of the frame, placing the top row about 2 inches below the top edge and the bottom row about 2 inches above the bottom edge.
6. Twist one screw eye into each side of the frame at every mark so you have three pairs facing one another across the opening.
7. Cut three lengths of twine, each about 12 inches longer than the inside width of the frame, so you have enough to knot each end securely.
8. Tie one piece of twine tightly between each pair of screw eyes, pulling it taut before double-knotting so the rows won’t sag under the herbs.
9. Clip six clothespins onto each twine row, spacing them roughly 2 to 3 inches apart so small herb bundles can hang without crowding.
10. Attach your hanging hardware to the back top of the frame, then hang the rack in a covered outdoor spot with good airflow and indirect sun.
11. Gather herbs into small bundles, secure each bundle with a clothespin by the stems, and leave space between bunches so the leaves dry evenly.
12. Check the herbs every day, and remove them when the leaves feel dry and crisp; most small bundles are ready in about 5 to 10 days, depending on humidity.
Variations & Tips
Paint color: I like soft green, white, or black for this project, but terracotta, muted blue, or a distressed finish also work beautifully if you want the rack to match patio planters or kitchen decor.
Twine choice: Cotton twine is easy to knot and looks classic, but jute works too if you prefer a more rustic look; just make sure it’s thick enough not to cut into the herb stems.
Best herbs to dry: Woody and sturdy herbs like rosemary, thyme, oregano, sage, and mint usually dry especially well this way. Tender herbs like basil can darken more easily, so I hang them in smaller bundles and keep them out of direct sun.
Airflow matters: The biggest mistake I see is overcrowding. Keep bundles small and separated so moisture can escape, otherwise the herbs may soften instead of drying cleanly.
Weather placement: A covered patio is ideal because it protects the herbs from dew and rain while still allowing circulation. If your outdoor space is very humid, move the rack indoors near an open window or fan.
Easy upcycle option: Thrifted picture frames are perfect here. I’ve used old wooden frames from resale shops more than once, and a fresh coat of paint makes them look intentional instead of improvised.
Cleaning tip: After each batch, wipe the frame and clothespins with a dry cloth to remove loose leaves and dust before hanging fresh herbs again.