
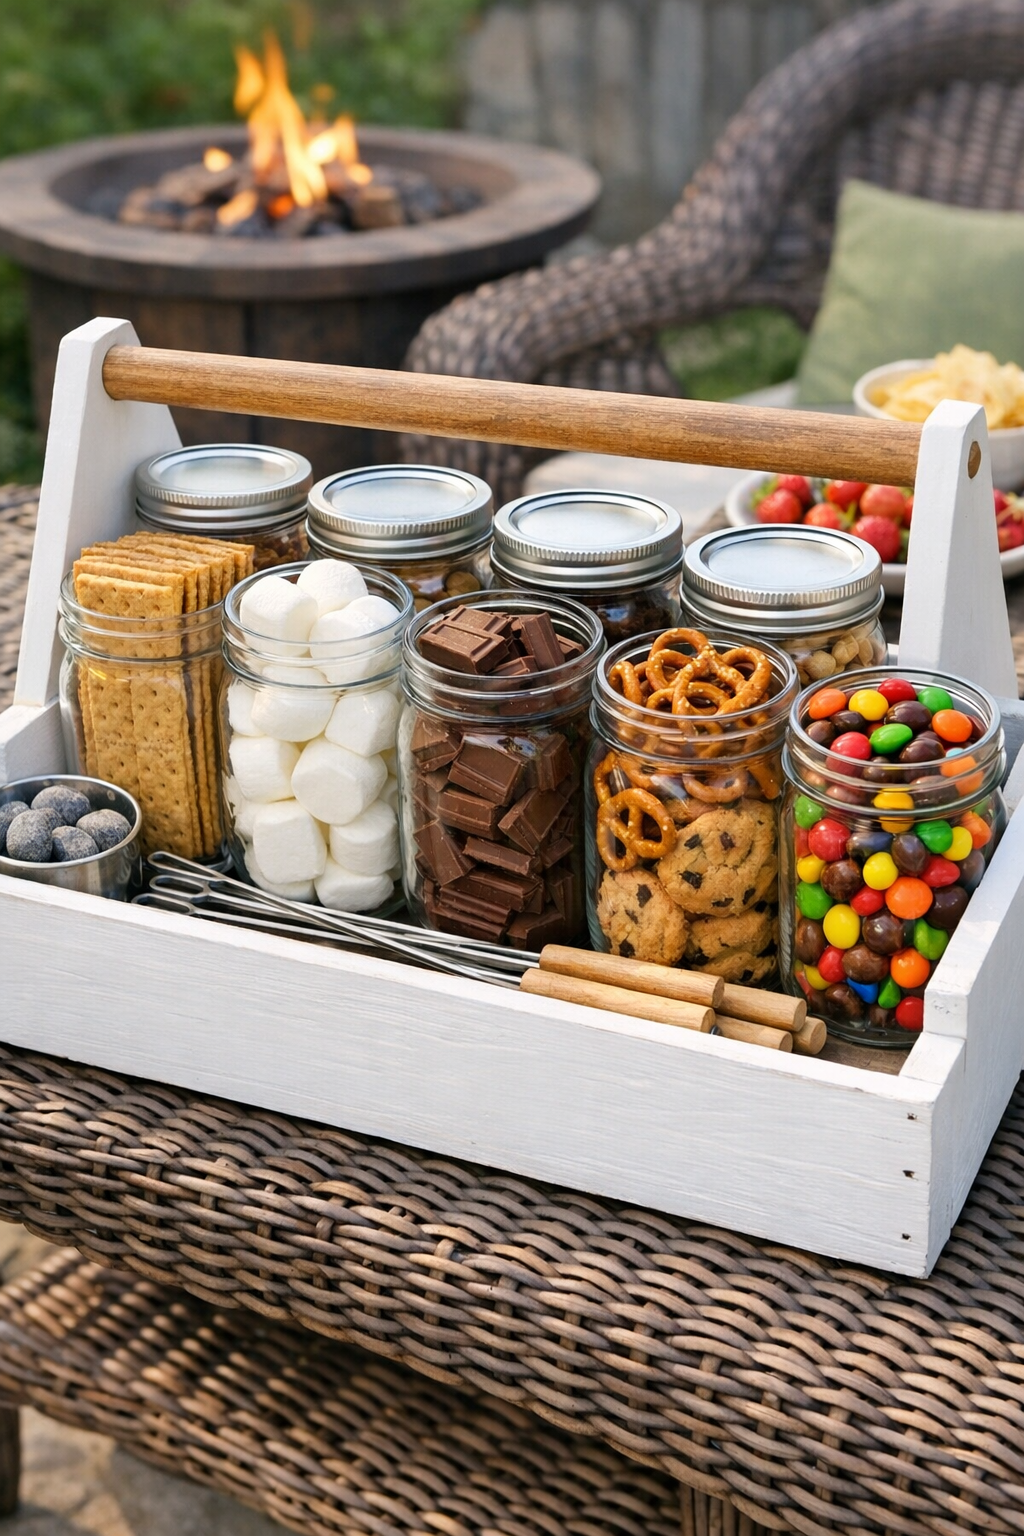
When summer evenings roll around in our town, I’m always looking for an easy way to make backyard time feel a little more special without turning it into a big production. This outdoor s’mores station is one of those projects that looks thoughtful and put-together, but it’s actually very simple to make. The idea is to take a wooden toolbox, give it a fresh coat of paint, and fill the compartments with mason jars packed with all the good stuff for s’mores.
I especially love this project for family gatherings, cookouts, and porch nights with friends because everything stays organized, portable, and cute enough to set right on the table. If you enjoy hosting but also like practical projects that don’t eat up your whole weekend, this one is a winner.
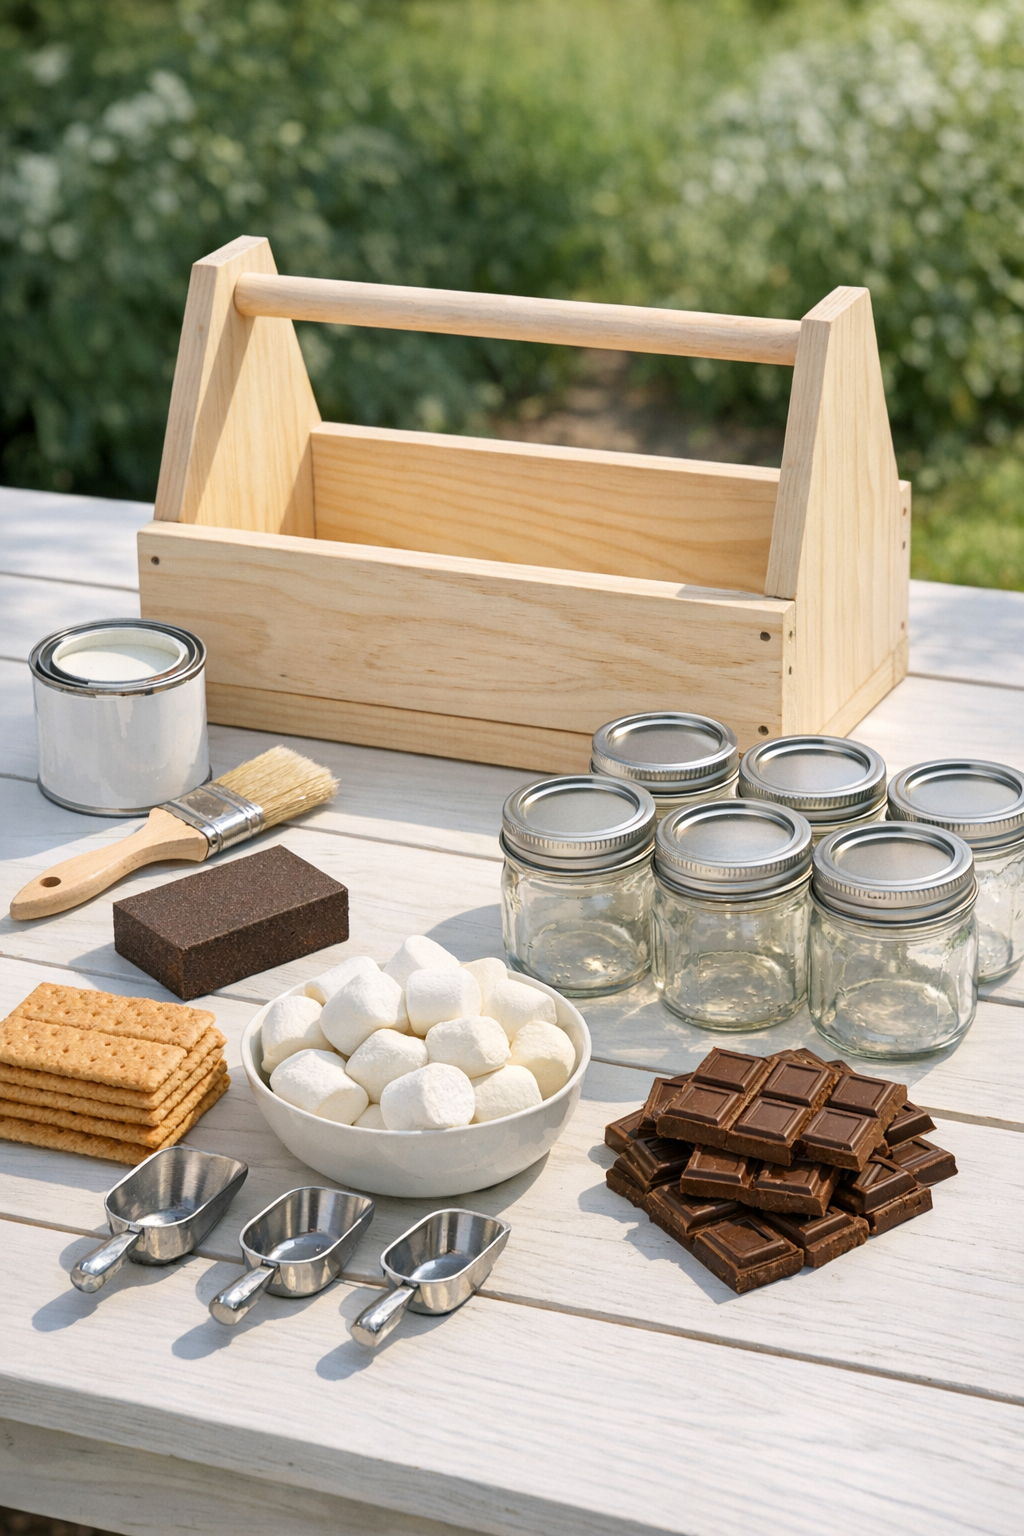
Materials
1 wooden toolbox with compartments, about 16 to 20 inches wide
Instructions
1. Set your wooden toolbox on a protected work surface and wipe away dust or debris with a dry cloth so the paint will go on smoothly.
2. Lightly sand the entire toolbox, especially the handle and compartment edges, then wipe it clean again to remove sanding dust.
3. Apply primer if your paint calls for it, then let it dry fully according to the label directions before moving on to paint.
4. Paint the outside, inside, handle, and compartment dividers with a thin, even coat, using the smaller brush to reach corners and tight spots.
5. Let the first coat dry, then add a second coat if needed for full coverage and a neat, finished look.
6. While the toolbox dries, wash and dry the mason jars thoroughly so they are clean and ready for food.
7. Fill the jars with your s’mores ingredients, grouping similar treats together such as marshmallows in one jar, chocolate squares in another, and graham crackers in a third; use the extra jars for pretzels, cookies, or candies.
8. Screw the lids on the jars if you want the station packed and portable, or leave them off if you’re setting it out right away for guests to serve themselves.
9. Place the filled mason jars into the toolbox compartments, balancing the colors and heights so the station looks full and easy to reach.
10. Add simple finishing touches like twine around the handle or small labels on the jars, then carry the station outside and set it near your fire pit, grill area, or patio table.
Variations & Tips
For picky eaters: I like to include a few “safe bet” jars with plain graham crackers, regular marshmallows, and classic milk chocolate so everyone can build a simple s’more they’ll actually eat.
Flavor twist: Try adding peanut butter cups, caramel-filled chocolates, vanilla cookies, or cinnamon graham crackers for a more dessert-style station.
Kid-friendly setup: If little ones are helping themselves, use plastic lids or leave jars open during serving time so no one struggles with metal bands and lids.
Weather tip: Keep chocolate in a shaded spot or bring the station outside right before guests arrive so it doesn’t soften too quickly in the heat.
Toolbox sizing: Before buying jars, measure the compartment width and depth of your toolbox to make sure the jars sit comfortably without wobbling.
Make-ahead idea: You can paint the toolbox a day ahead and fill the jars a few hours before your gathering, which makes party setup feel much calmer.
Easy cleanup: Lining the bottom of each compartment with a small square of parchment paper helps catch crumbs and makes the toolbox easier to wipe out after the party.