
I’m always looking for small garage fixes that make life easier without turning into a whole weekend project, and these heavy-duty tool hooks are exactly that kind of win. By melting thick nylon zip ties and combining them with two basic household items, you can make sturdy custom hooks for hanging hand tools, cords, light garden gear, and all those awkward things that never seem to fit on store-bought organizers.
What I love most about this project is how inexpensive and adaptable it is. If you’re short on wall storage or just like the satisfaction of making something surprisingly useful from simple materials, this is a great one to try. I’m a big fan of practical DIY that fits into a busy weeknight, and this definitely does.
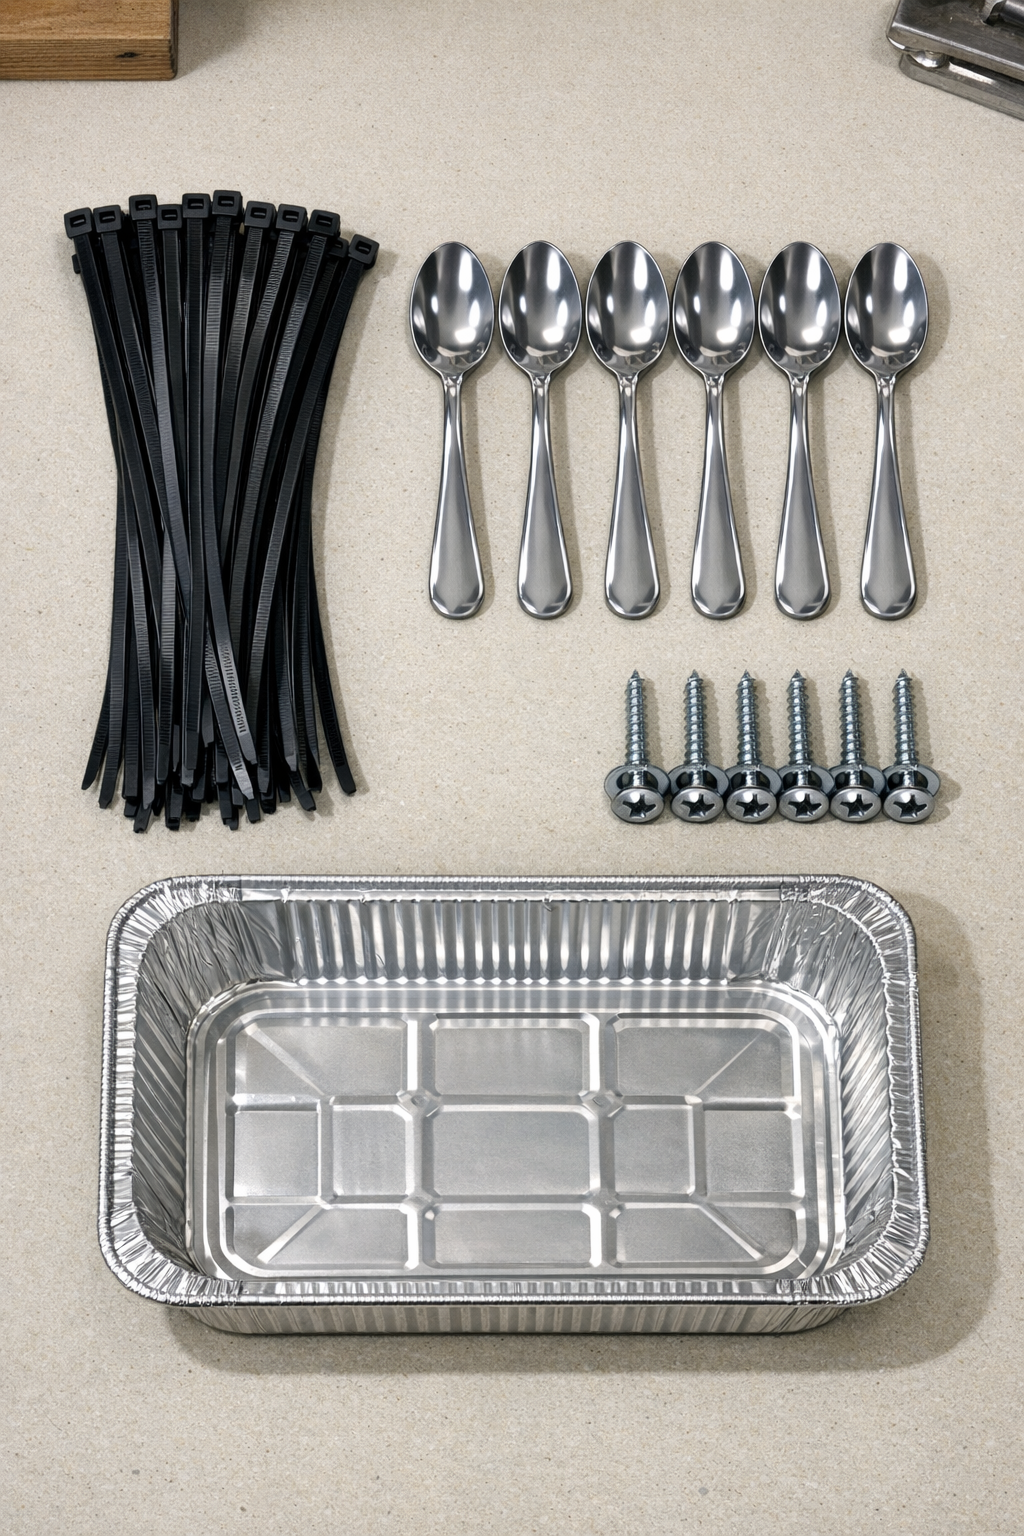
Materials
6 thick nylon zip ties, 14 to 18 inches long and about 0.3 inches wide
Instructions
1. Choose a solid mounting surface such as a wall stud, plywood panel, or the side of a sturdy workbench, and mark six hook locations at least 6 inches apart.
2. Set the aluminum tray on a heat-safe work surface and place one metal tablespoon nearby so you can shape each hook quickly after heating.
3. Hold one thick zip tie with pliers or heat-resistant gloves and warm the middle section evenly with a heat gun until the nylon becomes soft and flexible but not dripping or smoking.
4. Press the softened section around the bowl of the spoon to form a smooth hook curve, leaving one straight tail long enough for mounting against the wall.
5. Hold the shape in place for 30 to 60 seconds until the nylon cools and stiffens, then repeat the heating and shaping if you want a deeper or tighter curve.
6. Flatten about 1 1/2 inches of one end of the zip tie by warming just that section and pressing it gently against the back of the spoon so it will sit snugly against the mounting surface.
7. Pre-drill a small pilot hole at each wall mark if needed, especially in hardwood or plywood, to make mounting cleaner and reduce splitting.
8. Place a washer over a screw, position the flattened end of the hook against the wall, and drive the screw through the nylon mounting tab into the marked spot until the hook is secure but not crushed.
9. Tug each hook firmly by hand to test it before loading, then hang lighter items first and work up to heavier tools once you’re confident in the shape and mounting.
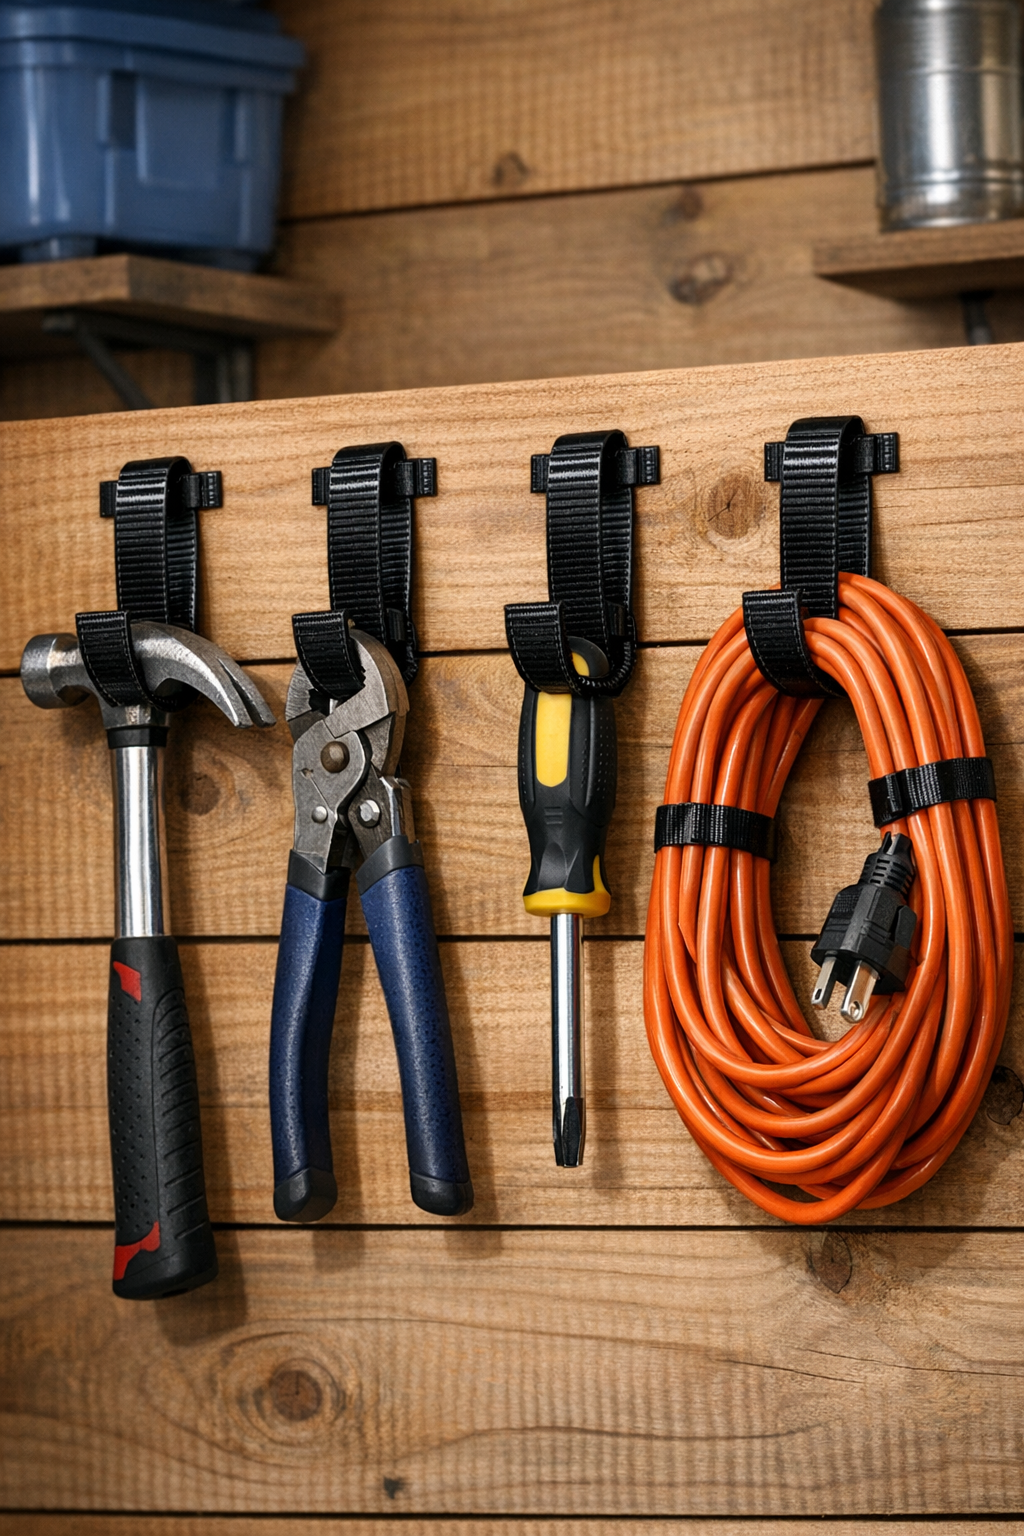
Variations & Tips
Make wider hooks: Use the bowl of a larger serving spoon instead of a standard tablespoon if you want to hang bulkier cords or thicker tool handles.
Double up for strength: For heavier items, stack two zip ties together while heating and shaping so the finished hook has a thicker body.
Use washers every time: The washer spreads pressure across the nylon mounting tab, which helps the hook stay secure and keeps the screw head from pulling through.
Keep heat controlled: I’ve learned the hard way that nylon shapes best when it’s softened gradually; if it starts to bubble, darken, or smoke, pull the heat away right away and start over with a fresh tie.
Mount to something solid: These hooks are only as strong as the surface behind them, so always screw into studs, plywood, or another sturdy backing instead of plain drywall.
Batch the process: If you’re making several hooks, shape all the curved sections first and then do all the mounting tabs second. That little bit of assembly-line thinking saves time, which is honestly my favorite kind of DIY trick on a busy weeknight.