
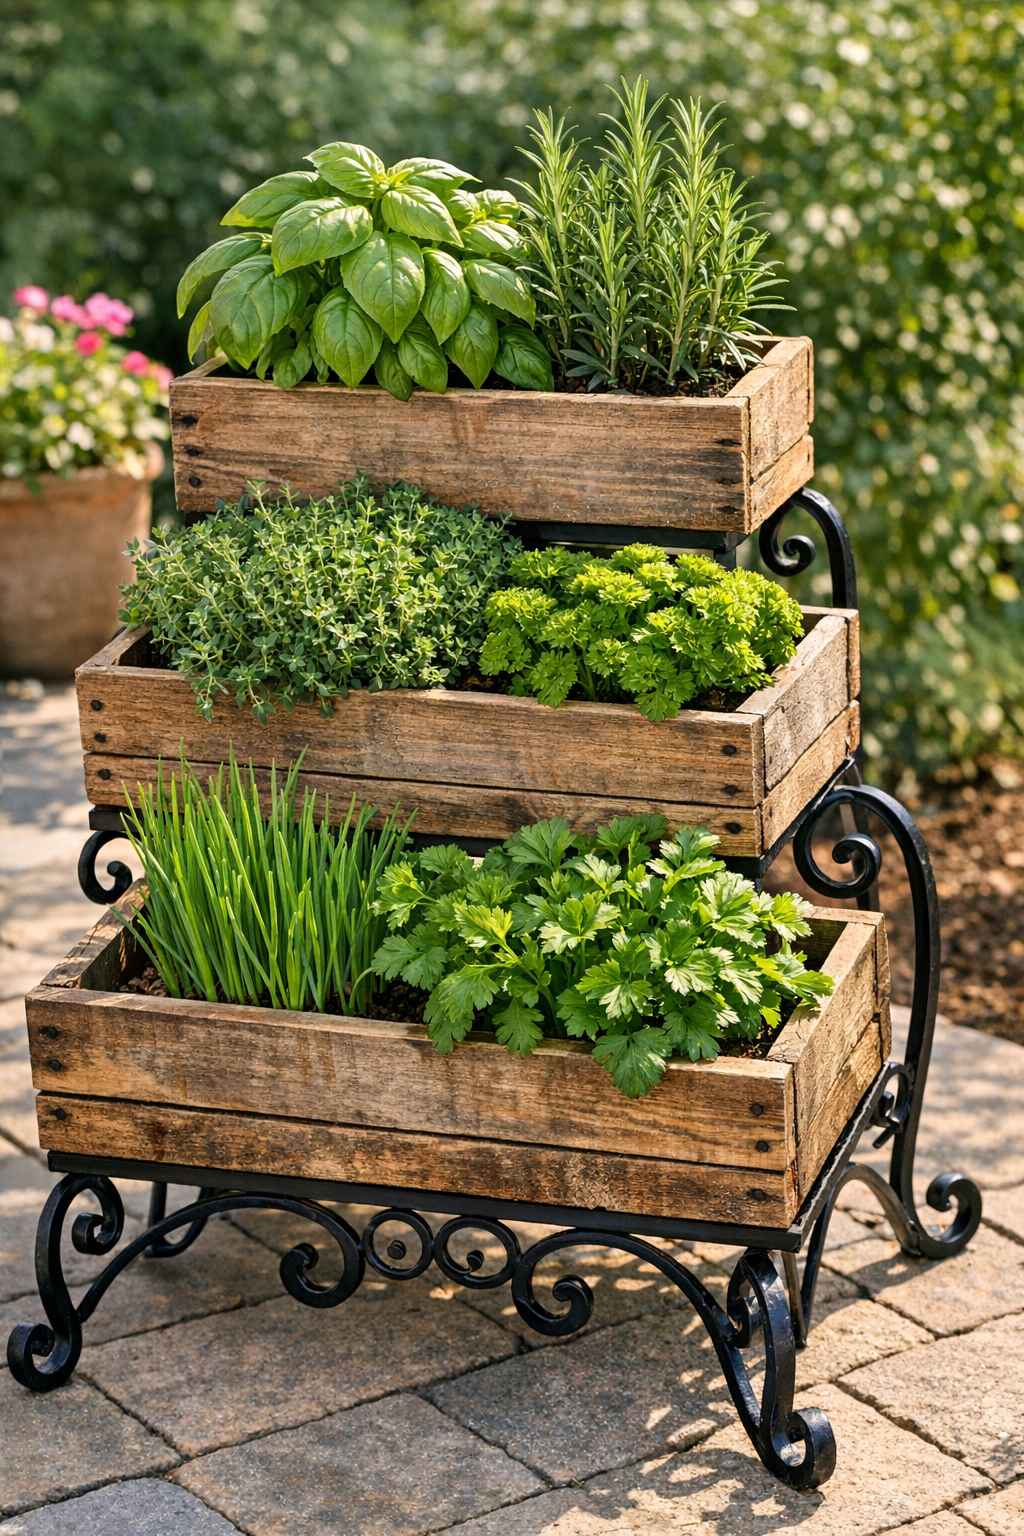
I love a project that makes a patio feel pulled together without costing a fortune, and this tiered herb planter does exactly that. By stacking weathered wooden crates onto a black wrought iron plant stand, you get a piece that looks charming, collected, and surprisingly high-end while giving your favorite kitchen herbs a sunny place to grow.
This is a wonderful weekend project for anyone who wants fresh herbs close by, whether you cook every night like I do or just want a prettier way to use an empty corner outdoors. I especially like this build because it uses simple materials, comes together quickly, and can be adjusted for small patios, porches, or even a balcony.
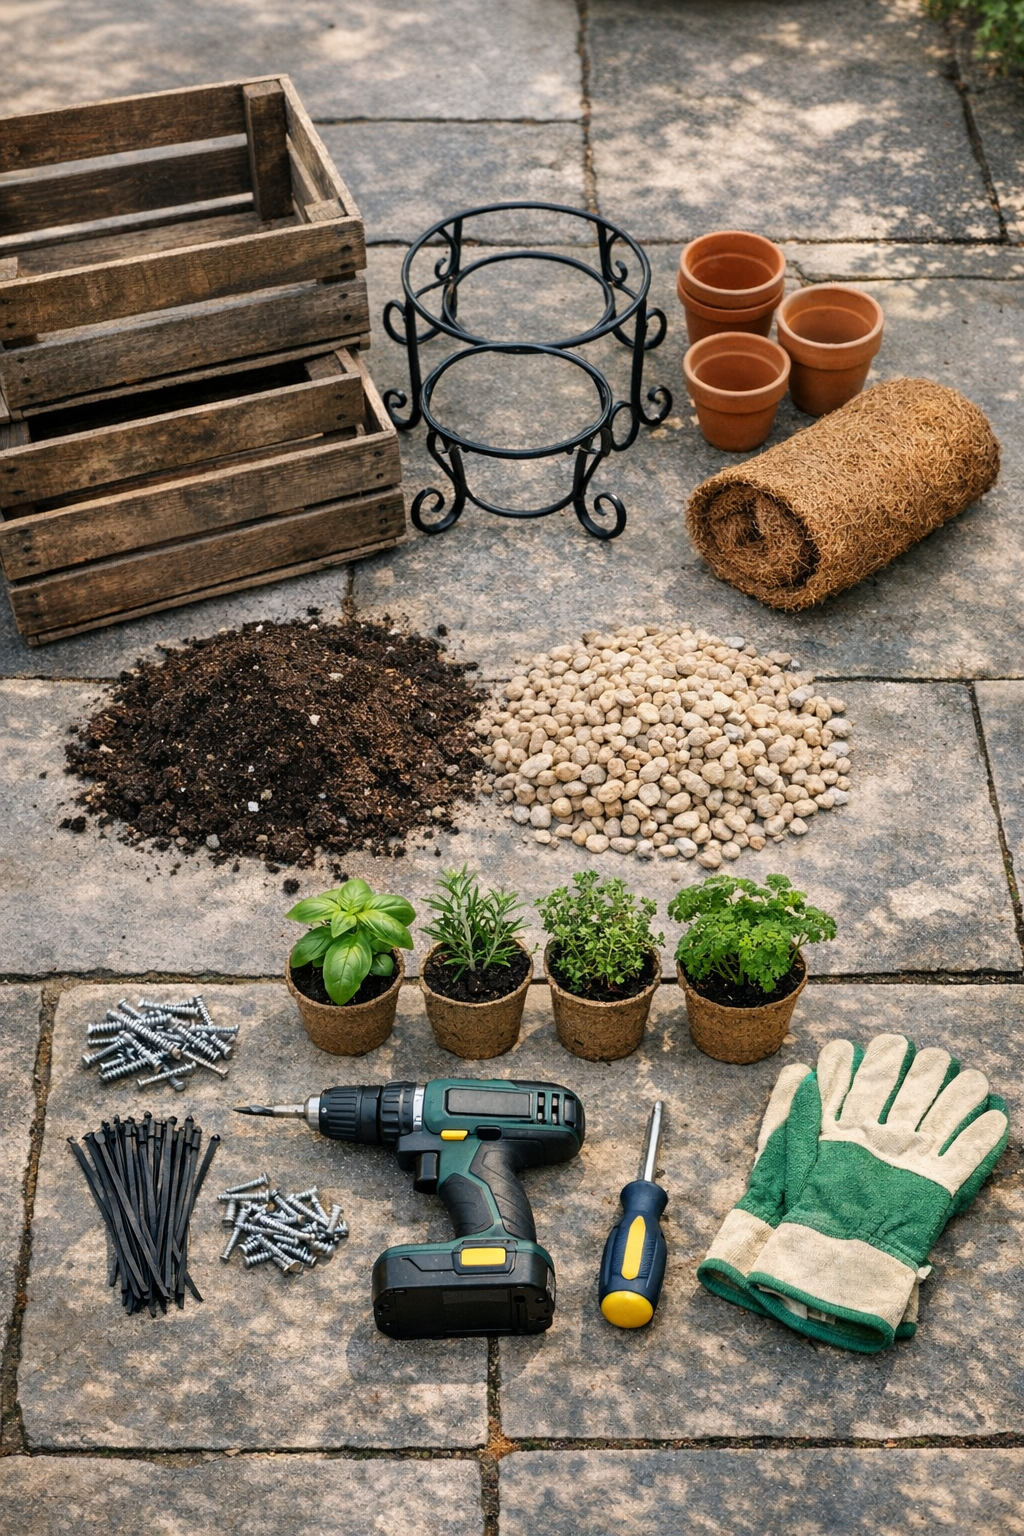
Materials
Instructions
1. Set the wrought iron stand on your patio where it will live, and make sure it sits level without wobbling. If the surface is uneven, slide a small patio shim under one foot before you build.
2. Lightly sand any splintery spots on the wooden crates, especially along the top edges and handles. If you want extra weather protection, brush on a thin coat of outdoor sealer and let it dry completely.
3. Place the first crate on the lowest tier or widest part of the stand, with the open side facing outward for easy planting and watering. Center it carefully so the weight will stay balanced.
4. Attach the first crate to the stand using two to four zip ties looped tightly around the crate slats and metal frame. Add two wood screws through the crate into a wooden support point only if your stand design allows safe anchoring without shifting.
5. Set the second crate on the next tier up, turning it slightly to create a staggered look and to give each level more sunlight. Fasten it the same way, checking that the stand still feels sturdy after tightening.
6. Add the third crate at the top or highest stable tier, again offsetting it slightly so the whole planter feels layered instead of stacked straight up. Tighten all fasteners once more before moving on.
7. Line the bottom and lower sides of each crate with coco liner or landscape fabric so soil will stay contained while water can still drain. Tuck the liner neatly into the corners and trim any large excess.
8. Pour about 1 inch of pea gravel into the bottom of each lined crate for drainage. Then add potting mix until each crate is about three-quarters full, or fill your 4-inch pots separately if you prefer keeping each herb contained.
9. Arrange the herb plants before planting so taller herbs go in the back or top crate and trailing or shorter herbs go lower down. I usually put basil and rosemary higher up, then parsley, chives, thyme, or oregano where I can snip them quickly for dinner.
10. Plant each herb, firm the soil gently around the roots, and water until the potting mix is evenly moist but not soggy. Give the whole planter one final shake test to confirm everything is secure.
Variations & Tips
For picky cooks: If your family only reaches for a few familiar flavors, plant just the herbs you use most often, like basil, parsley, and chives. A planter that gets harvested often always looks happier in my experience.
Small-space option: Use only two crates on a shorter stand if you are working with a narrow porch or apartment patio. The layered look still feels special and takes up much less room.
Contained planting: If you are worried about soil spilling through crate slats, keep each herb in its own 4-inch pot and nest the pots inside the lined crates. This also makes it easier to swap out plants through the season.
Best herb pairings: Group herbs with similar watering needs together, and give rosemary and thyme the driest spot. Basil and parsley usually appreciate the easier-to-reach level where watering happens more often.
Weathered finish tip: If your crates do not already have that soft aged look, use a light gray-brown stain and wipe most of it back off with a rag. It gives the planter that collected, patio-ready charm without looking too new.
Stability first: This project works best with a sturdy stand that has wide-set legs and solid welds. Before adding soil, always test the empty build with a gentle push from a few angles.
Easy care: Snip herbs often, remove any yellowing leaves, and rotate the planter every week or two if one side gets more sun. I find that regular little harvests keep the whole thing fuller and prettier.