
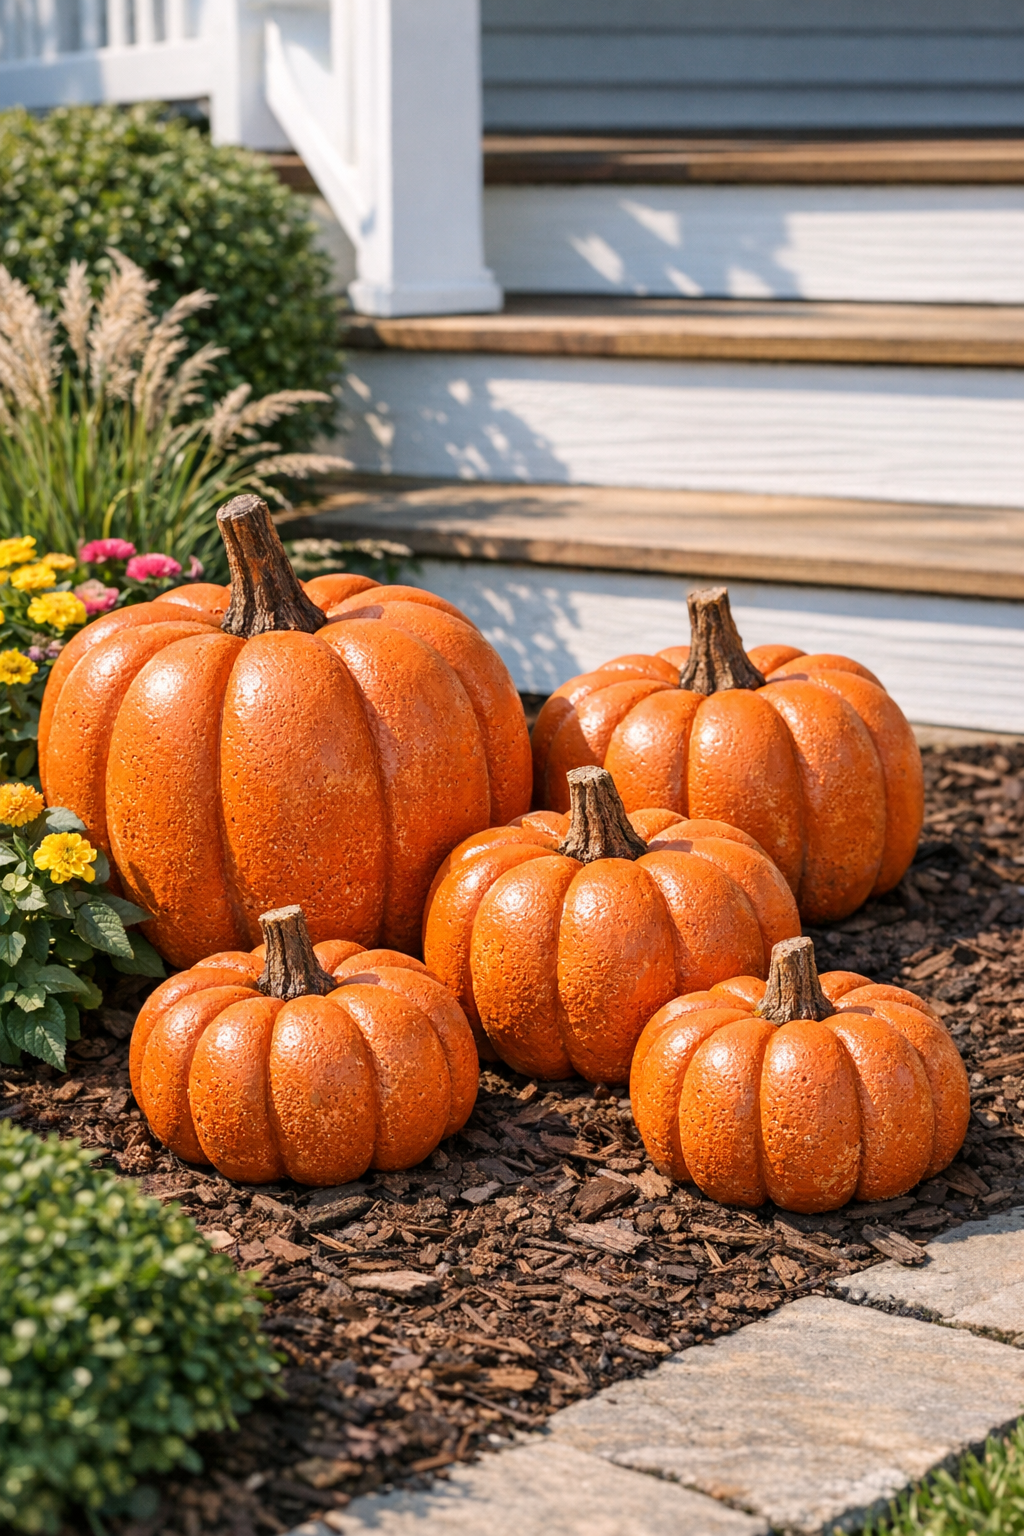
I love a project that looks high-end in the garden but is secretly made from inexpensive supplies, and these scalloped cement pumpkins are exactly that. By pouring tinted cement into plastic bundt pans, you get that pretty ribbed pumpkin shape without any complicated carving or molds. Once they’re cured, they add such a charming pop of fall color to planters, porch steps, or flower beds.
This is a great weekend DIY if you want outdoor decor that can handle wind, rain, and real life a lot better than lightweight store-bought pumpkins. I’m always looking for projects I can squeeze in between work and dinner prep, and this one fits nicely because most of the time is just waiting for the cement to set.
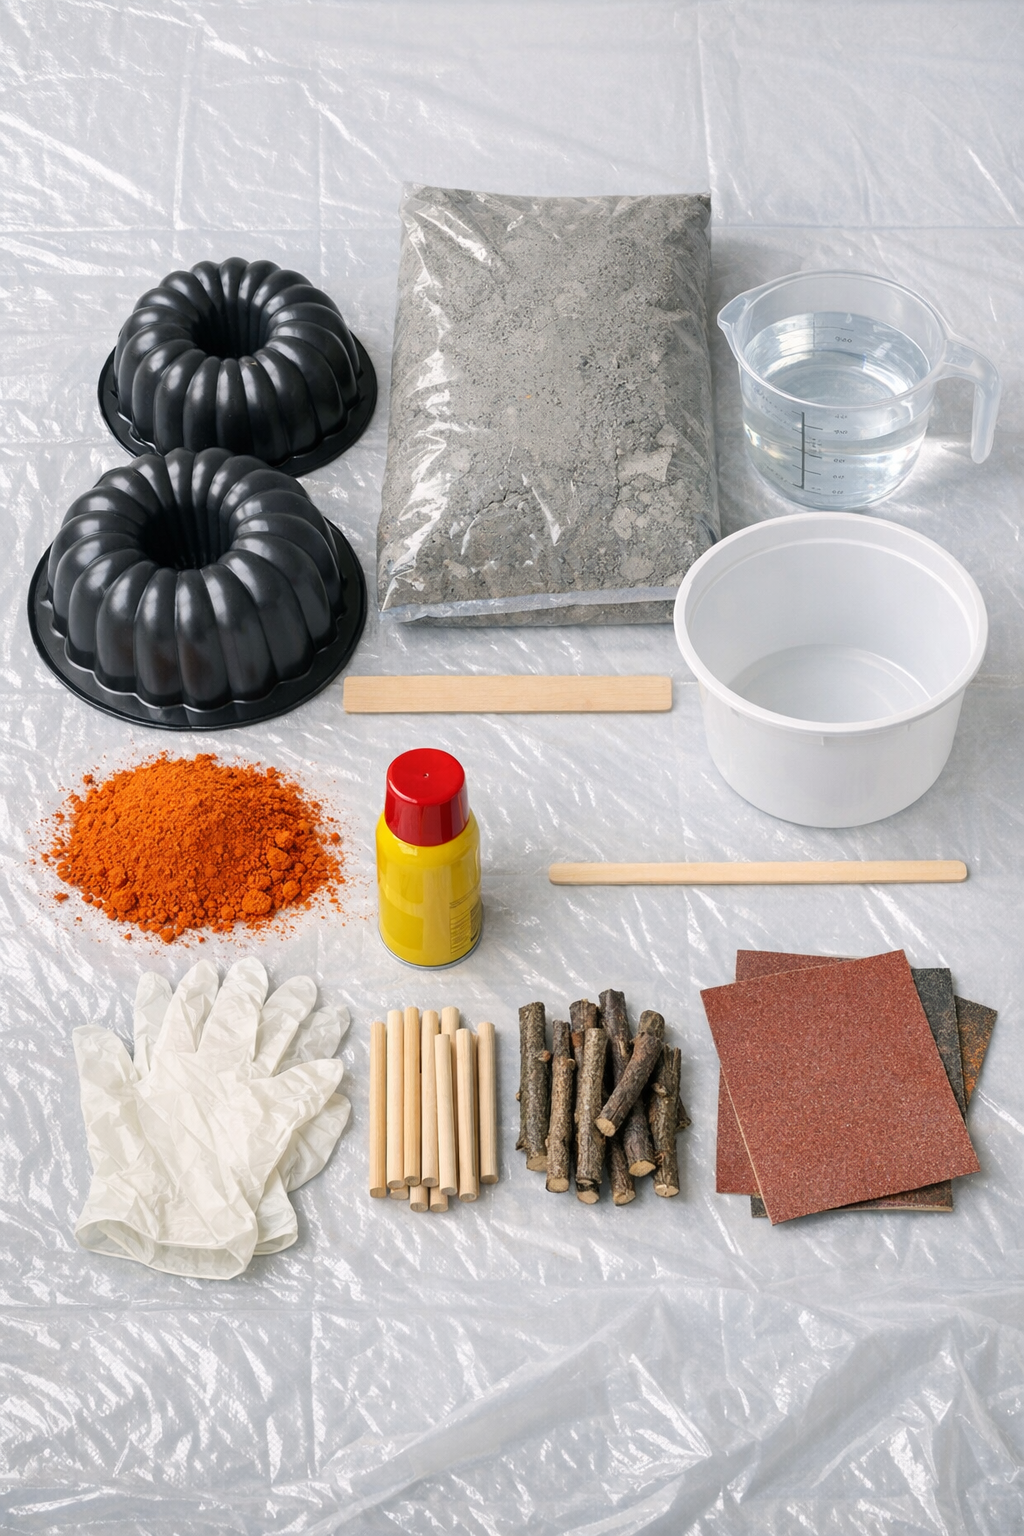
Materials
2 ribbed plastic bundt cake pans, 9 to 10 inches wide each
Instructions
1. Cover your work surface with a plastic drop cloth and set the bundt pans on a flat, level area where they can stay undisturbed while curing.
2. Lightly coat the inside of each plastic bundt pan with cooking spray, then wipe out any heavy puddles so the surface is slick but not greasy.
3. Put on gloves and mix the cement in the bucket according to the package directions, adding the orange pigment as you stir until the color looks evenly blended.
4. Stir until the mix is thick like brownie batter, then tap the bucket lightly on the ground to help release large air bubbles.
5. Divide the cement evenly between the two bundt pans, filling each one nearly to the top and smoothing the surface with the stir stick.
6. Gently tap the sides of each pan several times to bring trapped air to the surface, then press a twig stem into the center of each mold about 1 inch deep.
7. If your twig is thin, push a short dowel piece into the cement first and nestle the twig into that opening so the stem stays upright as it cures.
8. Leave the pans undisturbed to cure for 24 hours, or longer if the weather is cool or humid and the cement still feels damp.
9. Flex the plastic pans gently to loosen the pumpkins, then turn them out onto a towel or piece of cardboard so the edges do not chip.
10. Sand any rough spots or thin flashing around the bottom edge with medium-grit sandpaper until the shape looks clean and even.
11. Let the pumpkins continue curing for another 24 to 48 hours before placing them outside, especially if you plan to stack them in the garden.
Variations & Tips
Try mixed sizes: If you can find bundt pans in different diameters, make a small and large pumpkin together for a more natural grouped look. I love styling them in sets of three near planters.
Use softer color: For a faded fall look, reduce the orange pigment and add a little brown or leave the cement natural. That weathered look works especially well if your outdoor decor is more neutral.
Watch the cement consistency: If the mix is too thin, the pigment can settle and the stem may lean. I aim for a thick, spoonable texture so everything stays where I put it.
Prevent chips: Plastic bundt pans release much more easily than metal, which is one reason this project is so budget-friendly. I also like to unmold onto an old folded towel just to be safe.
Seal for extra durability: If your pumpkins will live outside all season, you can brush on a clear outdoor masonry sealer after full curing. It helps the color stay brighter through rain and early frost.
Make-ahead tip: I usually mix and pour these in the evening, let them cure overnight, and pop them out the next day after work. It’s one of those low-effort projects that feels very productive even on a busy week.