
I love a backyard project that looks sculptural but comes together in an afternoon, and this outdoor coffee table is exactly that. The base is made from stacked terracotta chimney flue tiles, with a tempered glass top laid over them for a clean, modern finish. It has that high-low mix I’m always drawn to: rustic clay, crisp glass, and a shape that feels a little architectural without being fussy.
This is a wonderful project for anyone who wants patio furniture with personality and doesn’t want to fuss with complicated joinery or a long tool list. Because the materials are simple, the result depends on thoughtful spacing, stability, and proportion—very much like cooking, honestly, where a few humble ingredients can turn elegant when you handle them well.
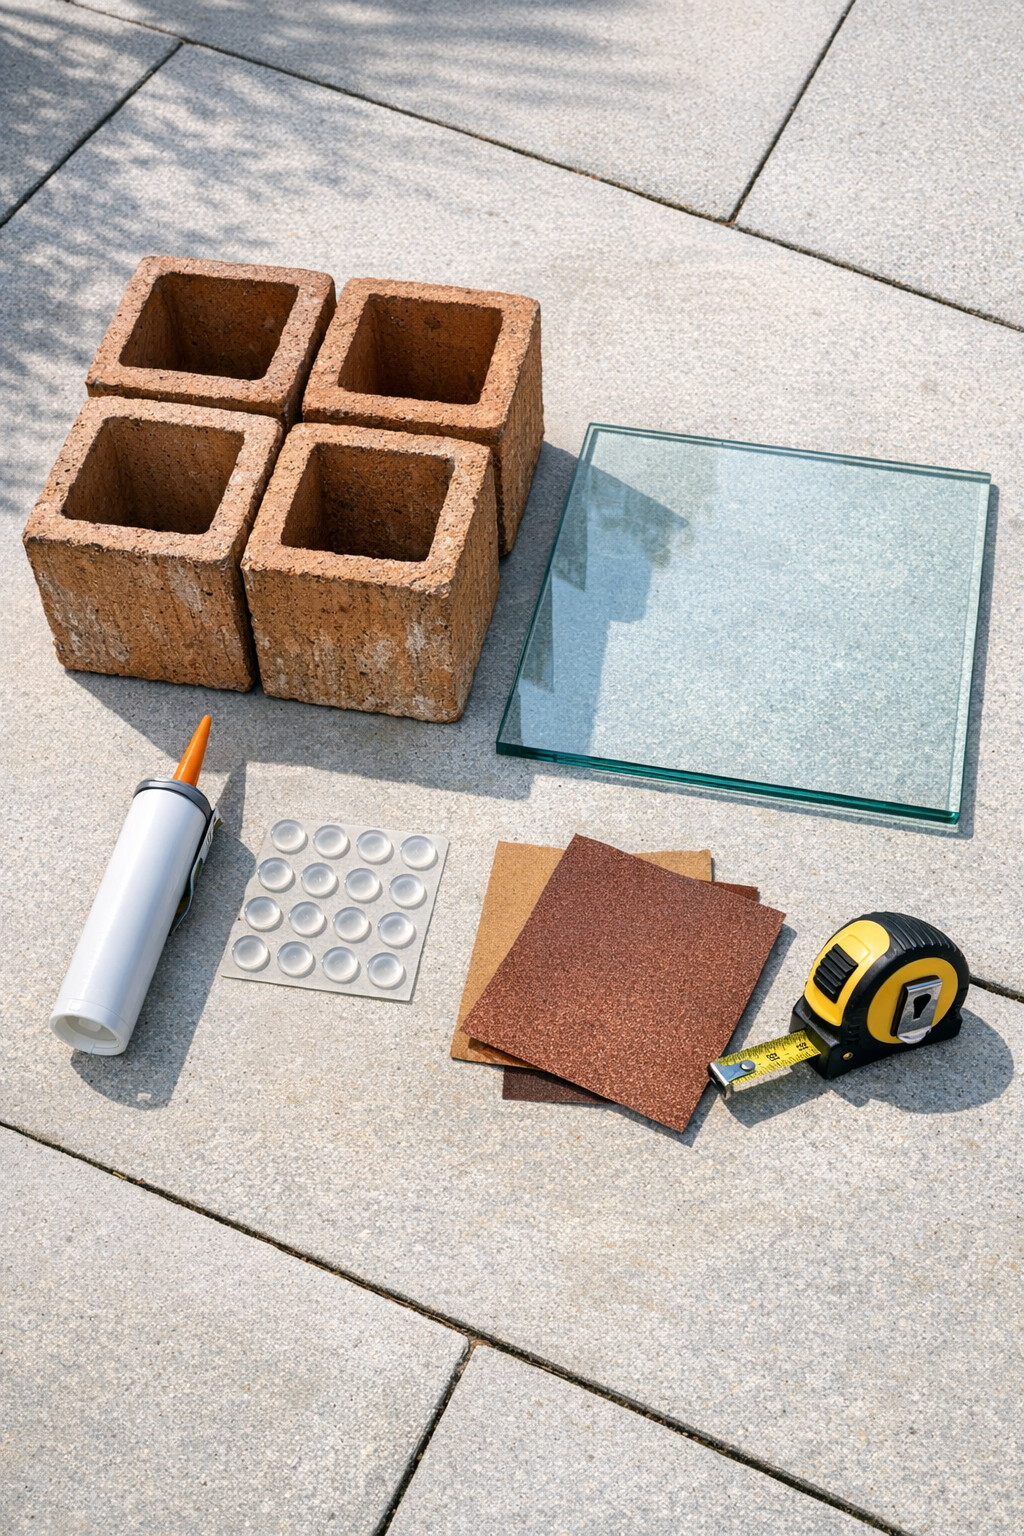
Materials
4 terracotta chimney flue tiles, 8 inch x 8 inch opening x 24 inches long
Instructions
1. Choose a flat patio, deck, or hardscape surface and measure your layout area to make sure a 30-inch glass top will fit comfortably with room to walk around it.
2. Wash the terracotta flue tiles with water and a little dish soap, then let them dry completely so dust and grit don’t affect the final stack.
3. Lightly sand any rough or chipped edges on the top and bottom contact points of each tile with 120-grit sandpaper, then smooth with 220-grit so the stacks sit evenly.
4. Arrange the tiles into two side-by-side stacks, using two tiles per stack, with the hollow openings facing upward and the stacks spaced about 14 to 16 inches apart.
5. Check each stack for wobble and slide leveling pads under the bottoms as needed until both stacks are stable and the tops sit at the same height.
6. Apply a thin bead of exterior construction adhesive between the bottom and top tile in each stack, then press them together and recheck alignment from all sides.
7. Let the adhesive set according to the manufacturer’s instructions so the base becomes secure before you add the glass.
8. Place three rubber bumpers on the top of each stack—one near each outer corner and one centered—to create a cushioned, non-slip support for the glass.
9. With help, lower the tempered glass onto the two stacks and center it so there is an even overhang on all sides.
10. If you want the top more fixed in place, add tiny dots of clear exterior silicone between the rubber bumpers and the glass, keeping the amount minimal so the table can still be disassembled later.
11. Press gently on each corner of the glass to confirm the table is level and steady, then make small adjustments to the base spacing or pads if needed.
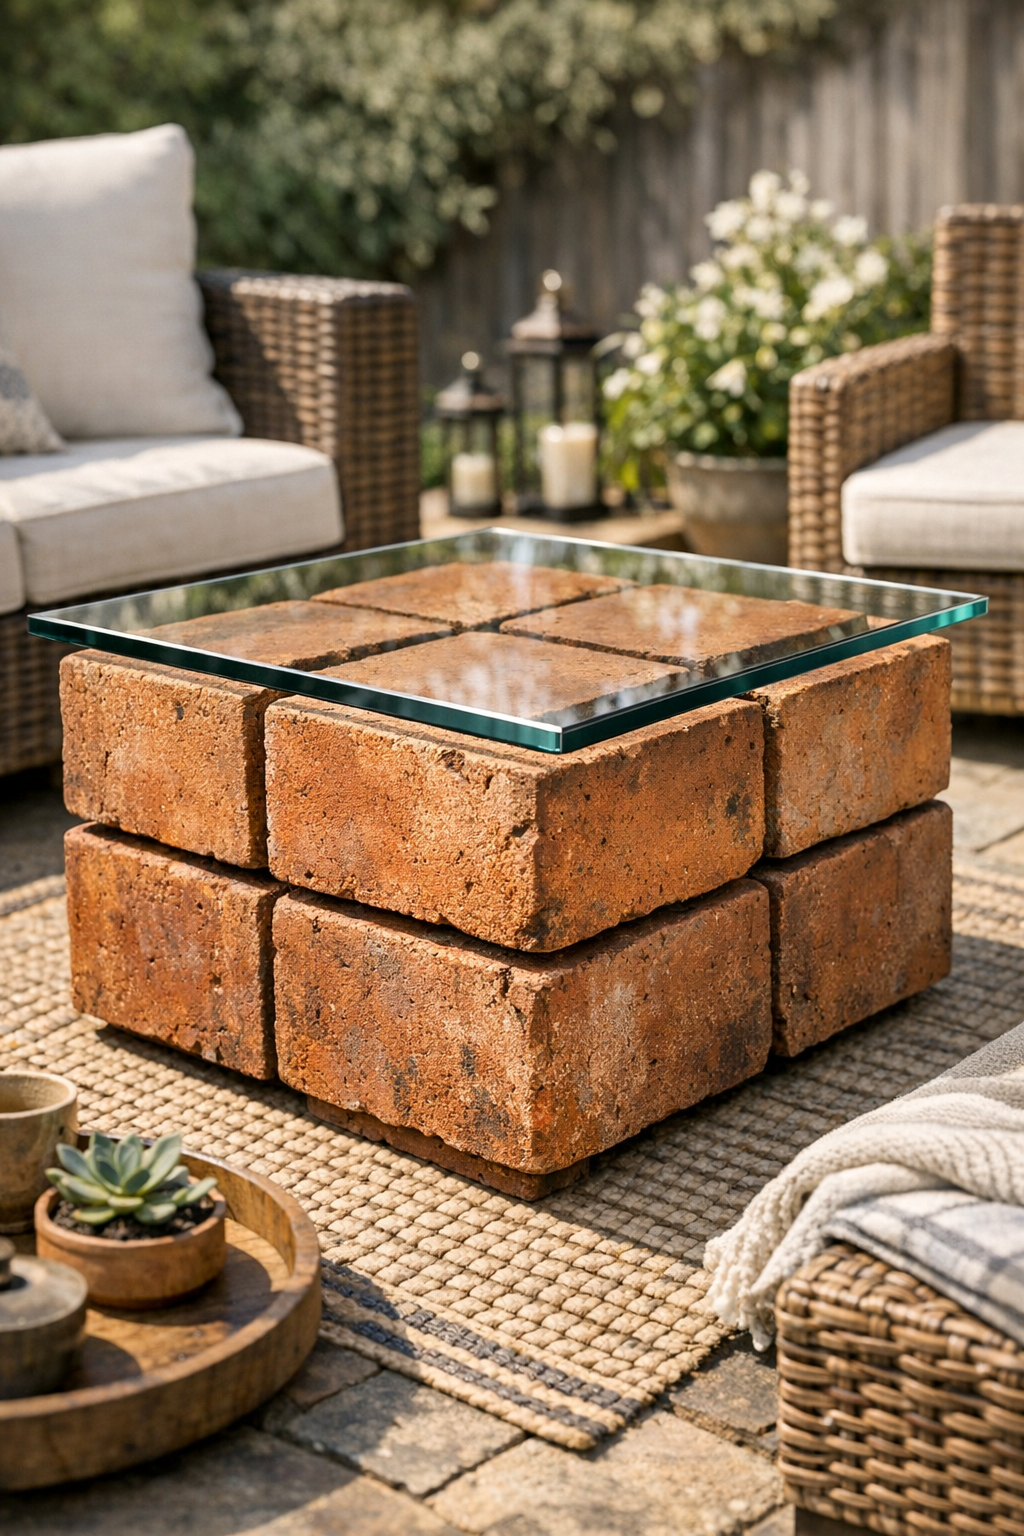
Variations & Tips
For a longer table: Use a rectangular tempered glass top around 24 x 48 inches and create three tile stacks instead of two for better support.
For a softer look: Choose a round tempered glass top and arrange three flue tiles in a triangular base; it feels a bit more casual and works beautifully with curved patio furniture.
For extra stability: Heavier glass and wider tile spacing can make the piece feel more substantial, but always keep the glass tempered and sized to match the footprint of the base.
For color variation: Natural terracotta is lovely on its own, but you can seal the tiles with a clear masonry sealer to deepen the clay color and help them resist outdoor staining.
Sourcing tip: Chimney flue tiles are often sold through masonry yards and building supply centers, and they’re usually much more affordable than they look once styled as furniture.
Weather note: If you live where freeze-thaw cycles are intense, make sure your flue tiles are rated for exterior use and avoid letting water pool inside them for long periods.
Safety tip: Only use tempered glass with polished edges for a project like this; standard glass is not appropriate for a tabletop, especially outdoors.