
There’s something about late summer evenings that always makes me want to linger outside just a little longer. When the air starts to soften and the light turns honey-gold, I find myself looking for simple ways to make a porch or patio feel welcoming. This mason jar lantern chandelier is one of those projects that looks far fancier than it is, and it brings such a warm, old-fashioned glow to an outdoor space.
I’m especially fond of projects like this because they use humble materials in a beautiful way. A weathered driftwood branch, a handful of glass jars, and a bit of copper wire come together into something that feels rustic, useful, and just plain pretty. If you enjoy easy décor projects with a handmade touch, this one is a fine afternoon job with a lovely payoff by sundown.
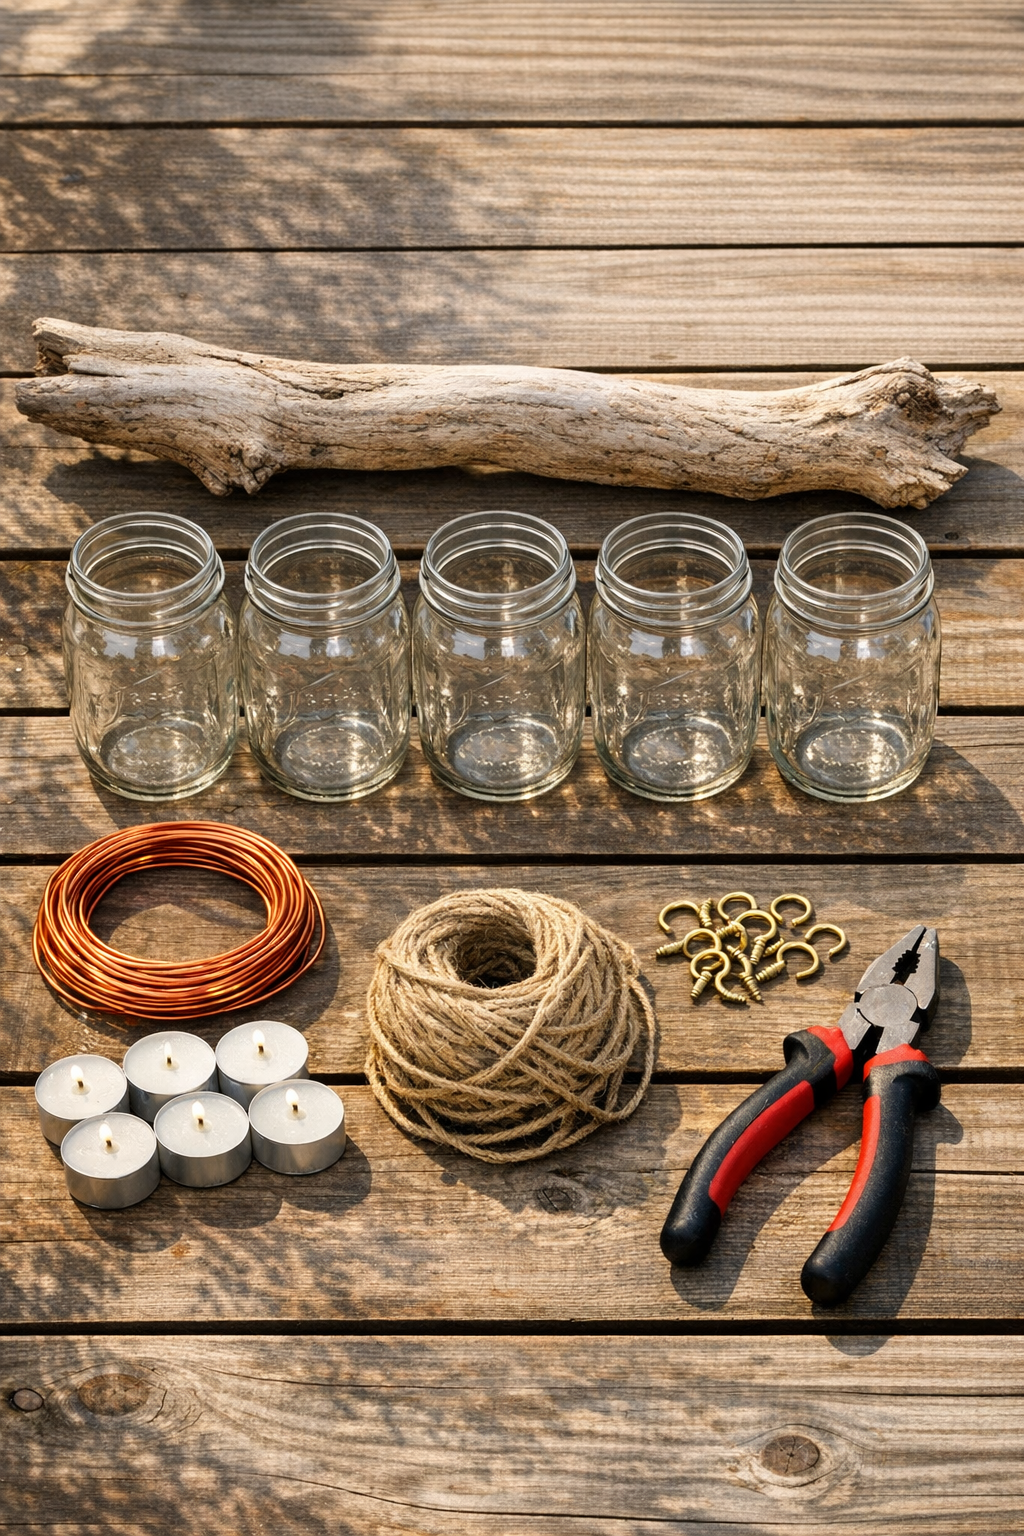
Materials
1 driftwood branch, 30 to 36 inches long and 3 to 4 inches thick
Instructions
1. Clean the driftwood branch and mason jars well, then let everything dry completely. If the branch is flaky, brush off any loose bark or grit so it’s sturdy and clean to handle.
2. Set the five jars along the branch to decide on spacing, leaving about 4 to 5 inches between each jar. Mark each hanging point lightly with a pencil or a small piece of tape.
3. Cut five pieces of copper wire, each 30 inches long, for wrapping the jars. Cut five more pieces, each 18 inches long, for attaching the jar hangers to the branch.
4. Wrap one 30-inch wire around the neck of a mason jar just below the threads, twisting it tightly with pliers to form a secure collar. Leave two equal wire tails extending upward to make the hanger.
5. Twist the two wire tails together loosely for 3 to 4 inches above the jar, then form a loop at the top for hanging. Repeat with the remaining four jars, keeping the hanger lengths as even as possible.
6. If you want the jars to sit a little quieter against one another in the breeze, stick a couple of small rubber bumpers near the wire contact points on each jar. This step is optional, but it does help reduce clinking.
7. Attach one 18-inch wire to each jar hanger loop, then wrap the other end around the driftwood branch at the marked spots. Twist each attachment firmly with pliers so every jar hangs securely and at roughly the same height.
8. Tie or attach the chain or rope to both ends of the driftwood branch, about 2 inches in from each end. Check that the branch hangs level, then adjust the knots or hook placement if one side dips lower.
9. Place one tea light inside each jar, using battery-operated candles if the chandelier will hang under a covered patio or where wind is common. Make sure each candle sits flat in the bottom of the jar.
10. Install the ceiling hooks into a solid overhead beam or support, then hang the chandelier with the chain, rope, and quick links or S-hooks. Test the balance and stability before lighting or turning on the candles.
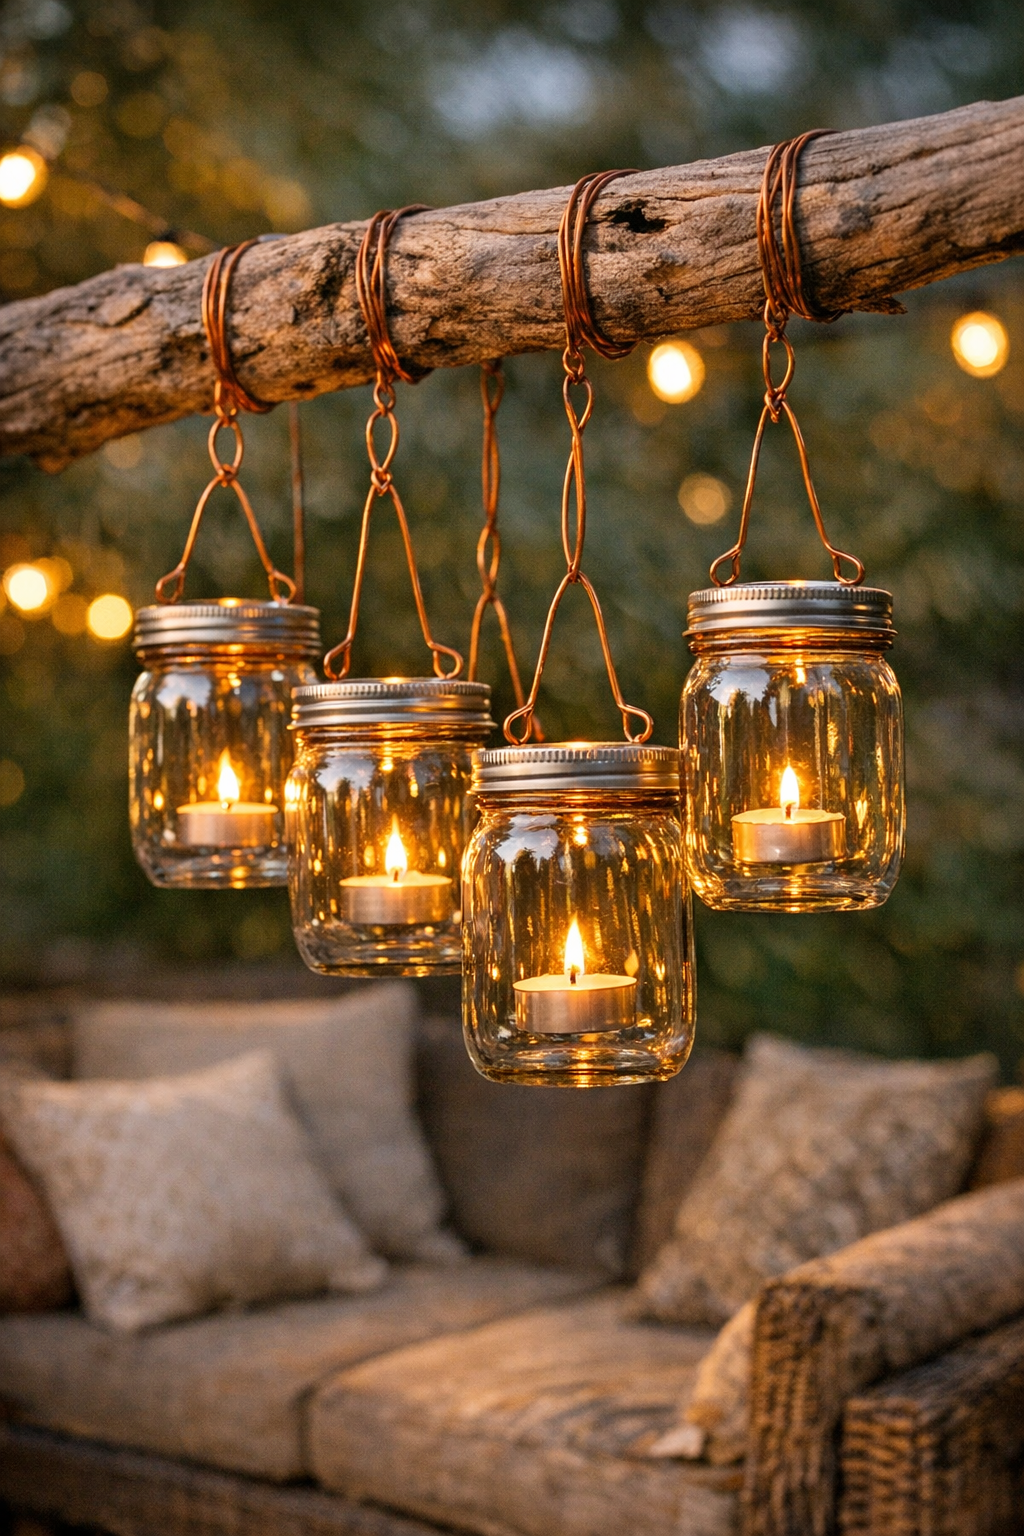
Variations & Tips
For a softer glow: Add a spoonful of small pebbles or pale sand to the bottom of each jar before setting in the candle. It gives the light a settled look and helps the candle sit nicely.
For a fuller chandelier: Use 7 smaller 8-ounce mason jars instead of 5 larger ones if you want a more abundant, clustered look. Just choose a longer branch, around 40 inches, so it doesn’t feel crowded.
For safer outdoor use: I recommend battery-operated tea lights if children, pets, or steady breezes are part of your patio life. They still give a lovely twinkle without the worry of an open flame.
For a more polished finish: Wrap the wire twists neatly and tuck in any sharp ends with pliers. A careful finish makes the whole piece look intentional and keeps hands from getting scratched later.
For seasonal charm: In early fall, tuck a little preserved moss, faux leaves, or a few tiny pinecones around the candle base. I’ve always believed simple decorations like that can carry a space right from August into harvest time.
Hanging tip: Always hang this from a solid structural support, never from thin decorative trim or lightweight lattice. Mason jars are heavier than they look once grouped together.