
There’s something especially satisfying about making a garden piece that looks substantial and timeless without spending a fortune. These solid stone garden pumpkins start with the kind of inexpensive plastic trick-or-treat buckets you can find just about anywhere in the fall, and with a little cement and patience, they turn into sturdy outdoor accents that look right at home tucked into flower beds, lined along a path, or gathered on a porch step.
I’ve always had a soft spot for projects that take something a little flimsy and temporary and turn it into something that feels like it could stay put for years. That’s the same sort of practical thinking I grew up around here in the Midwest—use what you have, make it last, and don’t be afraid to get your hands dirty. This project is a good one for beginners, too, because the bucket already gives you the pumpkin shape, so the hard part is mostly done for you.
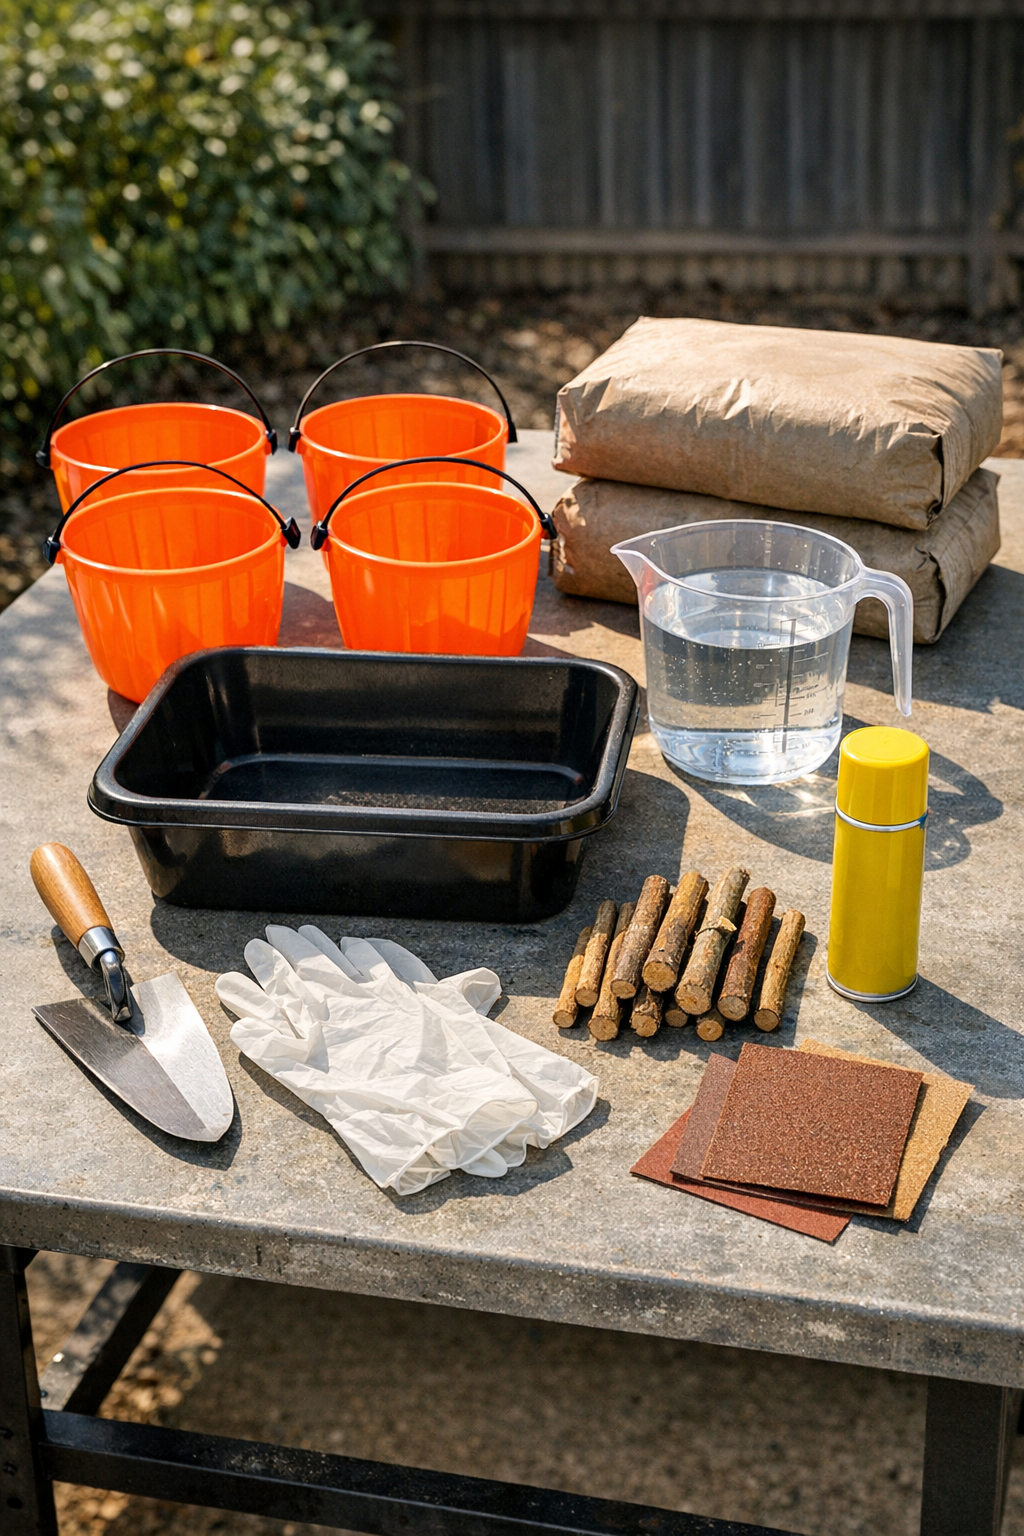
Materials
3 plastic trick-or-treat pumpkin buckets, 8 to 10 inches wide
Instructions
1. Set up your work area on a flat outdoor surface with a tarp underneath, because cement splashes are much easier to prevent than to scrub up later.
2. Wash and dry the plastic buckets, then check for cracks or thin spots; if any seams look weak, reinforce the outside with a strip of duct tape.
3. Lightly coat the inside of each bucket with cooking spray or a thin smear of petroleum jelly so the plastic releases more easily after the cement cures.
4. Mix the concrete in a tub according to the package directions, adding water a little at a time until it reaches a thick pudding-like consistency that will pour but still hold body.
5. If you want to reduce weight a bit, place a small handful of gravel or scrap concrete pieces in the center of each bucket before filling.
6. Pour the wet concrete into each bucket, tapping the sides several times to settle the mix and release trapped air bubbles.
7. Smooth the top surface with a stick or trowel, then press a wooden dowel or sturdy stick into the center of each bucket to create a stem, leaving about 2 inches exposed.
8. Let the buckets sit undisturbed until the concrete firms up, following the cure time on the bag; fast-setting mixes may be ready in a few hours, but overnight is safest.
9. Once fully hardened, cut or peel away the plastic bucket carefully with utility shears or by flexing the bucket until the concrete pumpkin releases.
10. Sand any rough edges lightly, especially around the opening and seam lines, until the pumpkin feels neat but still naturally stone-like.
11. If you’d like extra weather resistance, brush on a thin coat of exterior masonry sealer and let it dry completely.
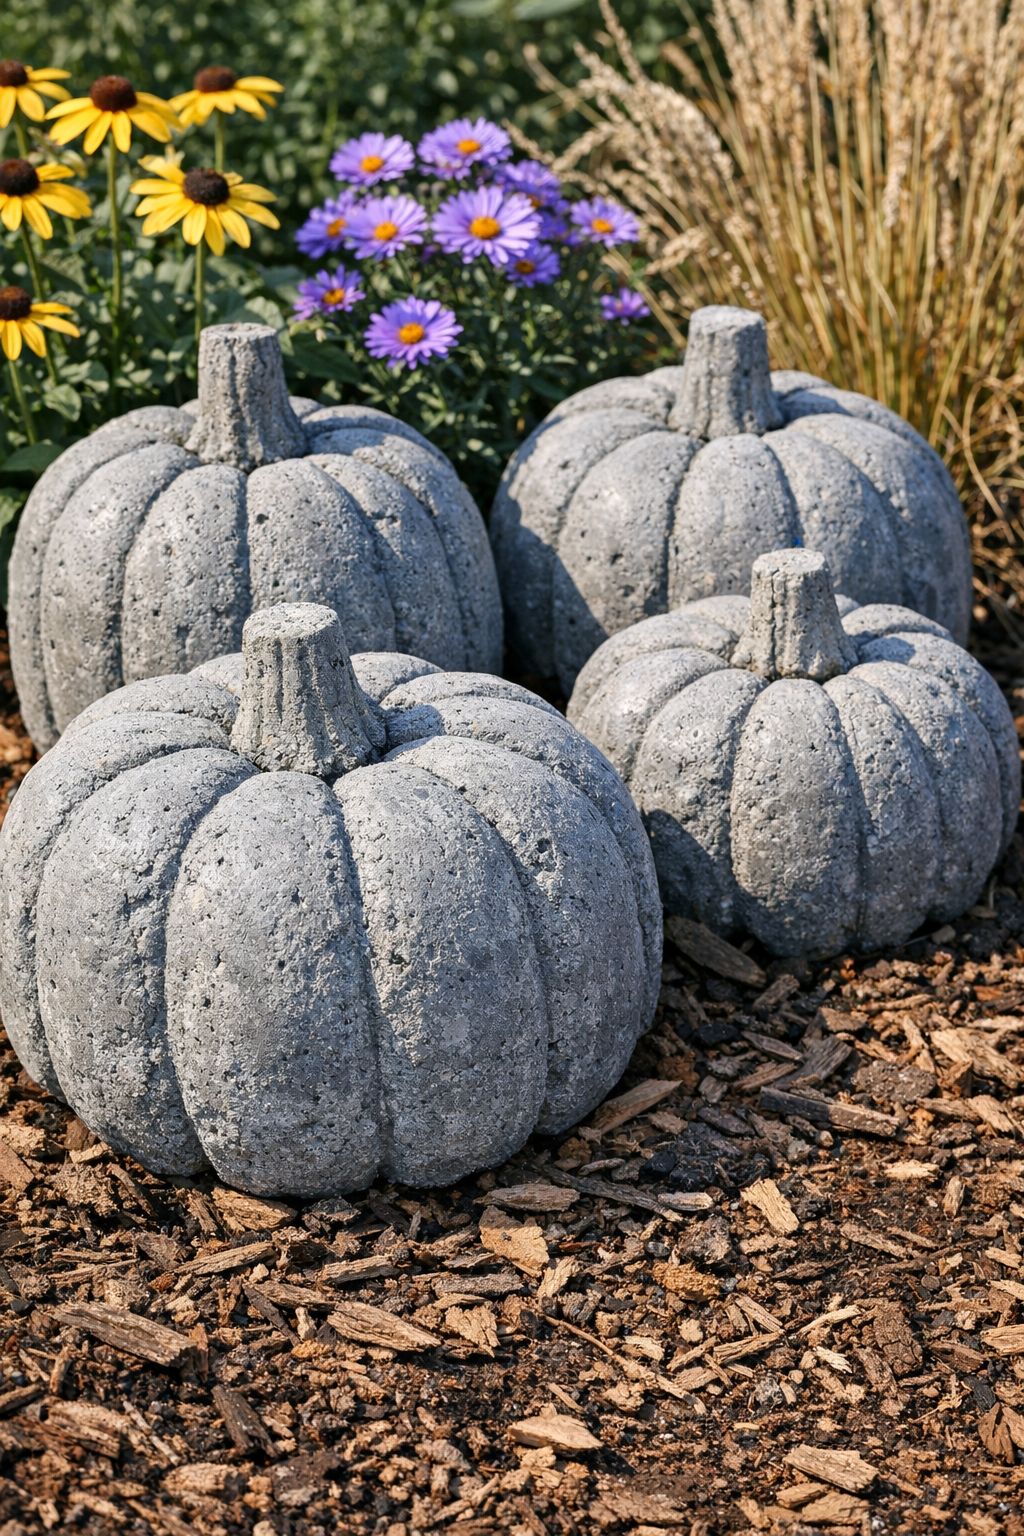
12. Place your finished stone pumpkins in the garden, nestle them into mulch or gravel so they sit securely, and group different sizes together for the nicest display.
Variations & Tips
Make a mixed-size display: If you can find buckets in two or three sizes, use them together. A little cluster always looks more natural in the garden than pumpkins that are all exactly the same.
Try a weathered finish: After curing, dry-brush a little diluted exterior paint in soft white, mossy green, or charcoal over the surface for an aged stone look. I like to keep it subtle so it still blends into the landscape.
Watch the water in the mix: Too much water makes weaker concrete and can blur the shape. The mix should be pourable, but not thin like soup.
Use real branches for stems: If you want a more rustic look, swap the dowels for short, dry hardwood twigs or branch pieces. That little bit of crookedness gives them real pumpkin character.
Handle with patience: Don’t rush the unmolding. I’ve learned over the years, whether it’s a cast-iron roast or a garden project, things usually turn out better when you let them set properly before fussing with them.
Place them where they’ll shine: These look especially pretty near ornamental grasses, sedum, porch steps, or along a front walk. Once autumn passes, I often leave the plain stone ones out well beyond Thanksgiving because they read more like garden sculpture than holiday décor.